Set Name: Easter Basket
Set Number: 40587
Pieces: 368
MSRP: Gift with Purchase, $70 threshold
Theme: Classic
Age: 9+
Available: Mar 16th, 2023 –
Apr 14th, 2023
Why I bought this set
As soon as I saw this gift with purchase (GWP), I thought it was adorable and would make for an excellent desk decoration. I do like bunnies, having owned many as pets. The piece count was appealing, and the parts are generic enough to be used in the future if I ever dismantled the set. I required some PAB for building roads, so it ordered what I needed to secure this GWP.
The build
This 368-piece GWP comes in a happy green box with a limited edition banner printed along the bottom. The build is front and center, and the GWP motif is in the top right. The set has two building stages and a 68-page instruction book. The manual has no backstory and starts with the build immediately.


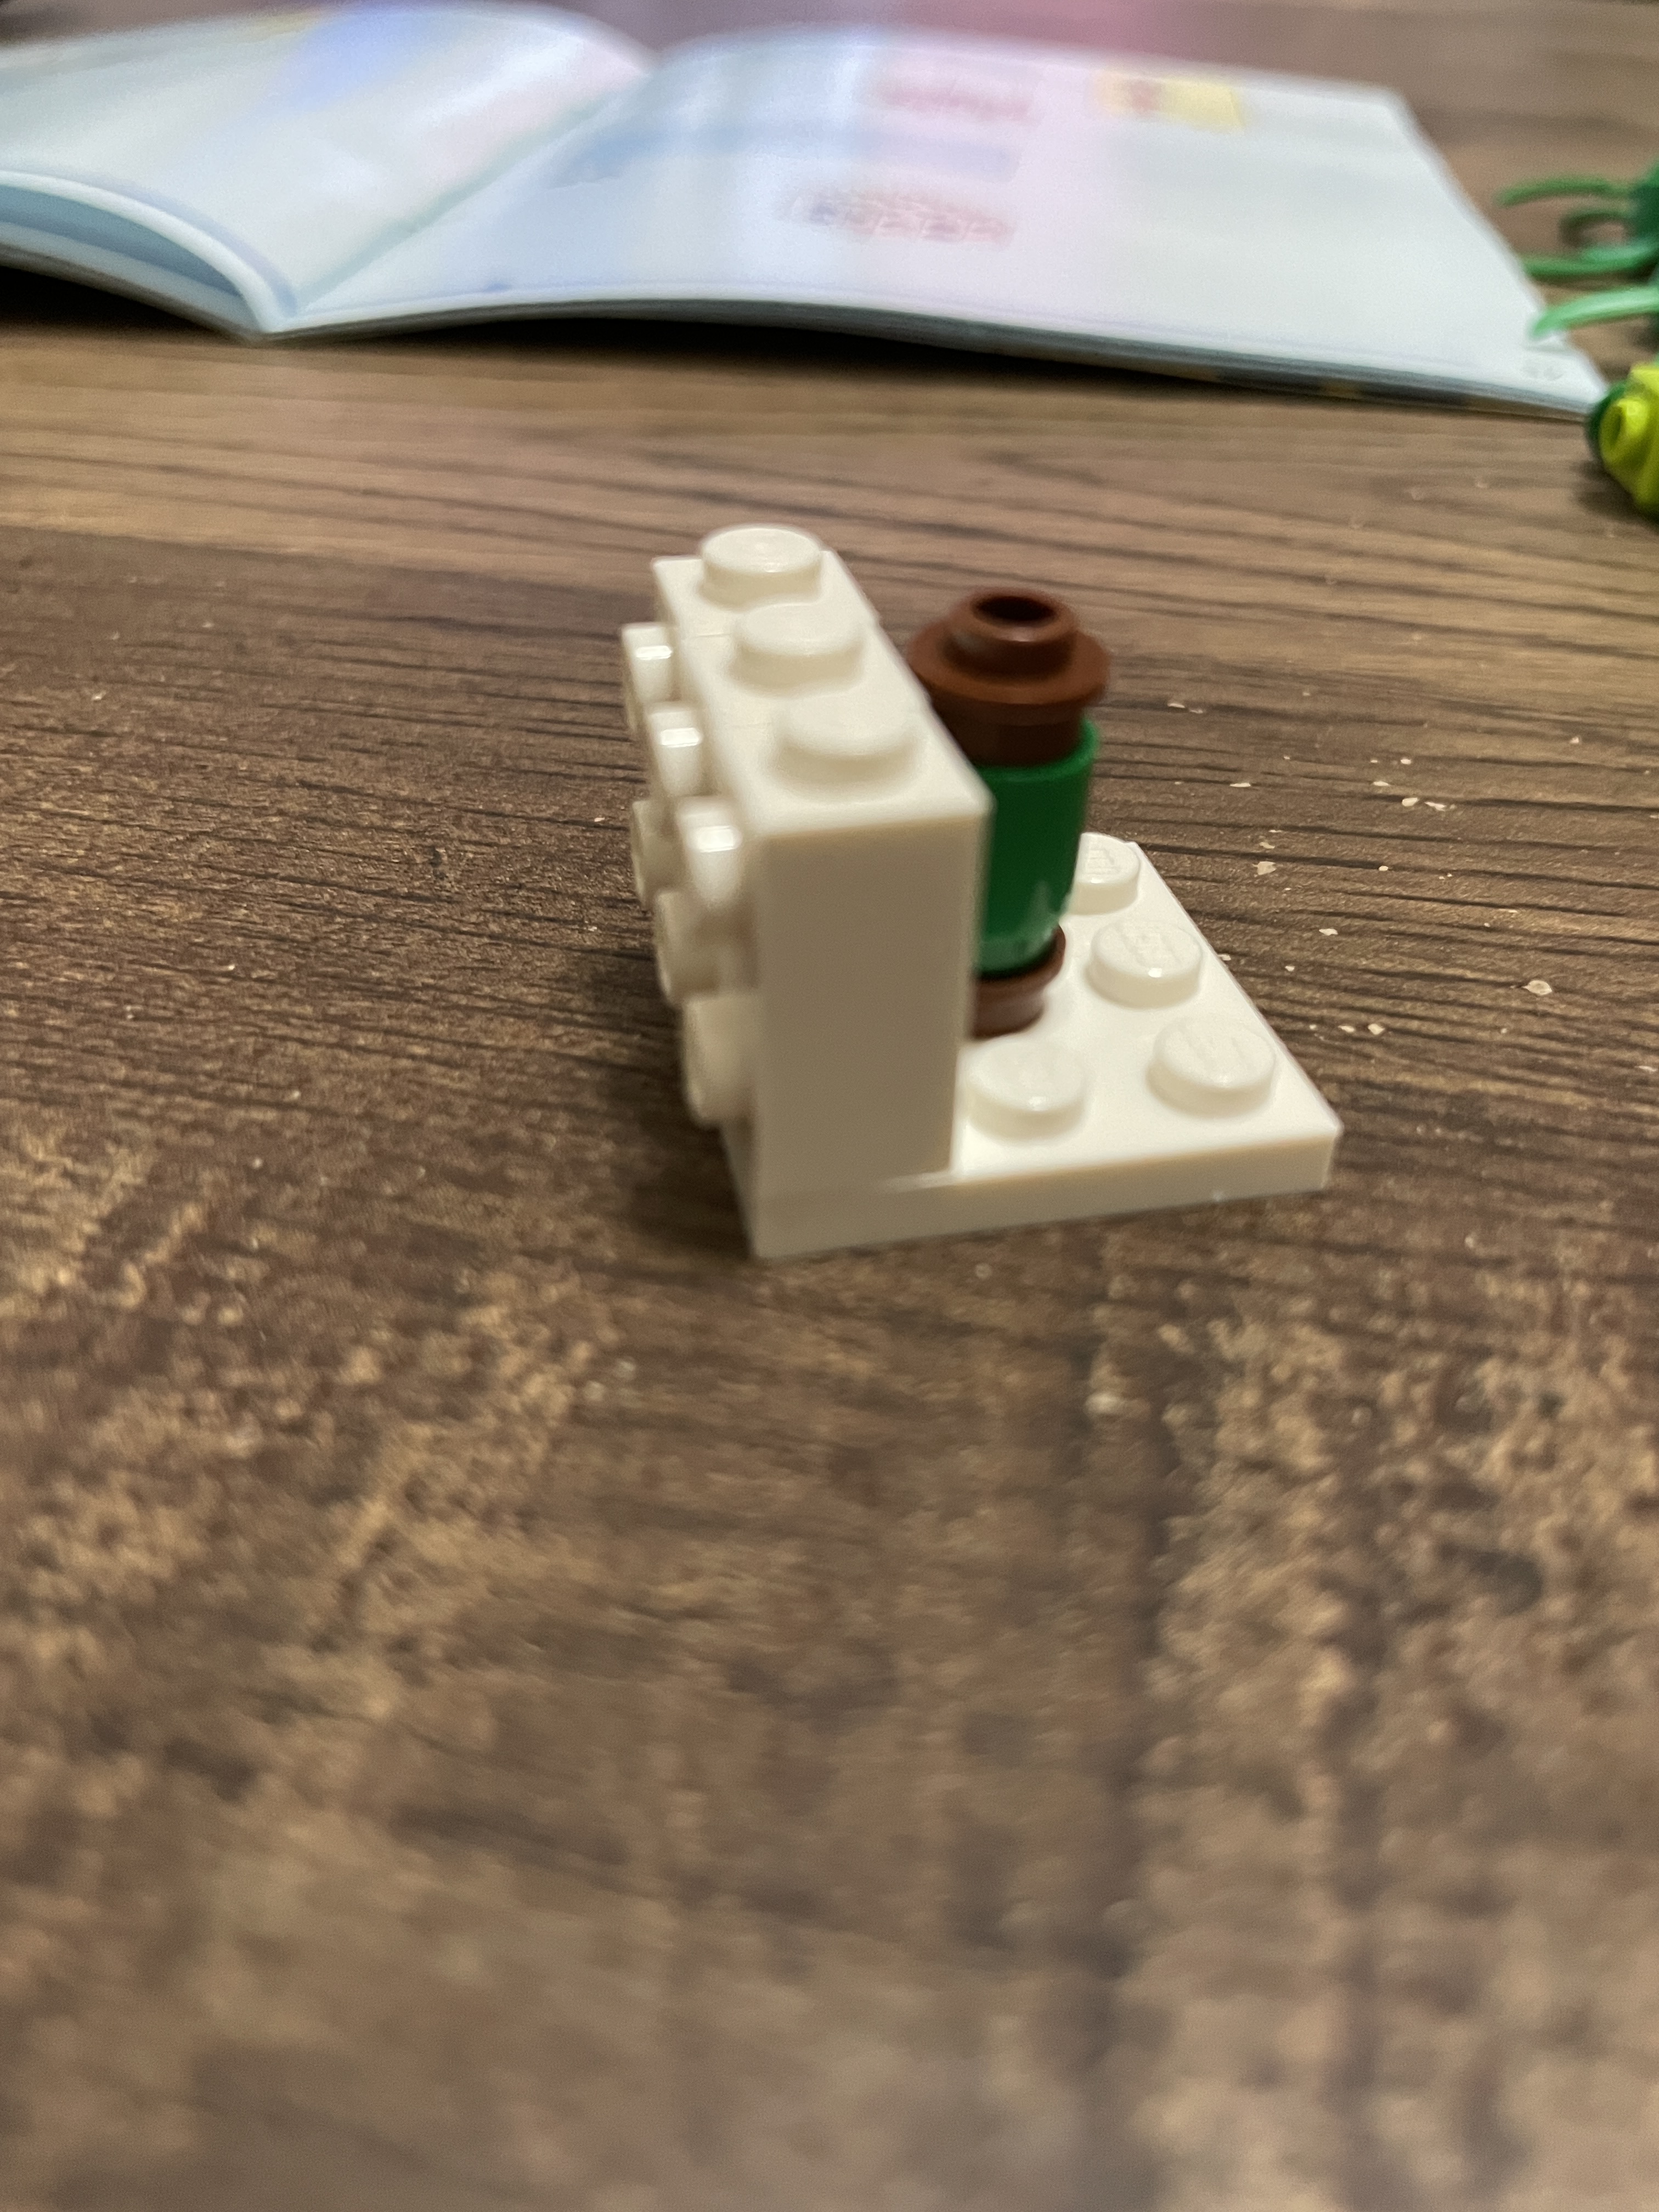
Stage one has many colorful pieces, and instantly I knew this would be a fun build. Construction begins with the base of the flower pot, which uses two triangular 2×2 medium nougat plates connected with a yellow modified 2×2 plate to a 1×4 light grey hinge and a 2×2 nougat plate. This sequence of pieces is repeated, throughout the base, though changing the color of the modified plate to help make the instructions clear (they are internal pieces, so their color does not affect the design).
Next, we connect 1×2 bricks and 1×4 brick hinges on the plates, adding further support and strength to the pot’s base. This arrangement repeats to create a circle.


On top of the brick layer, 2×2 bright green plates and a 1×2 sand green plate are added to each section. Onto the studs not on top (SNOT) plates, 2×2 light brown slopes cover the studs, creating a rounded exterior.
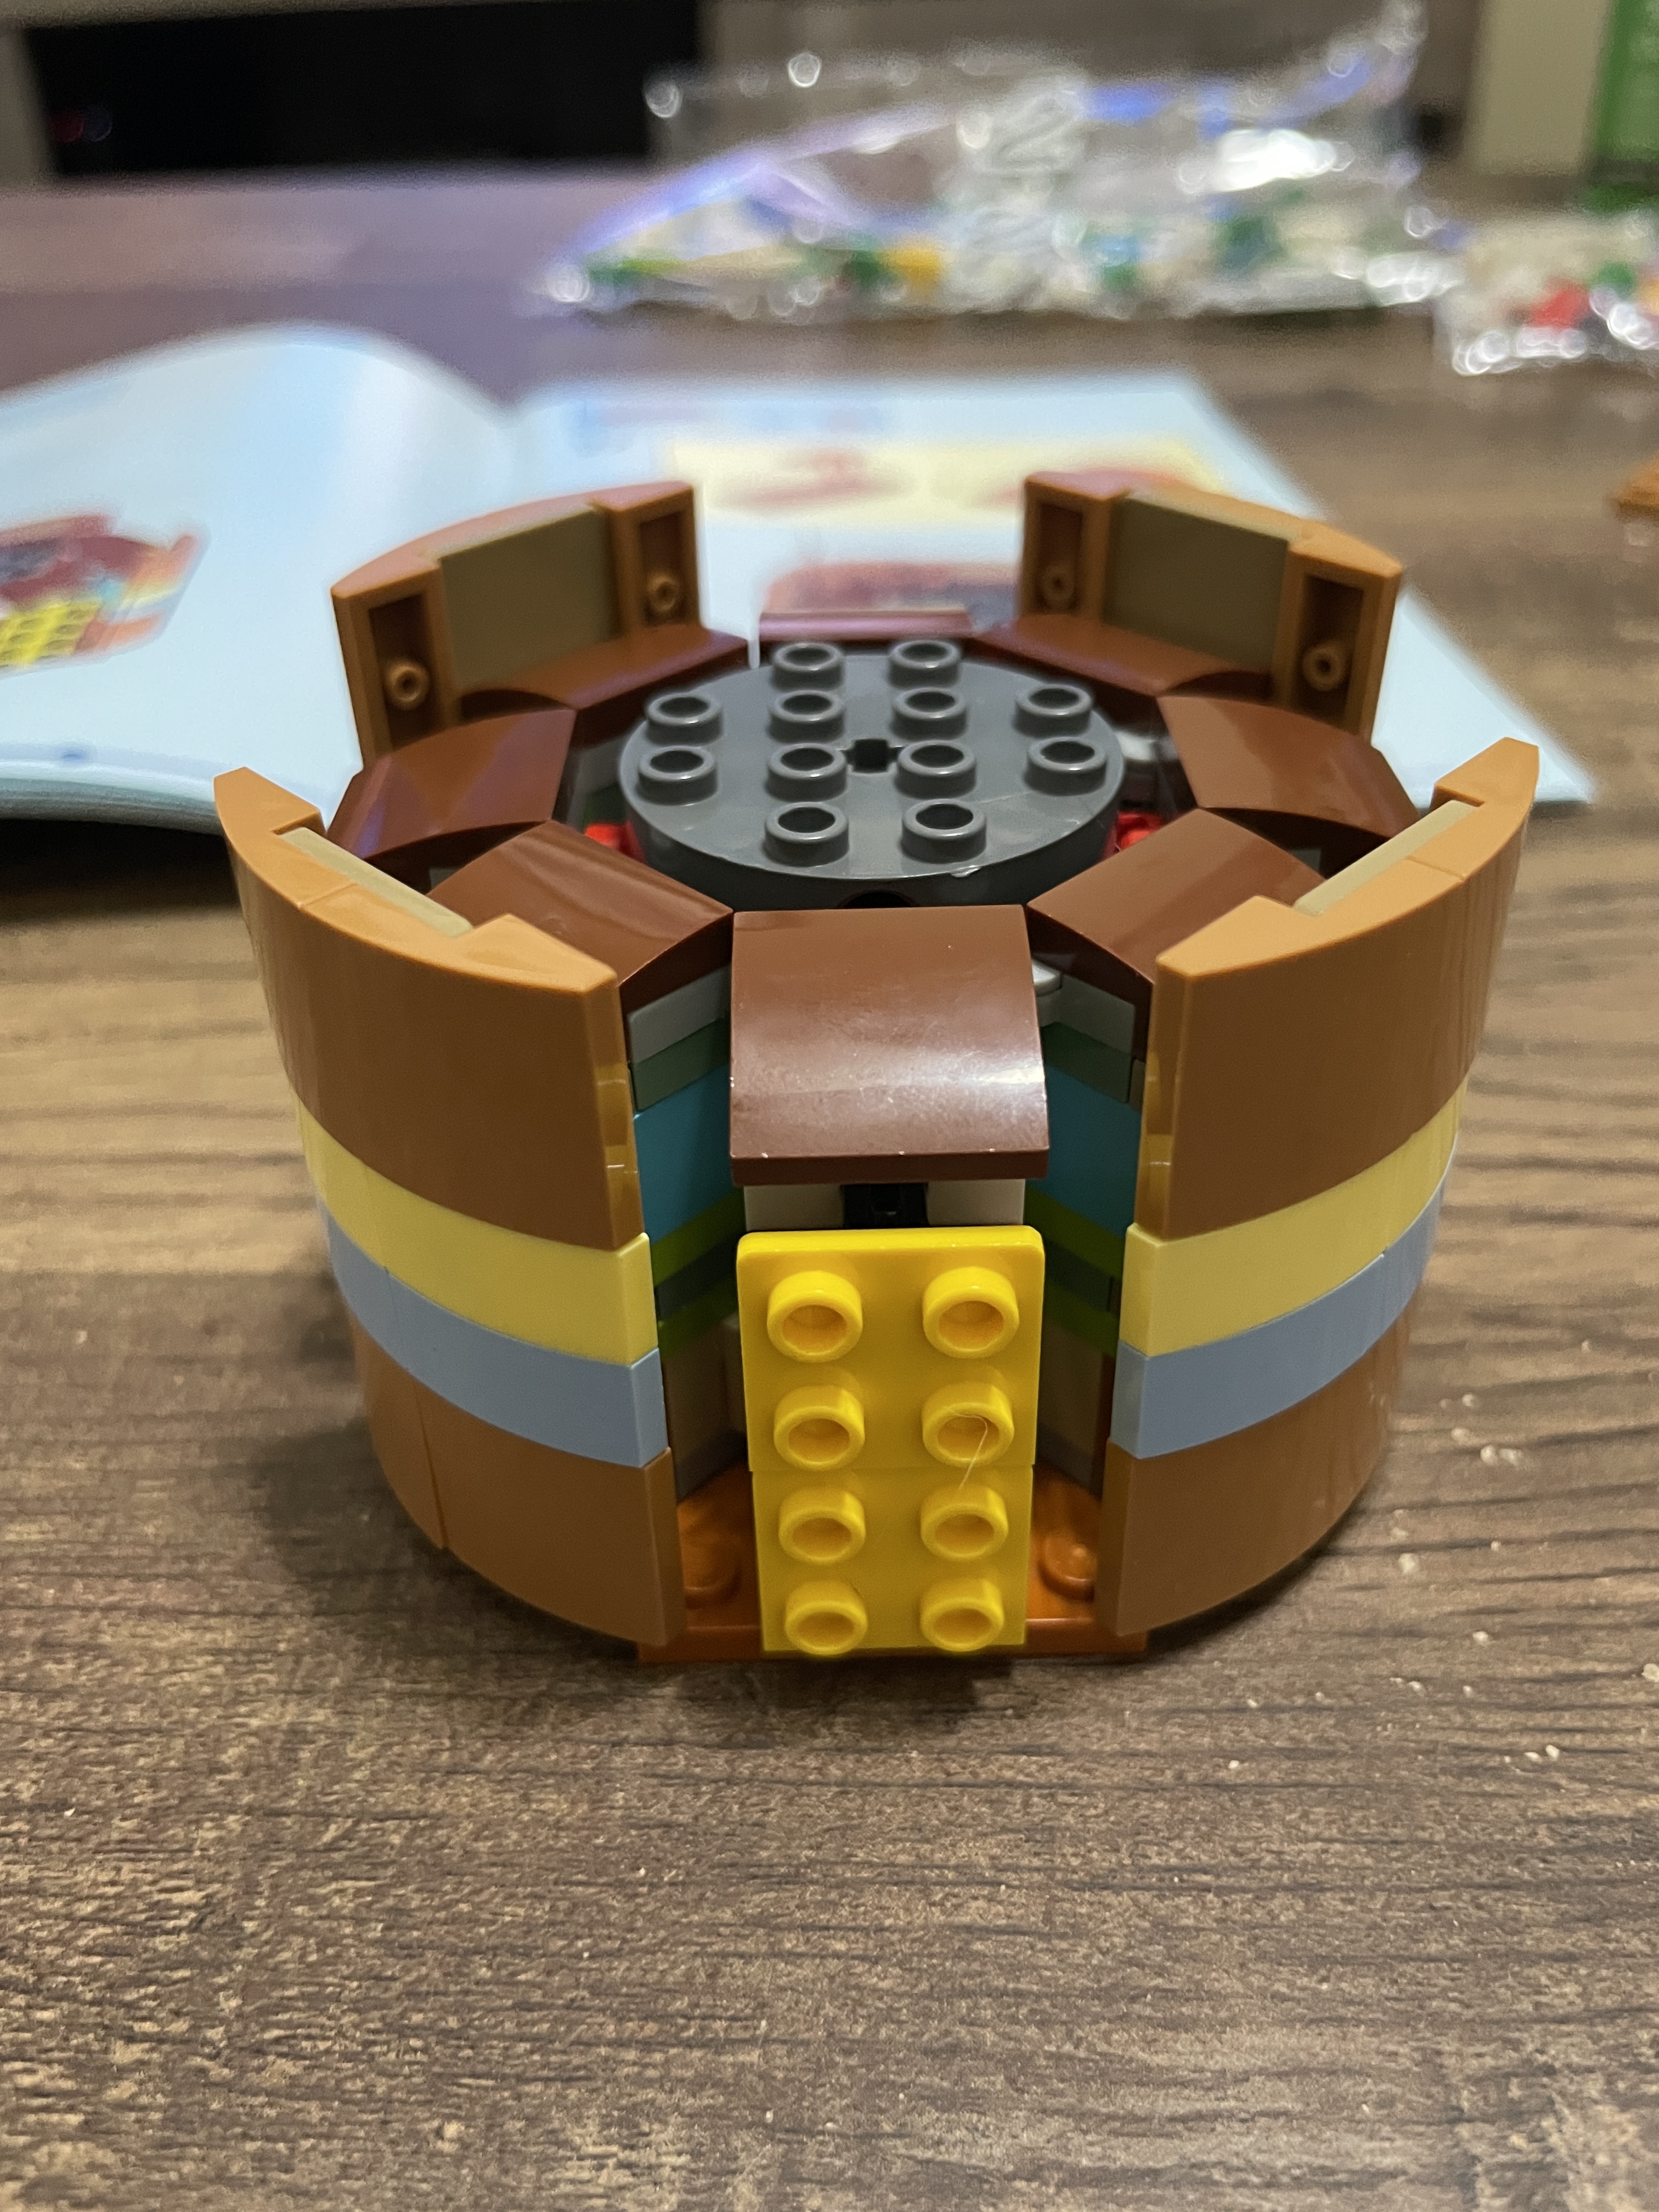
Light blue and pale yellow 1×2 slopes cover the rest of those SNOT plates to generate the ribbon design around the pot. Reddish-brown 1×2 tiles sit behind the yellow SNOT plates. Further brown modified SNOT plates sit on top of the turquoise 2×2 bricks, partially covered with 1×2 sand green plates.


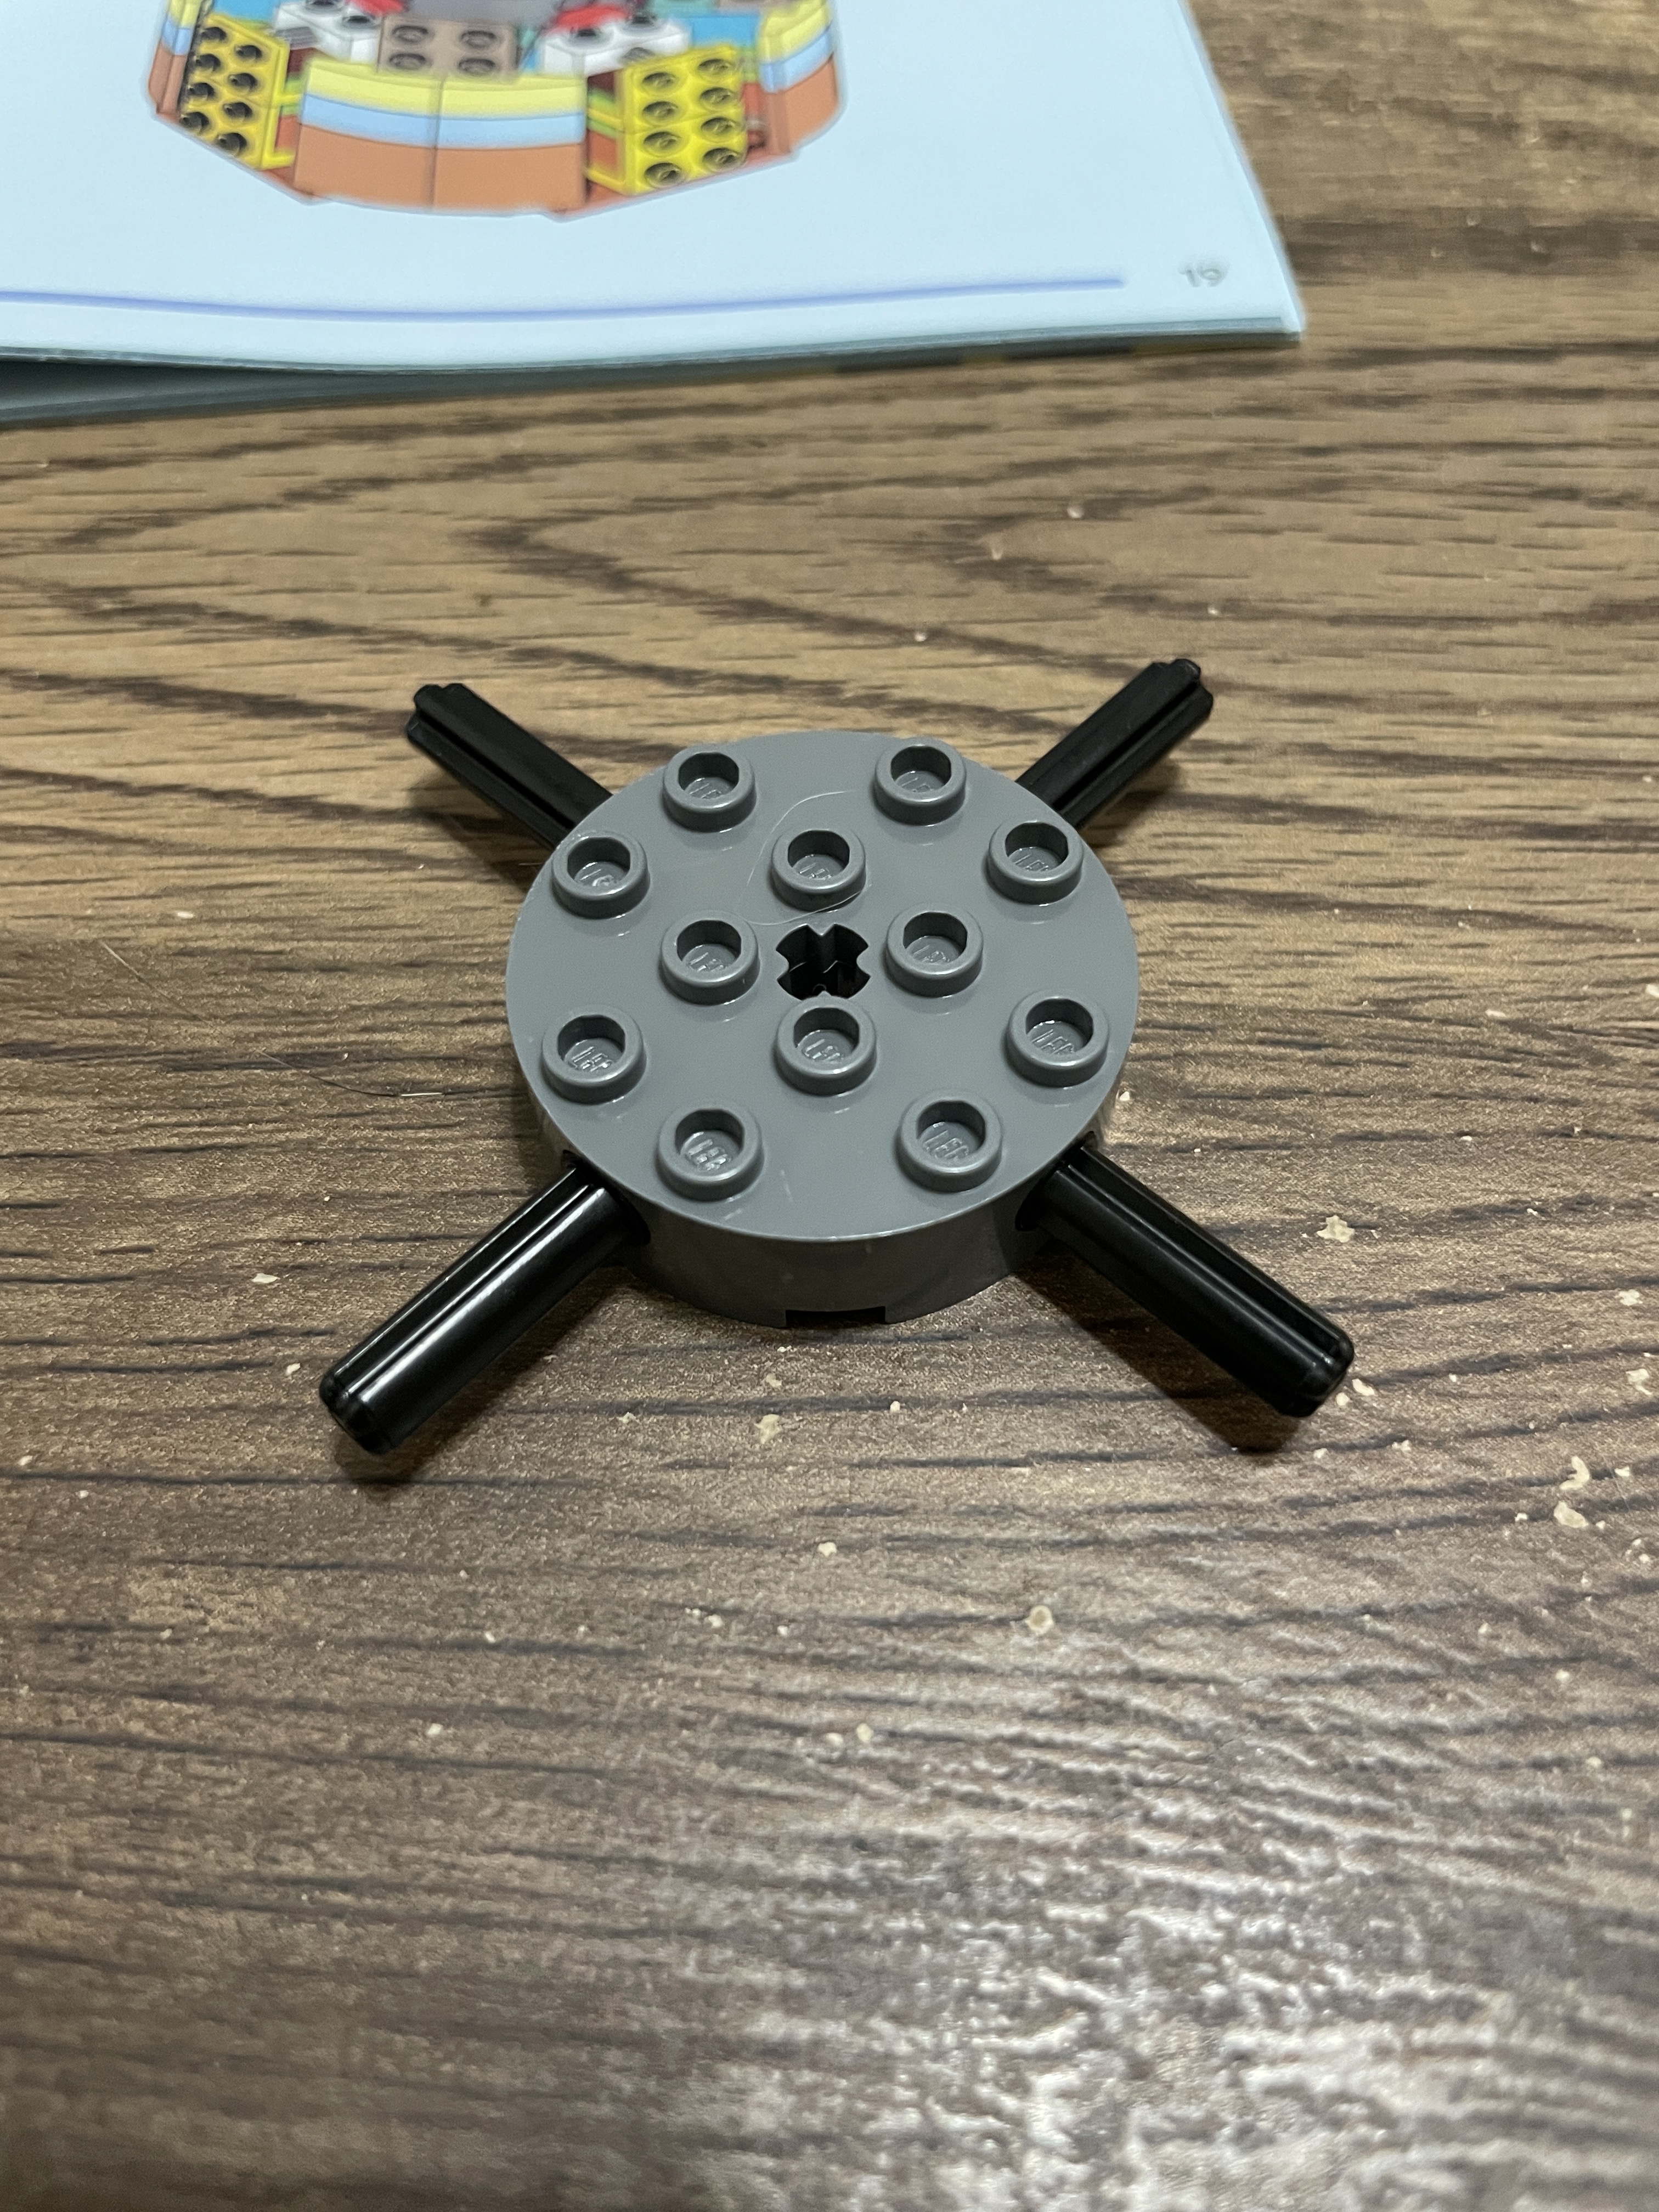
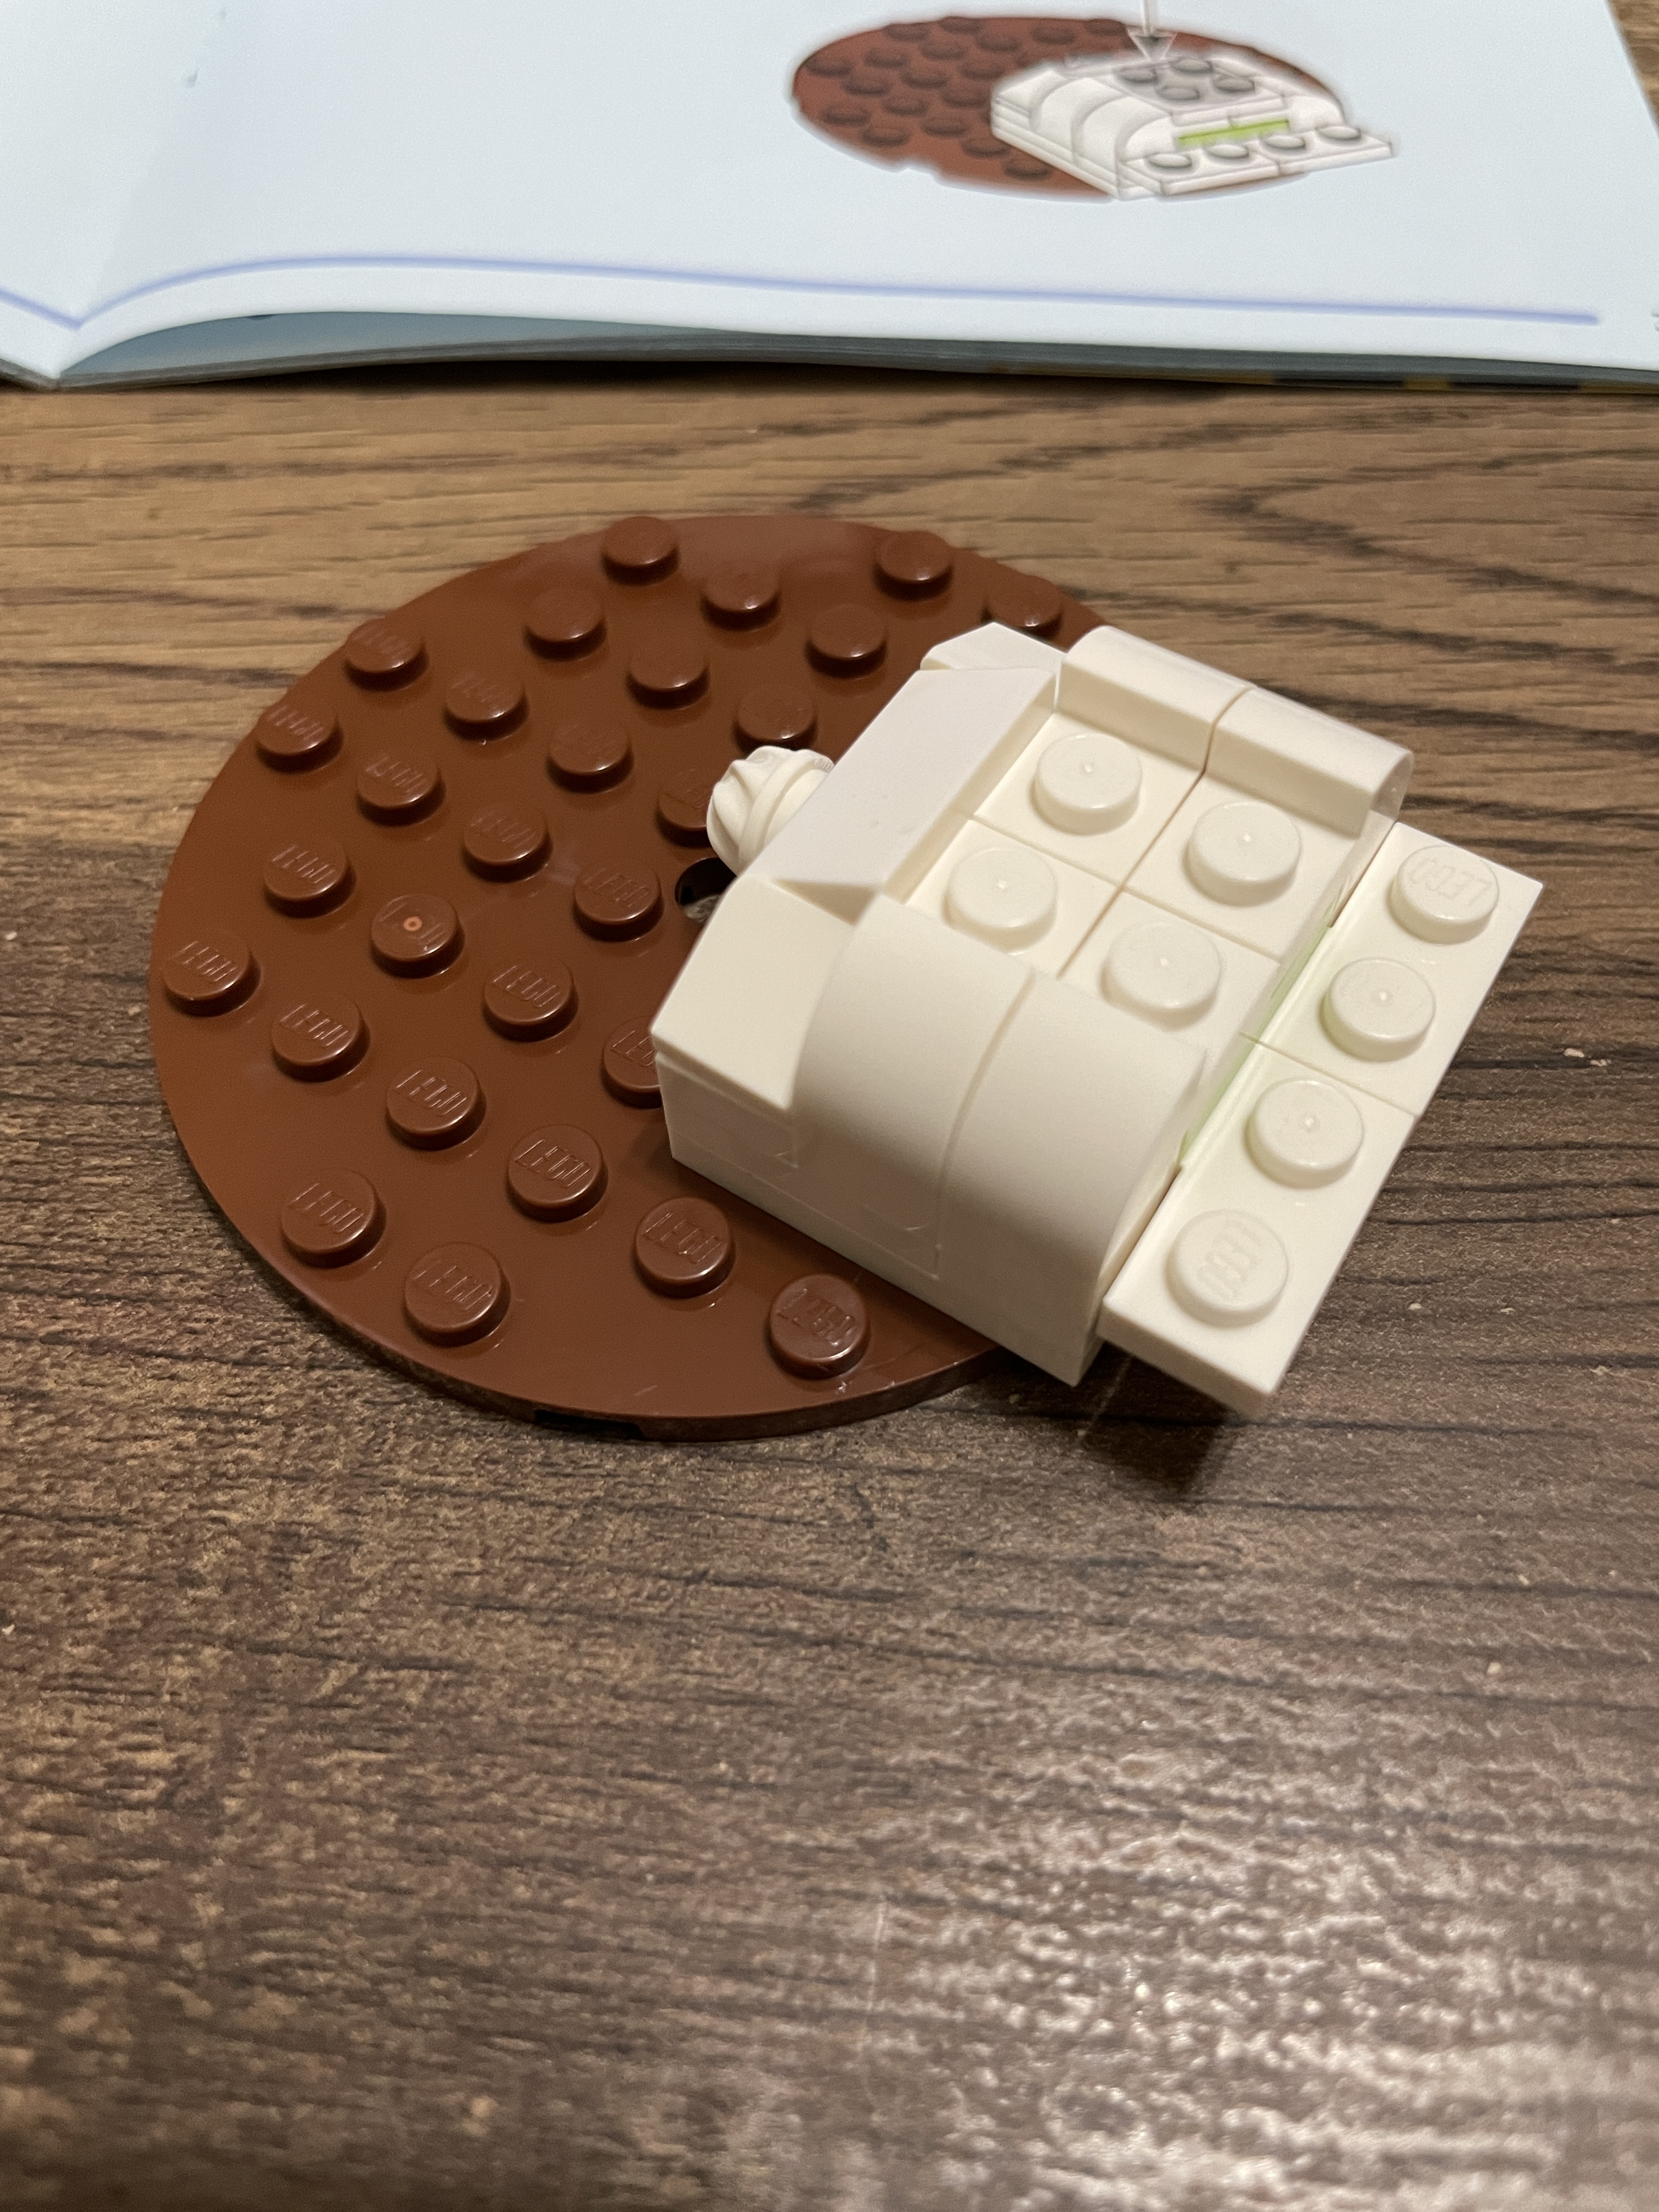
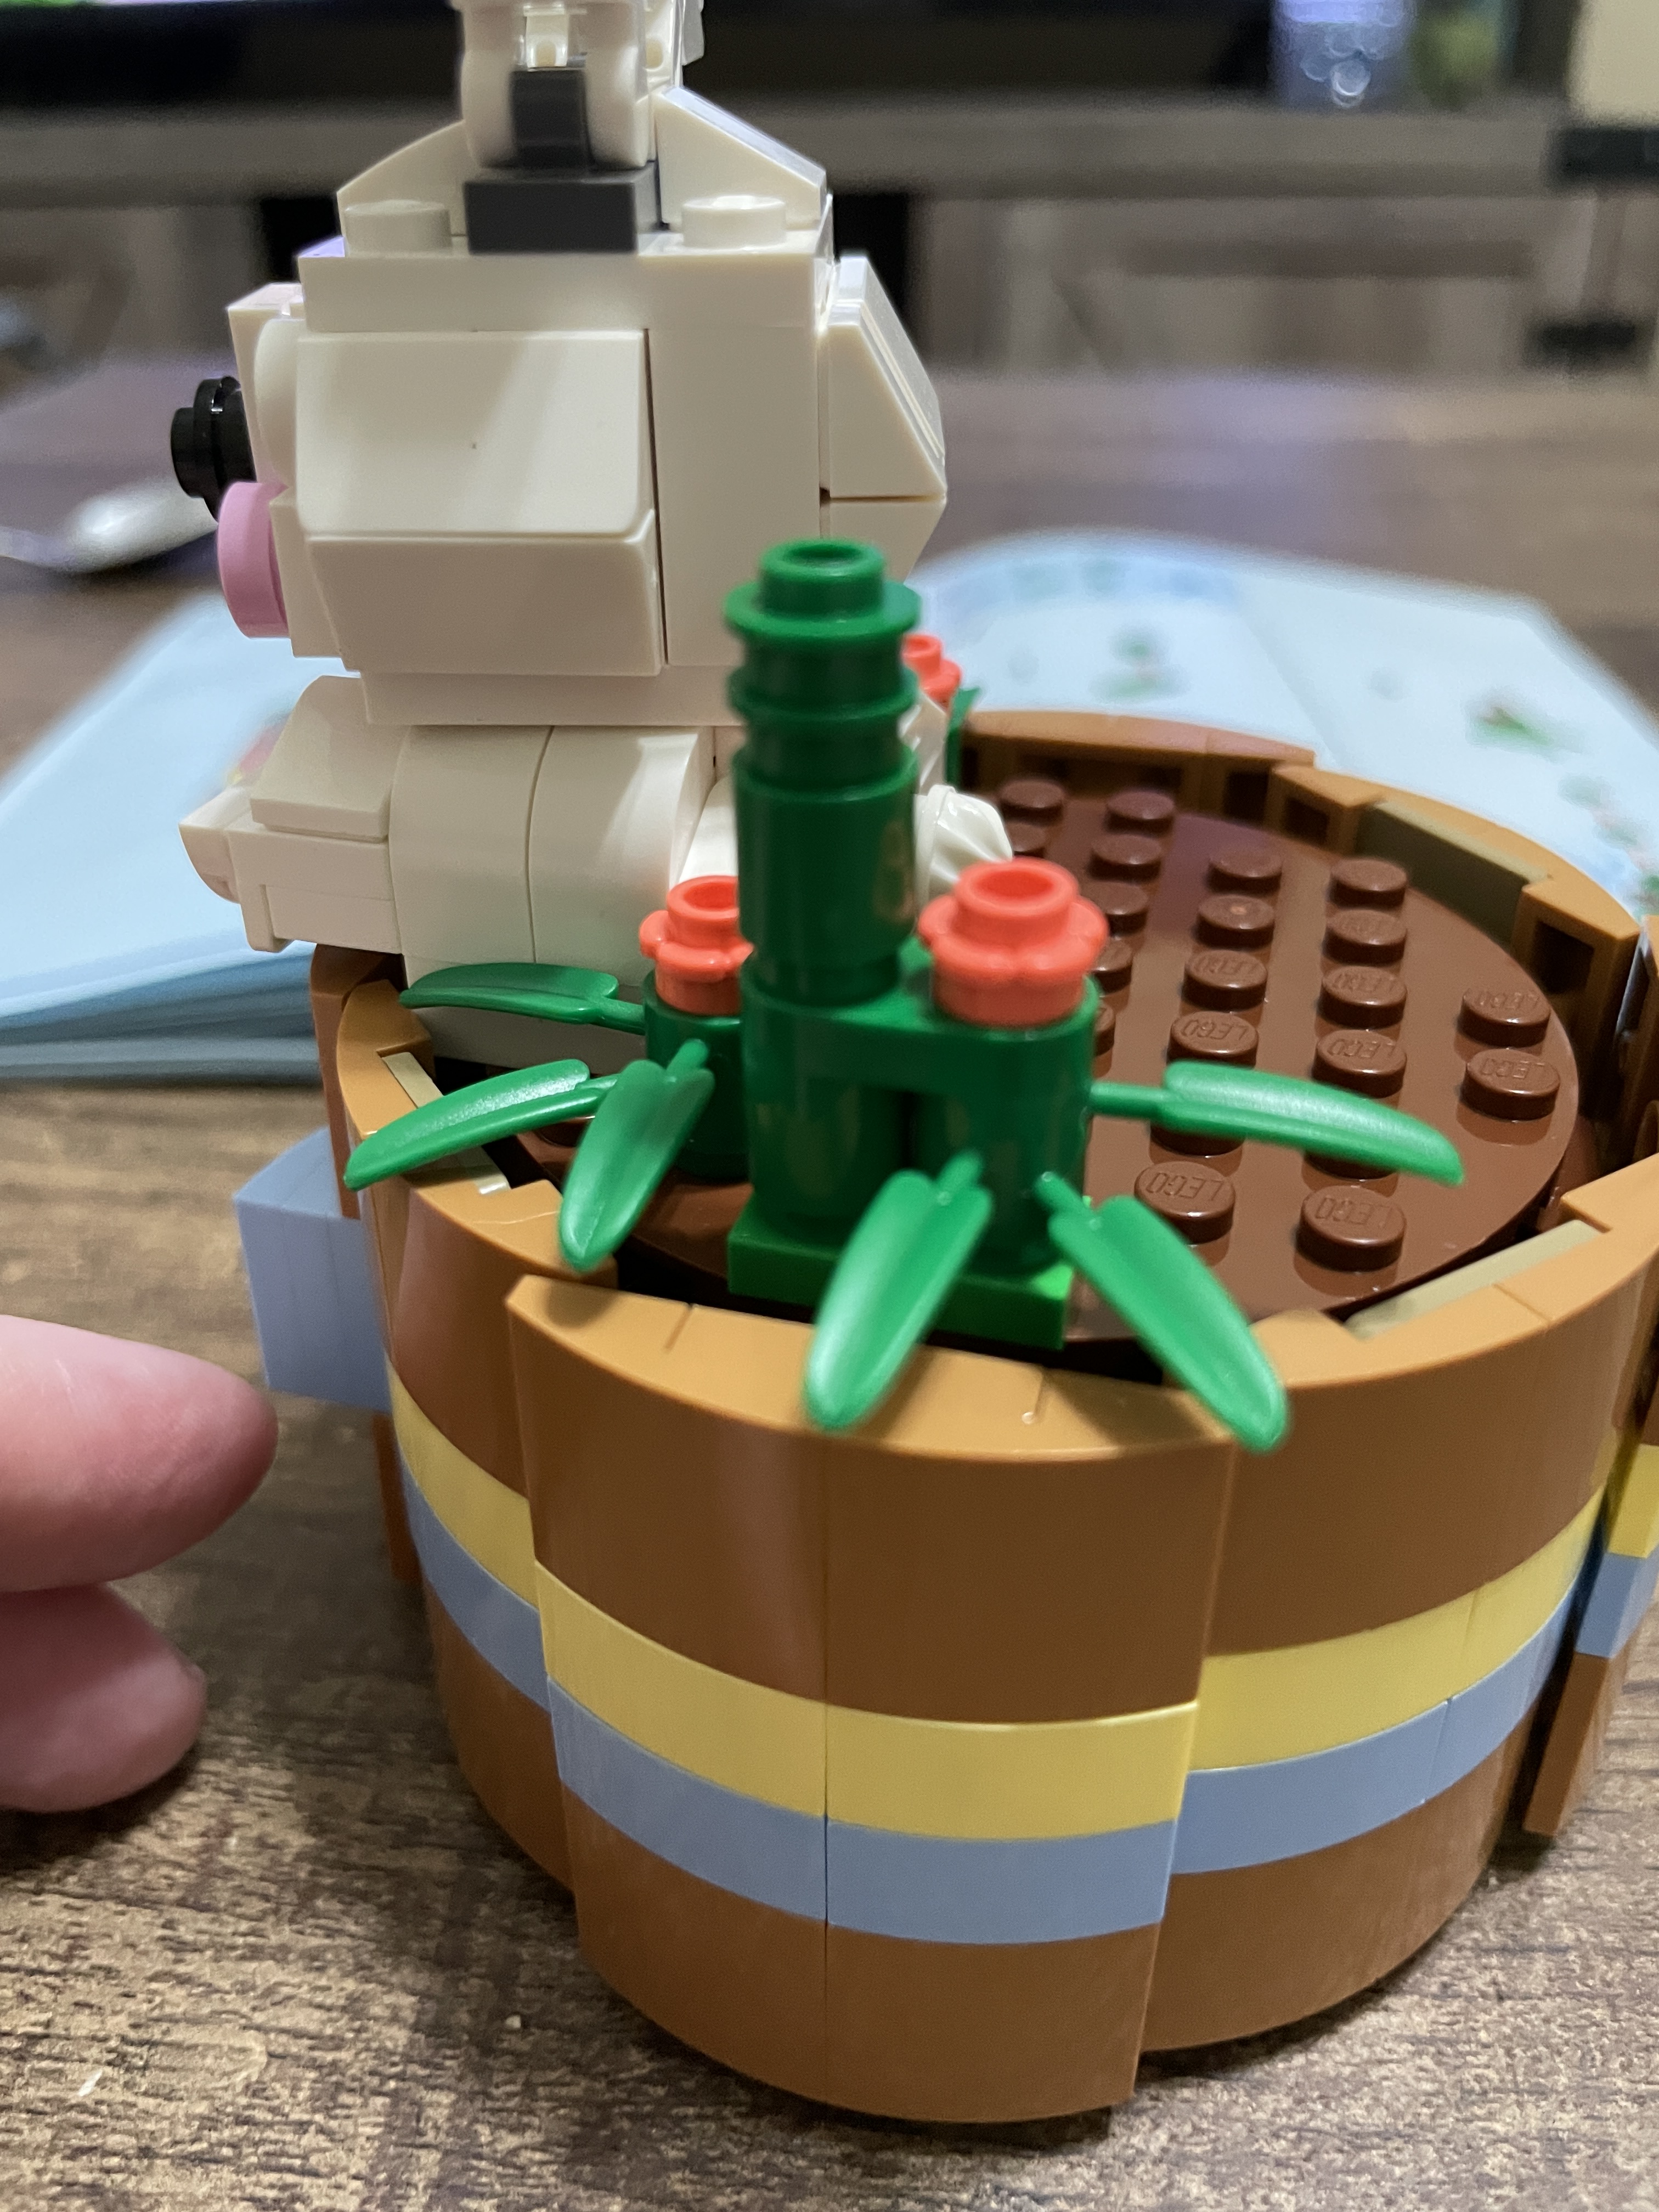
Now that the core of the flower pot is complete, a technic element “fills in” the pot. A 4×4 circular part has four axles inserted at 90 degrees. Another circular brick is stacked, and red tiles with center holes slide onto the axles. To hold the red tiles in place, white 1×2 crossed technic bricks are positioned behind them. This structure then sits in the pot, with the edges of the axles resting on the reddish-brown tile.

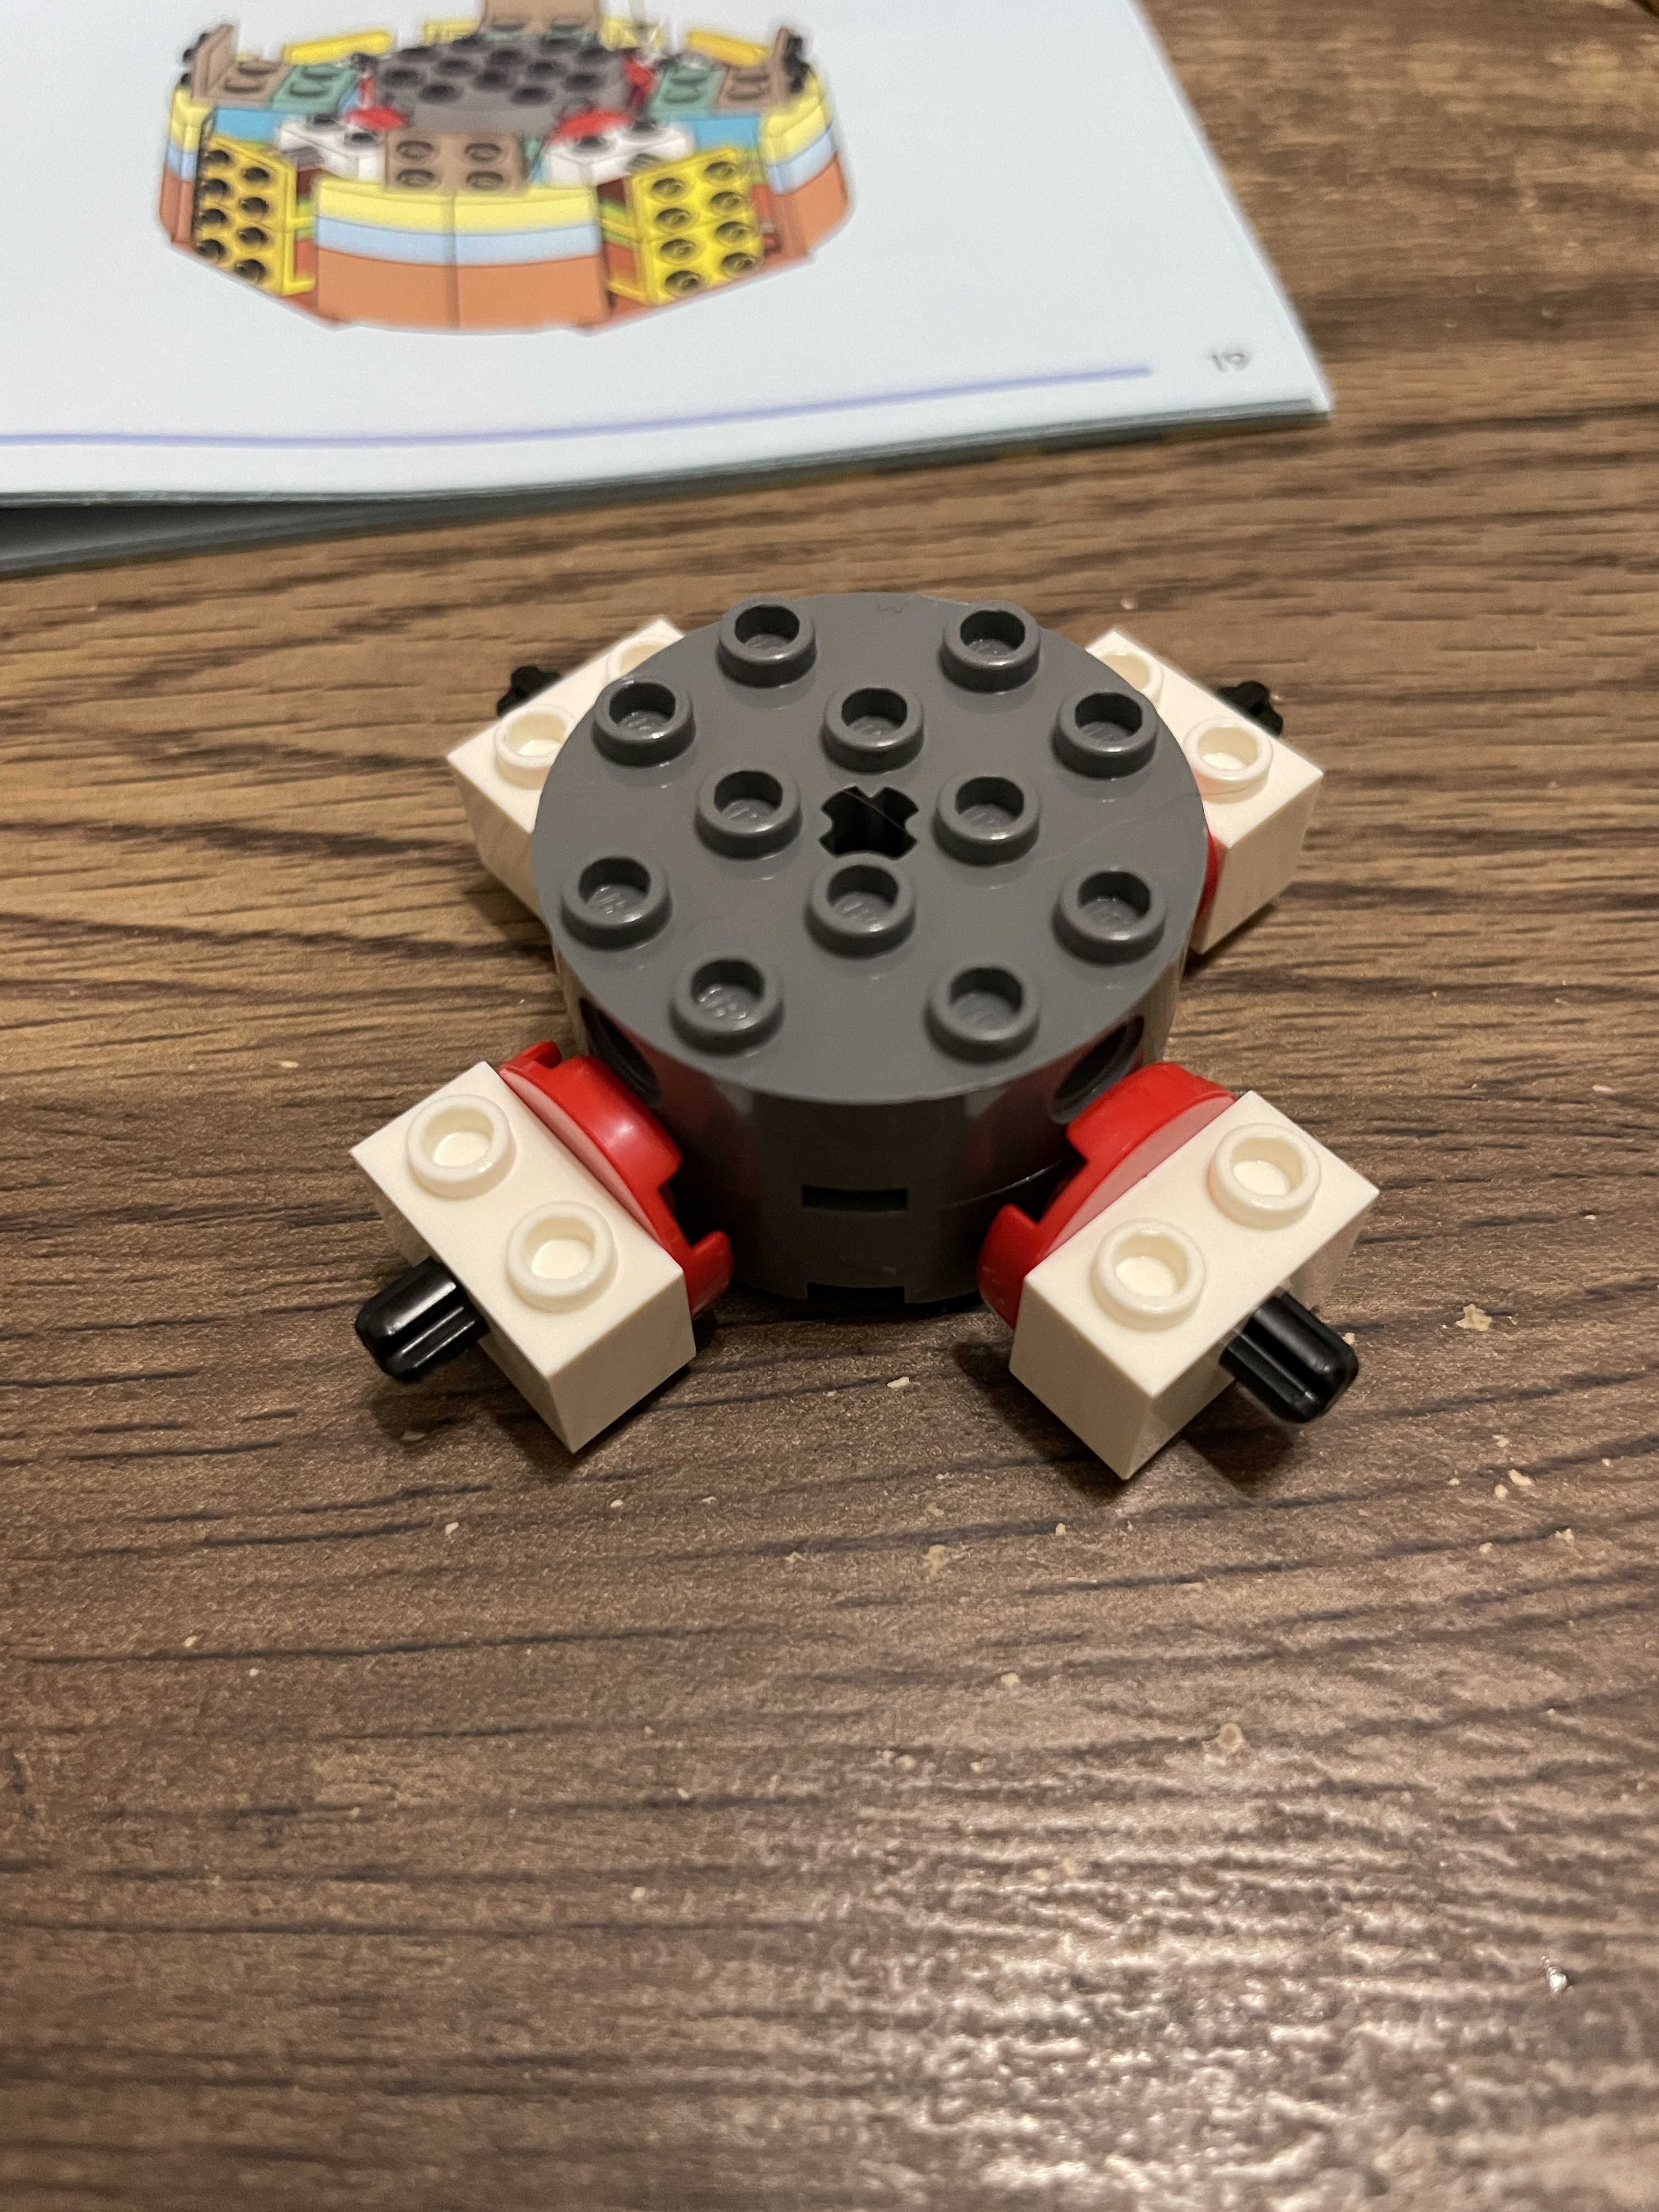

The white technic bricks are topped off with 1×2 bright green plates. The resting structure is tacked down to the pot via 1×4 light grey hinges, ensuring nothing is loose.
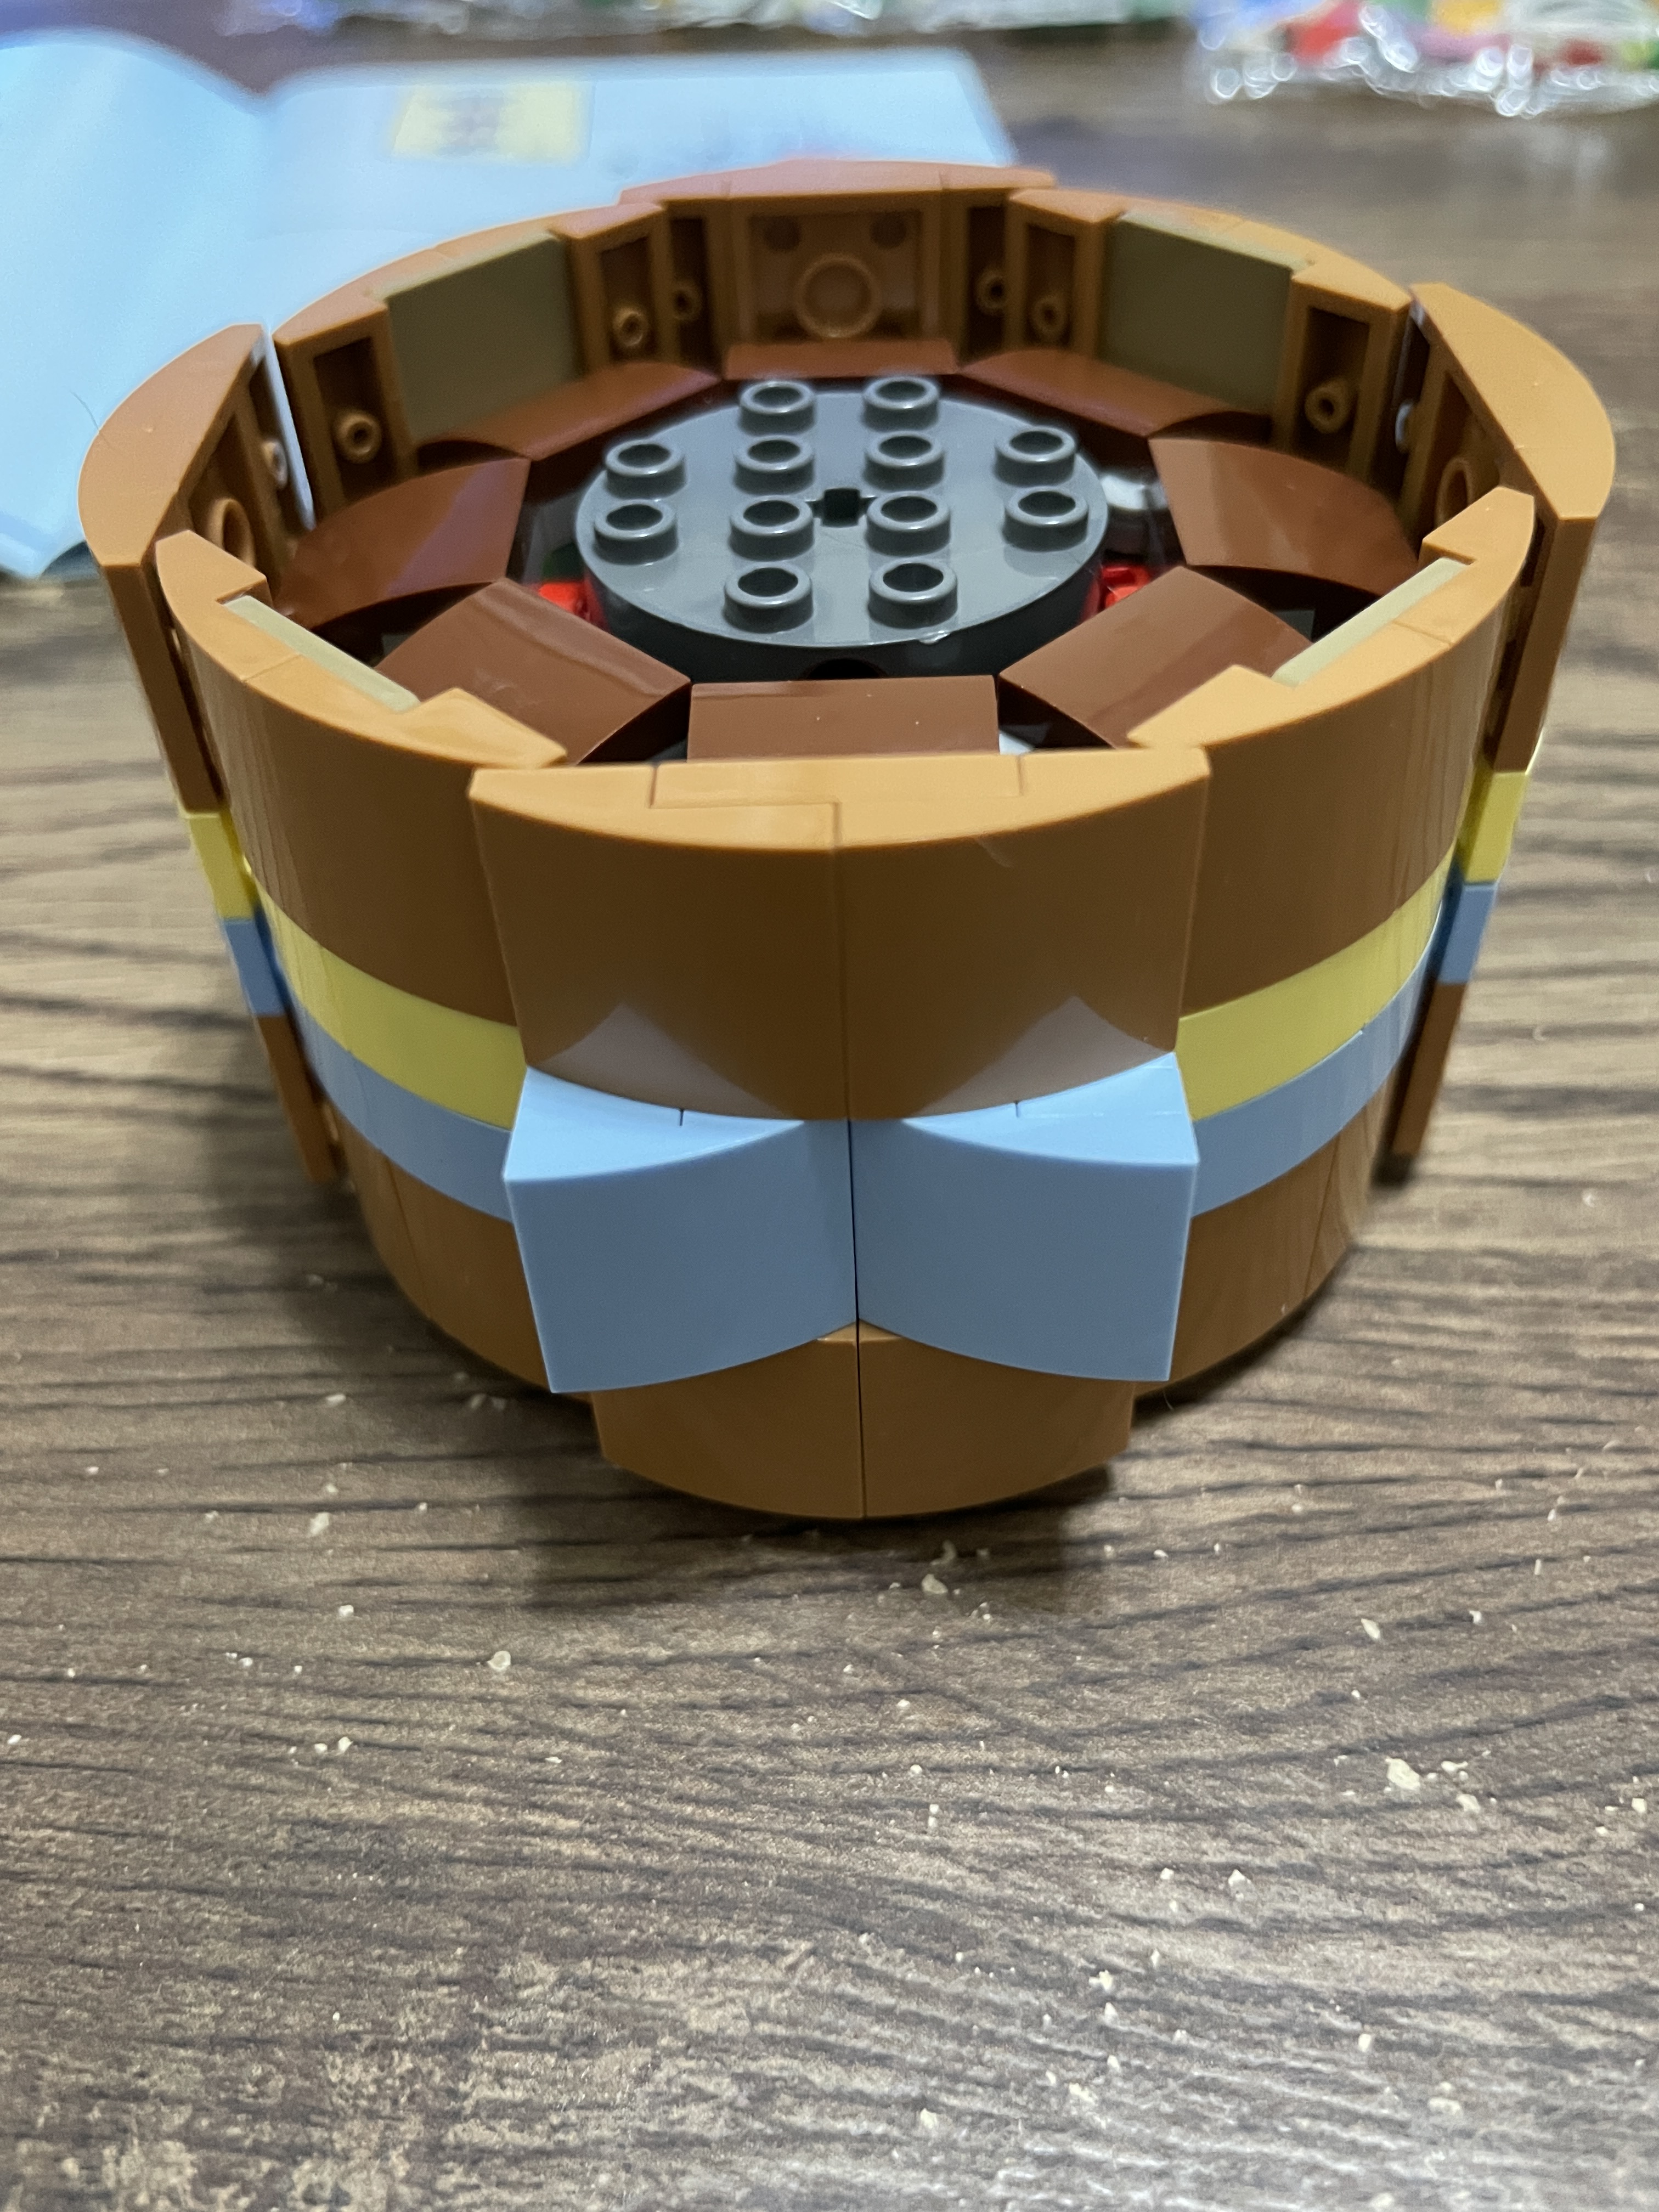
Covering the internal brickwork are eight 2×2 reddish-brown slopes. A final layer of 2×2 brown slopes covers the SNOT plates above the ribbon. The final SNOT plate is covered with a slightly different design, so our ribbon has a bow. To create height, the 2×2 light blue slopes sit on two stacked 1×2 plates.

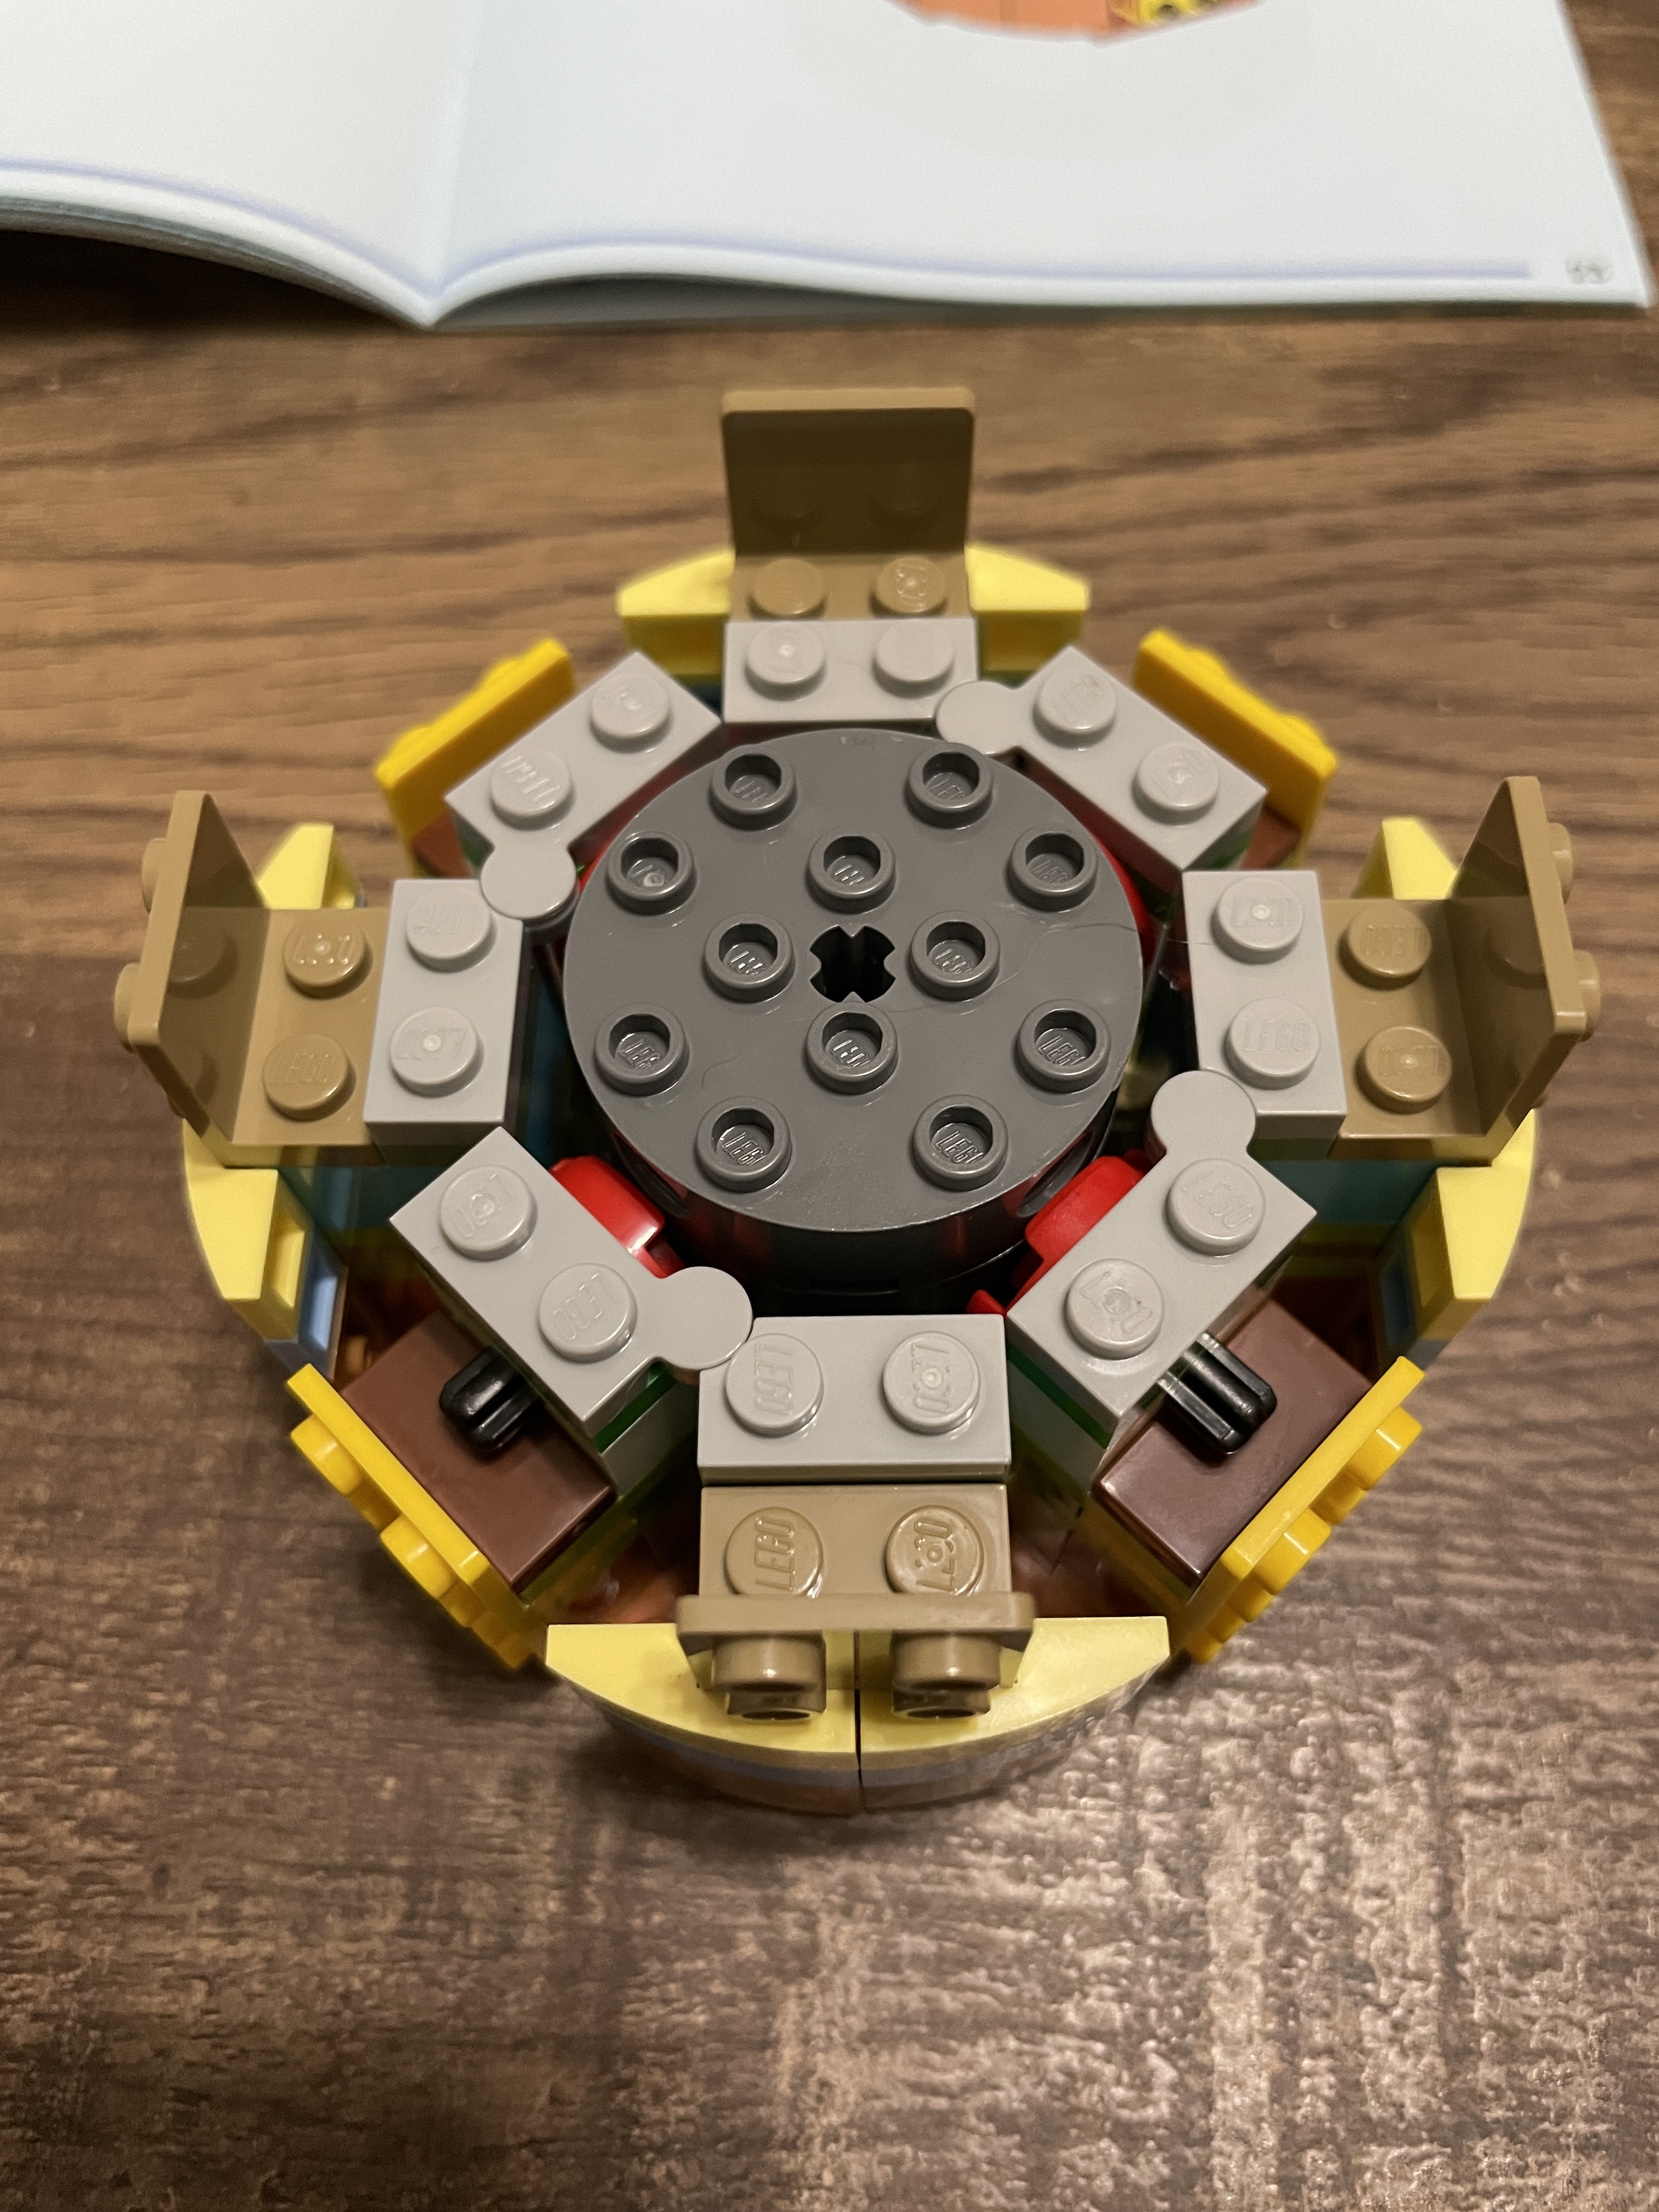
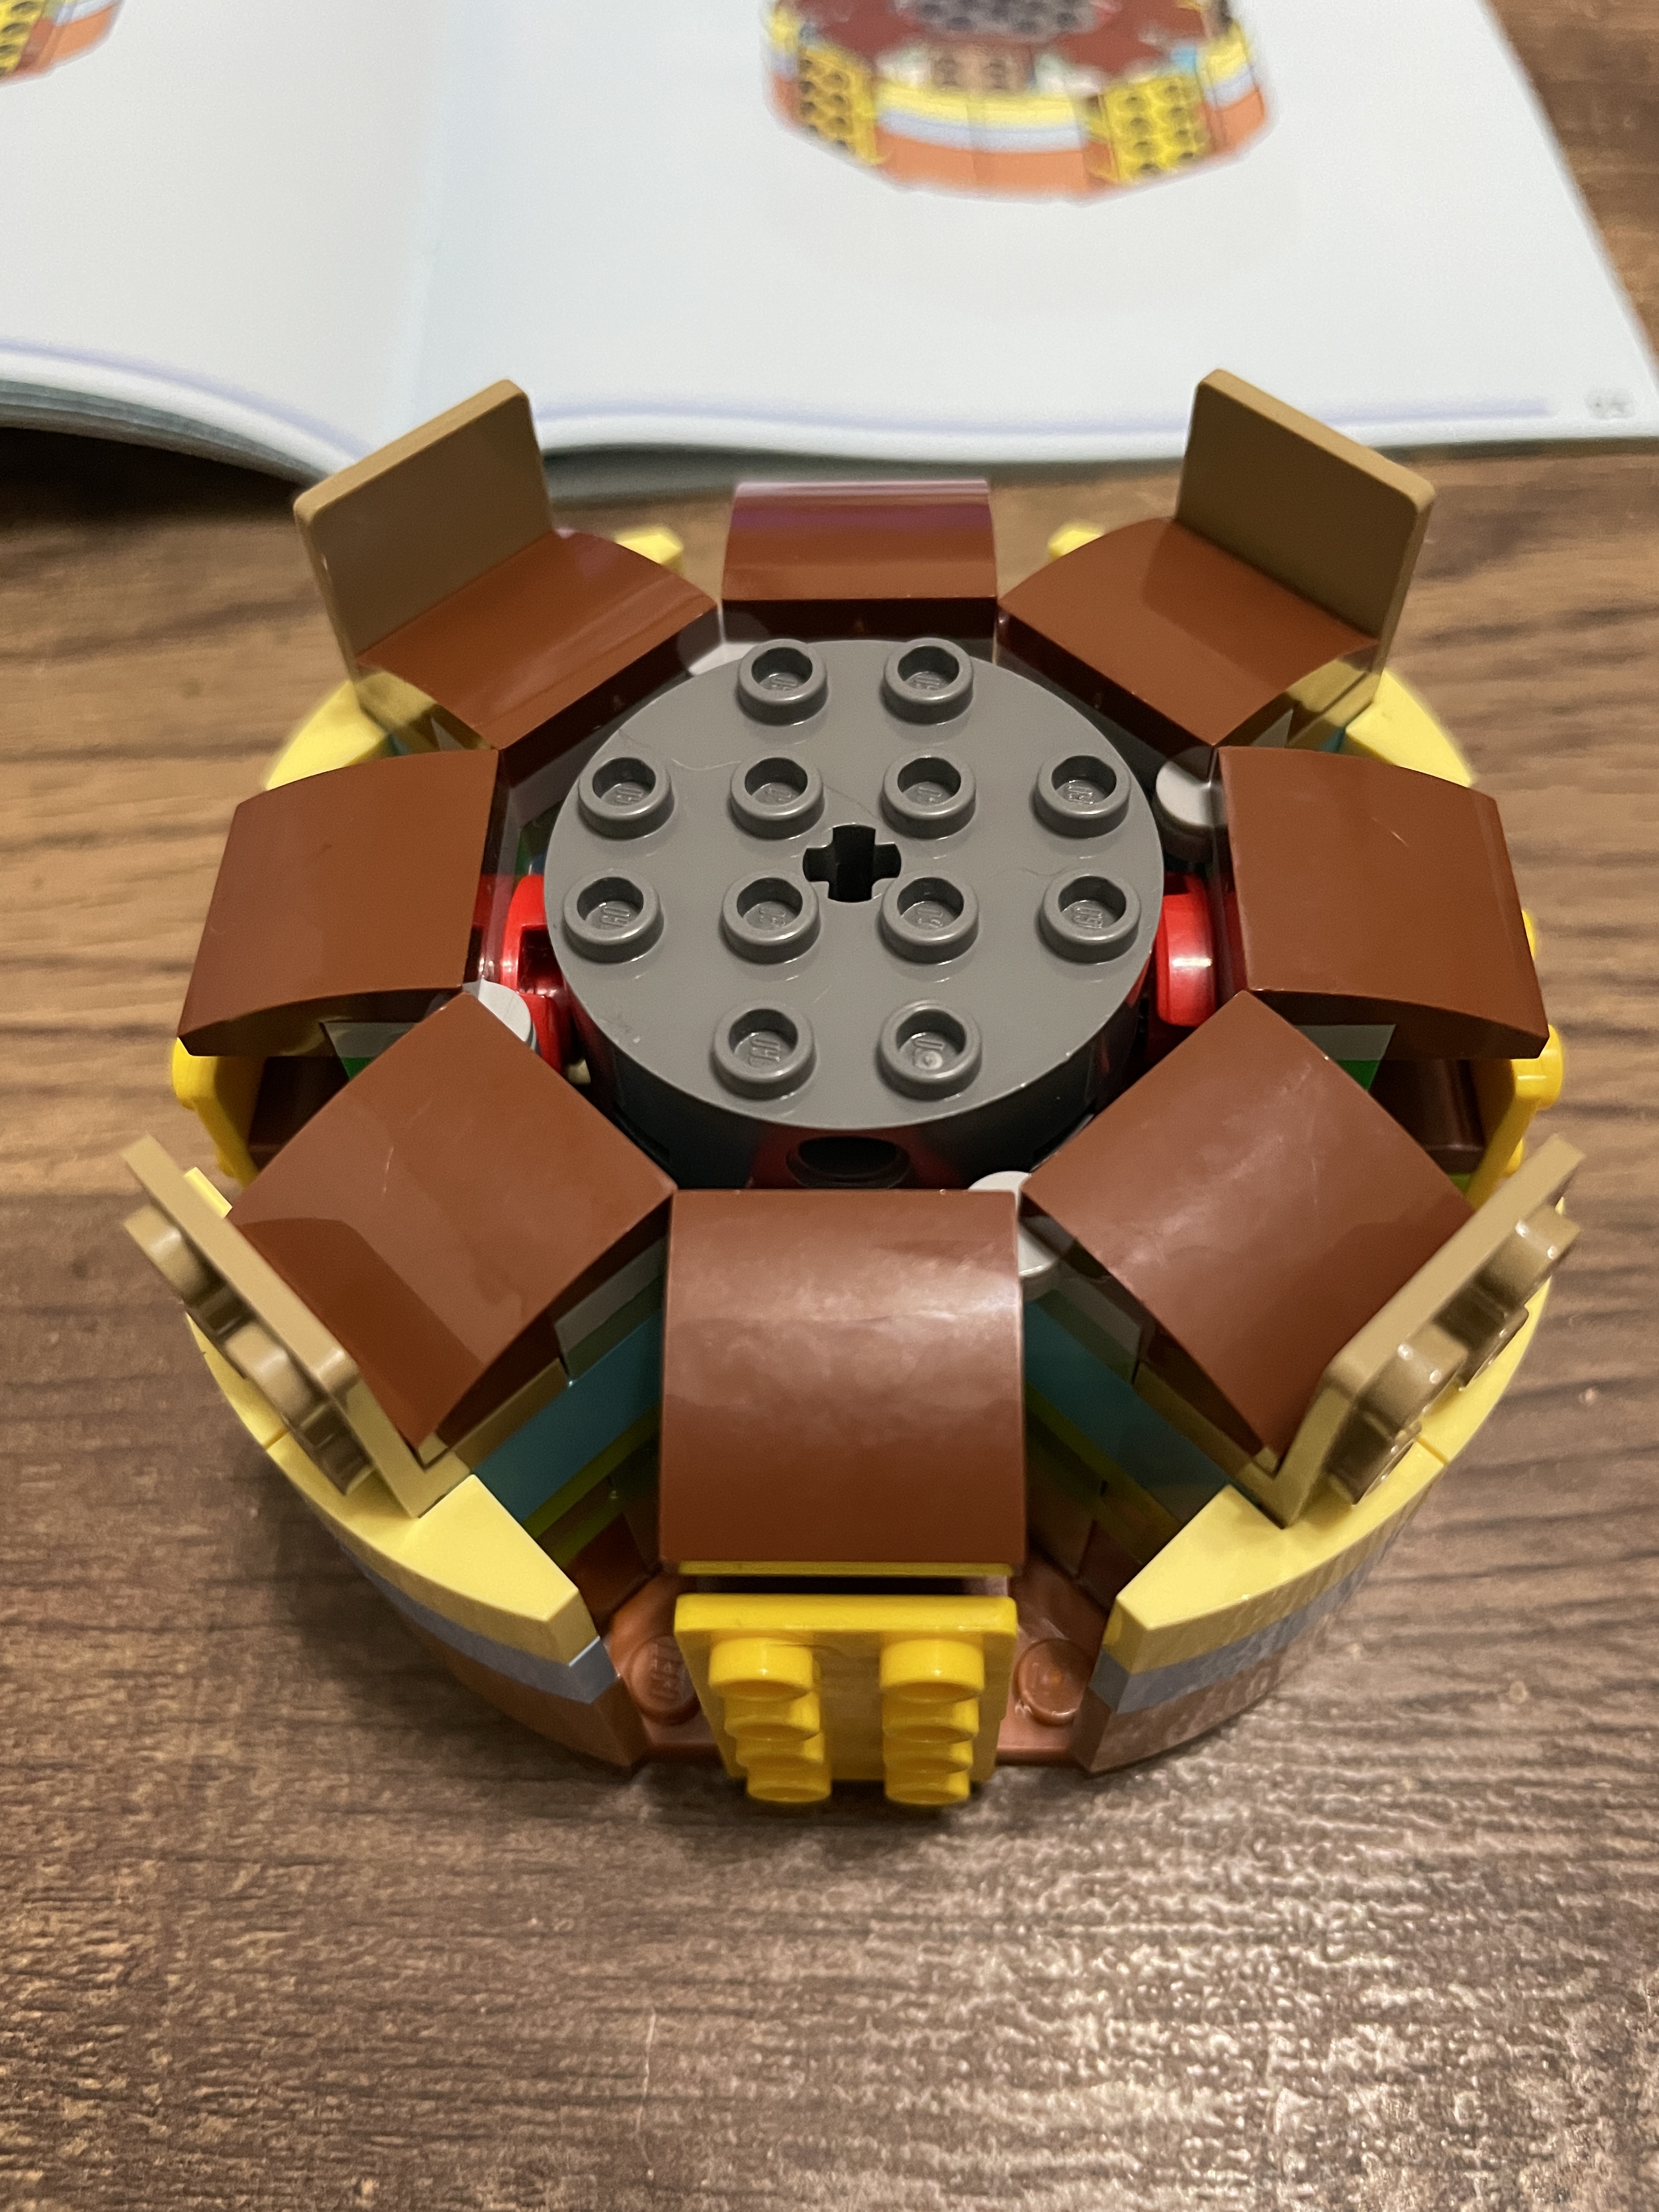
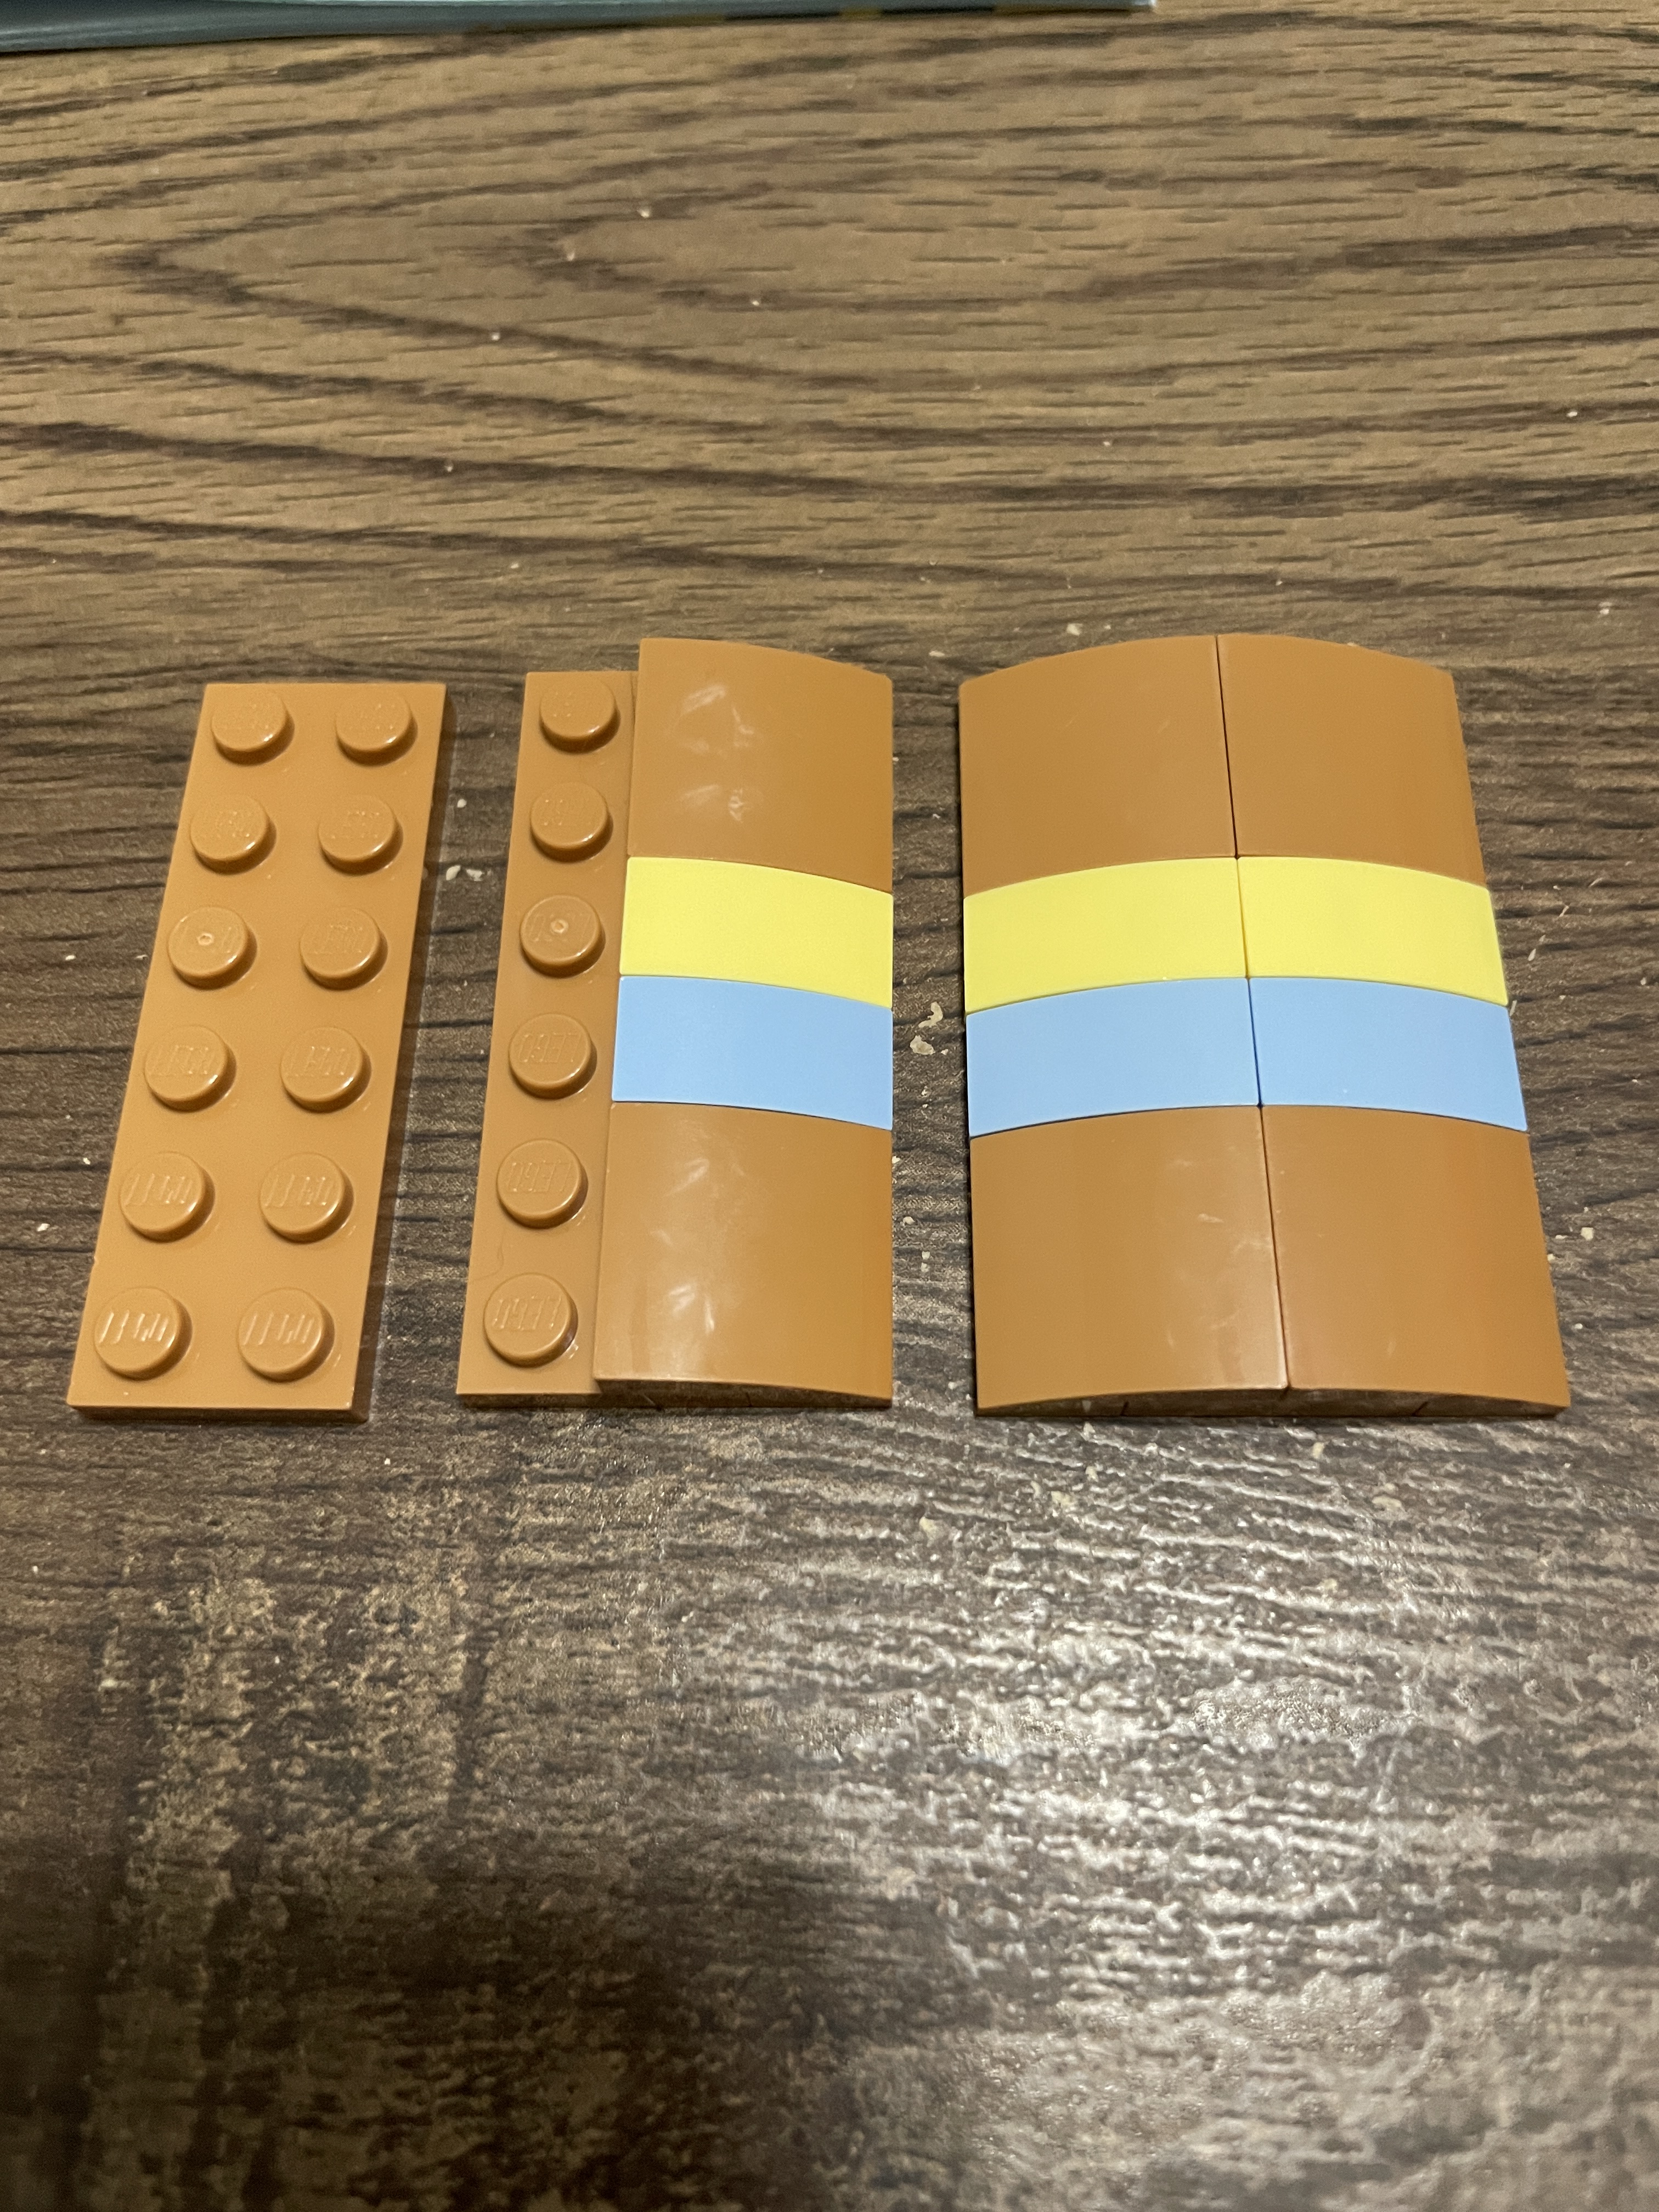
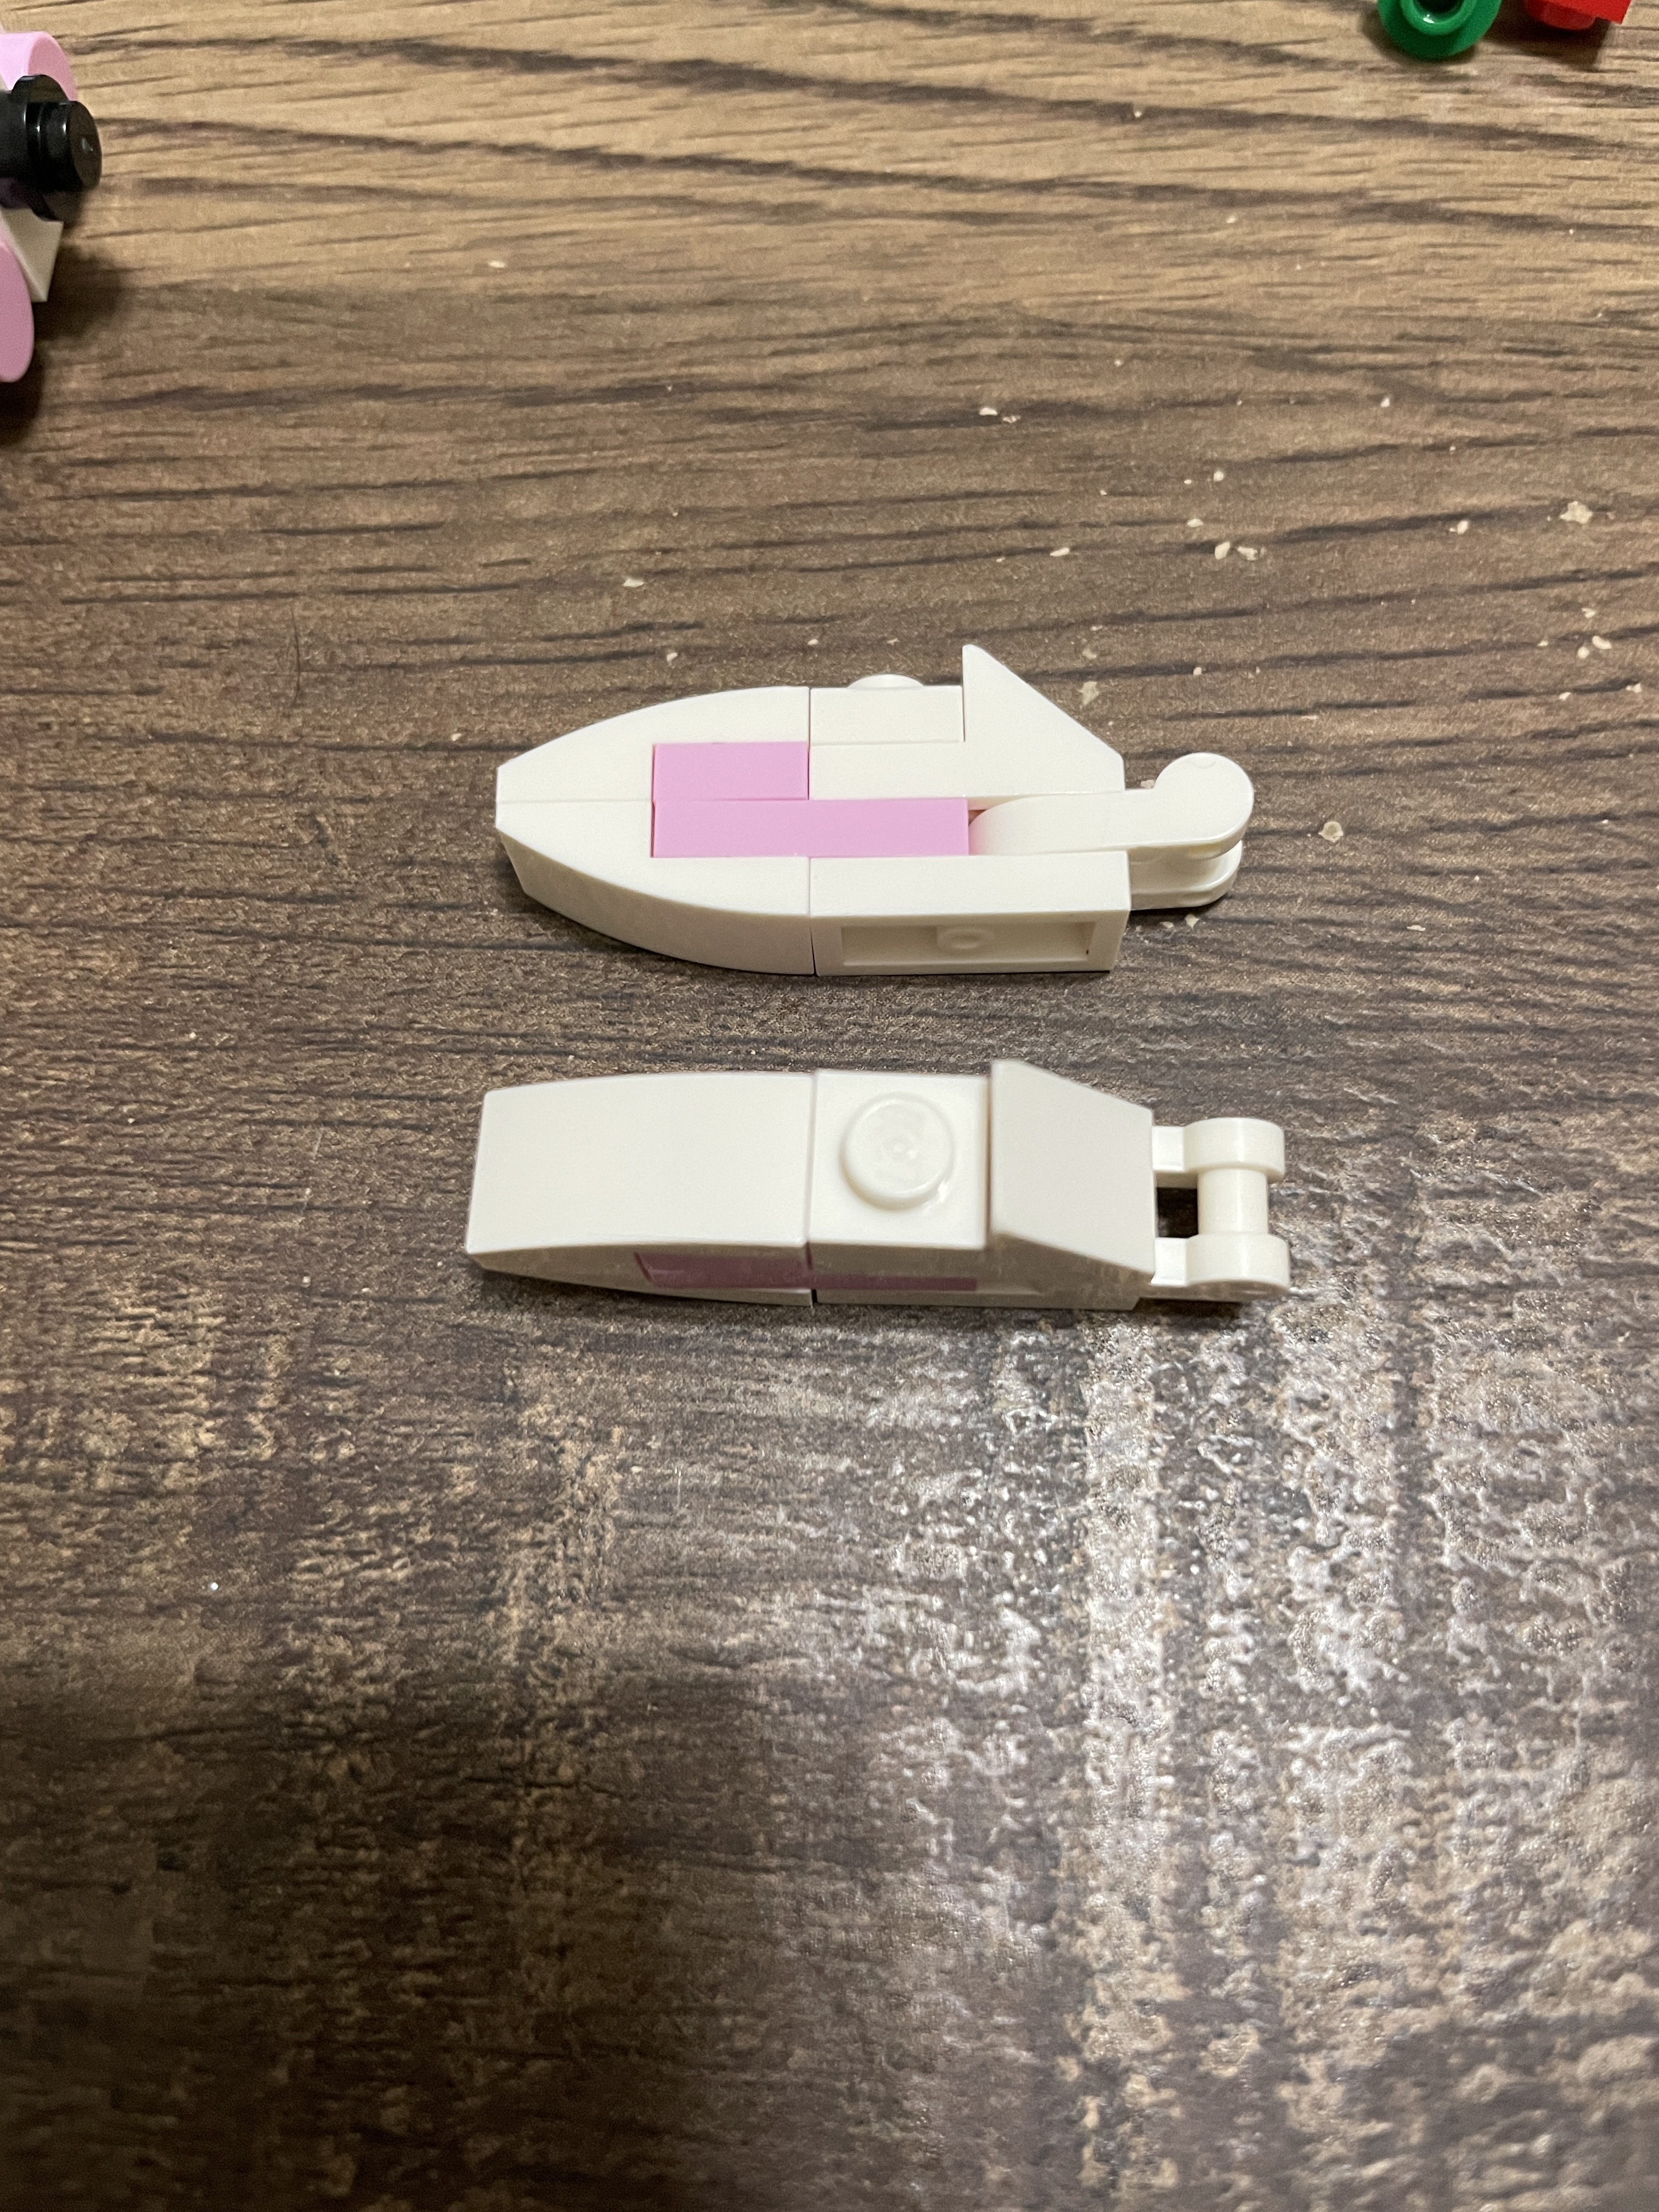
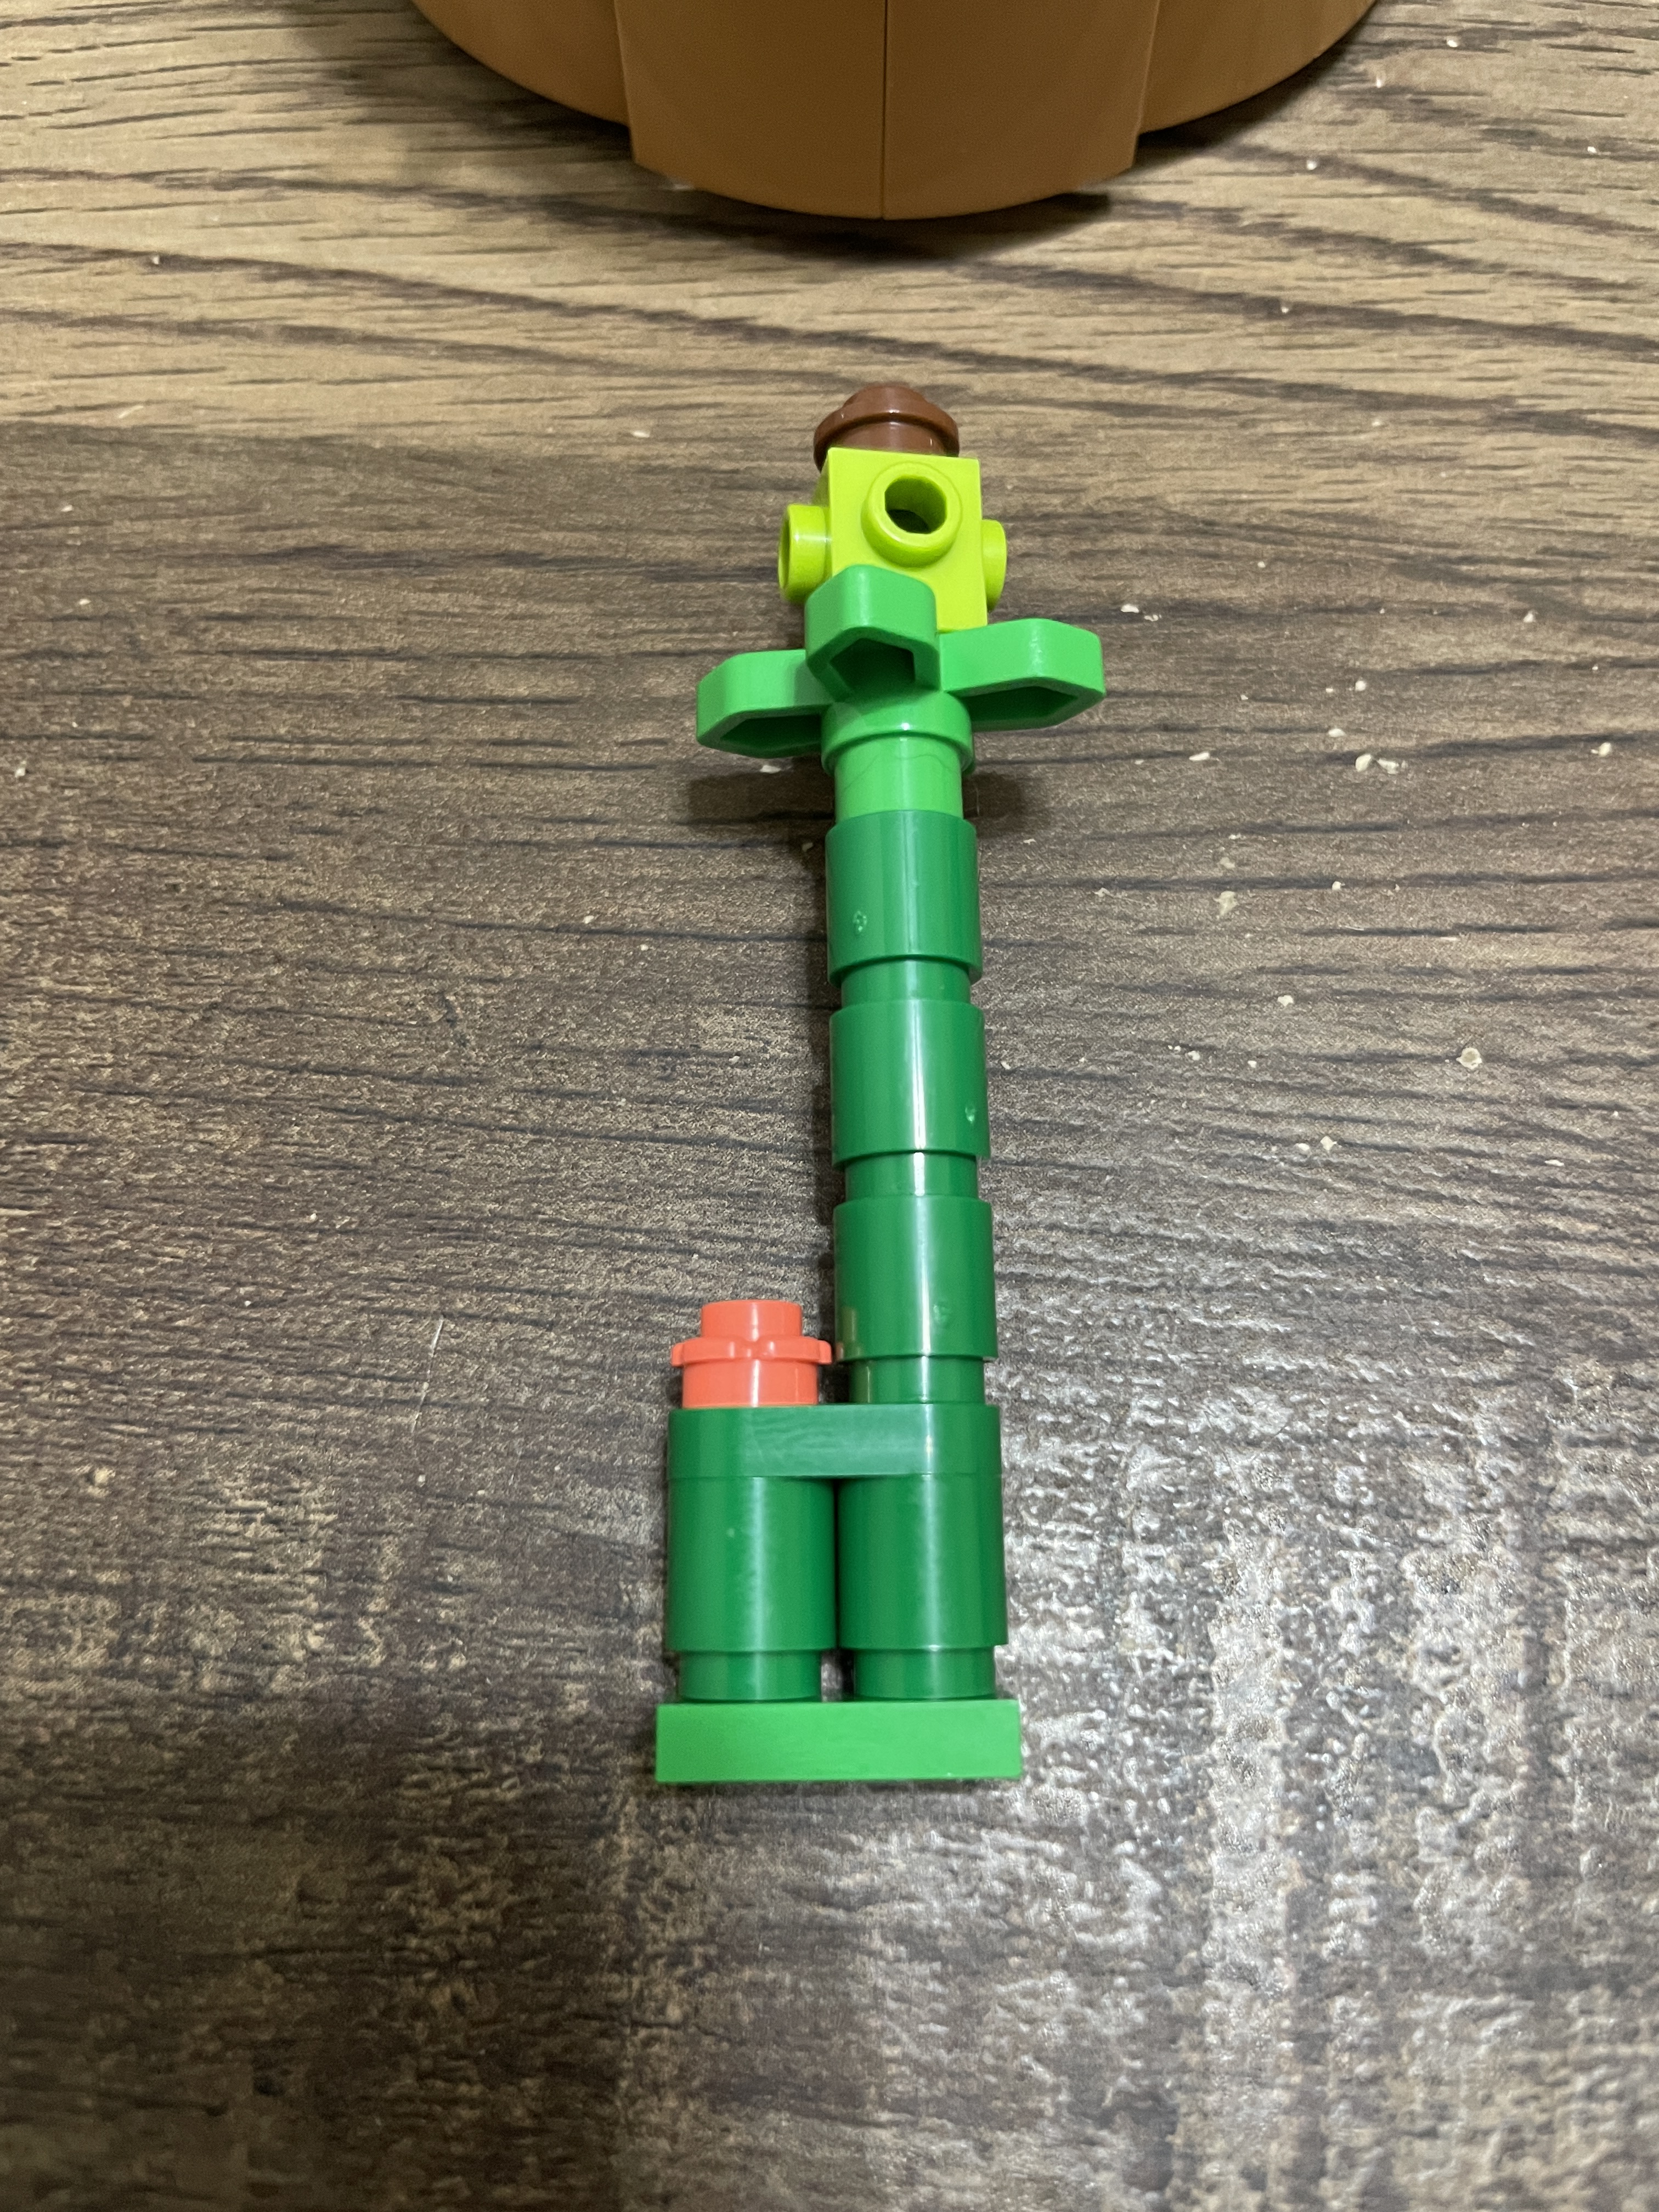
Three exposed yellow SNOT plates are covered with identical builds of 2×6 brown plates covered in slope elements. The picture below shows how those panels came together.
The final SNOT plate is covered with a slightly different design, so our ribbon has a bow. To create height, the 2×2 light blue slopes sit on two stacked 1×2 plates.

The pieces of stage two are a glorious mix of colors – white for the rabbit with greens, reds, and yellows for the flower bed. Building the rabbit is first up for stage two.
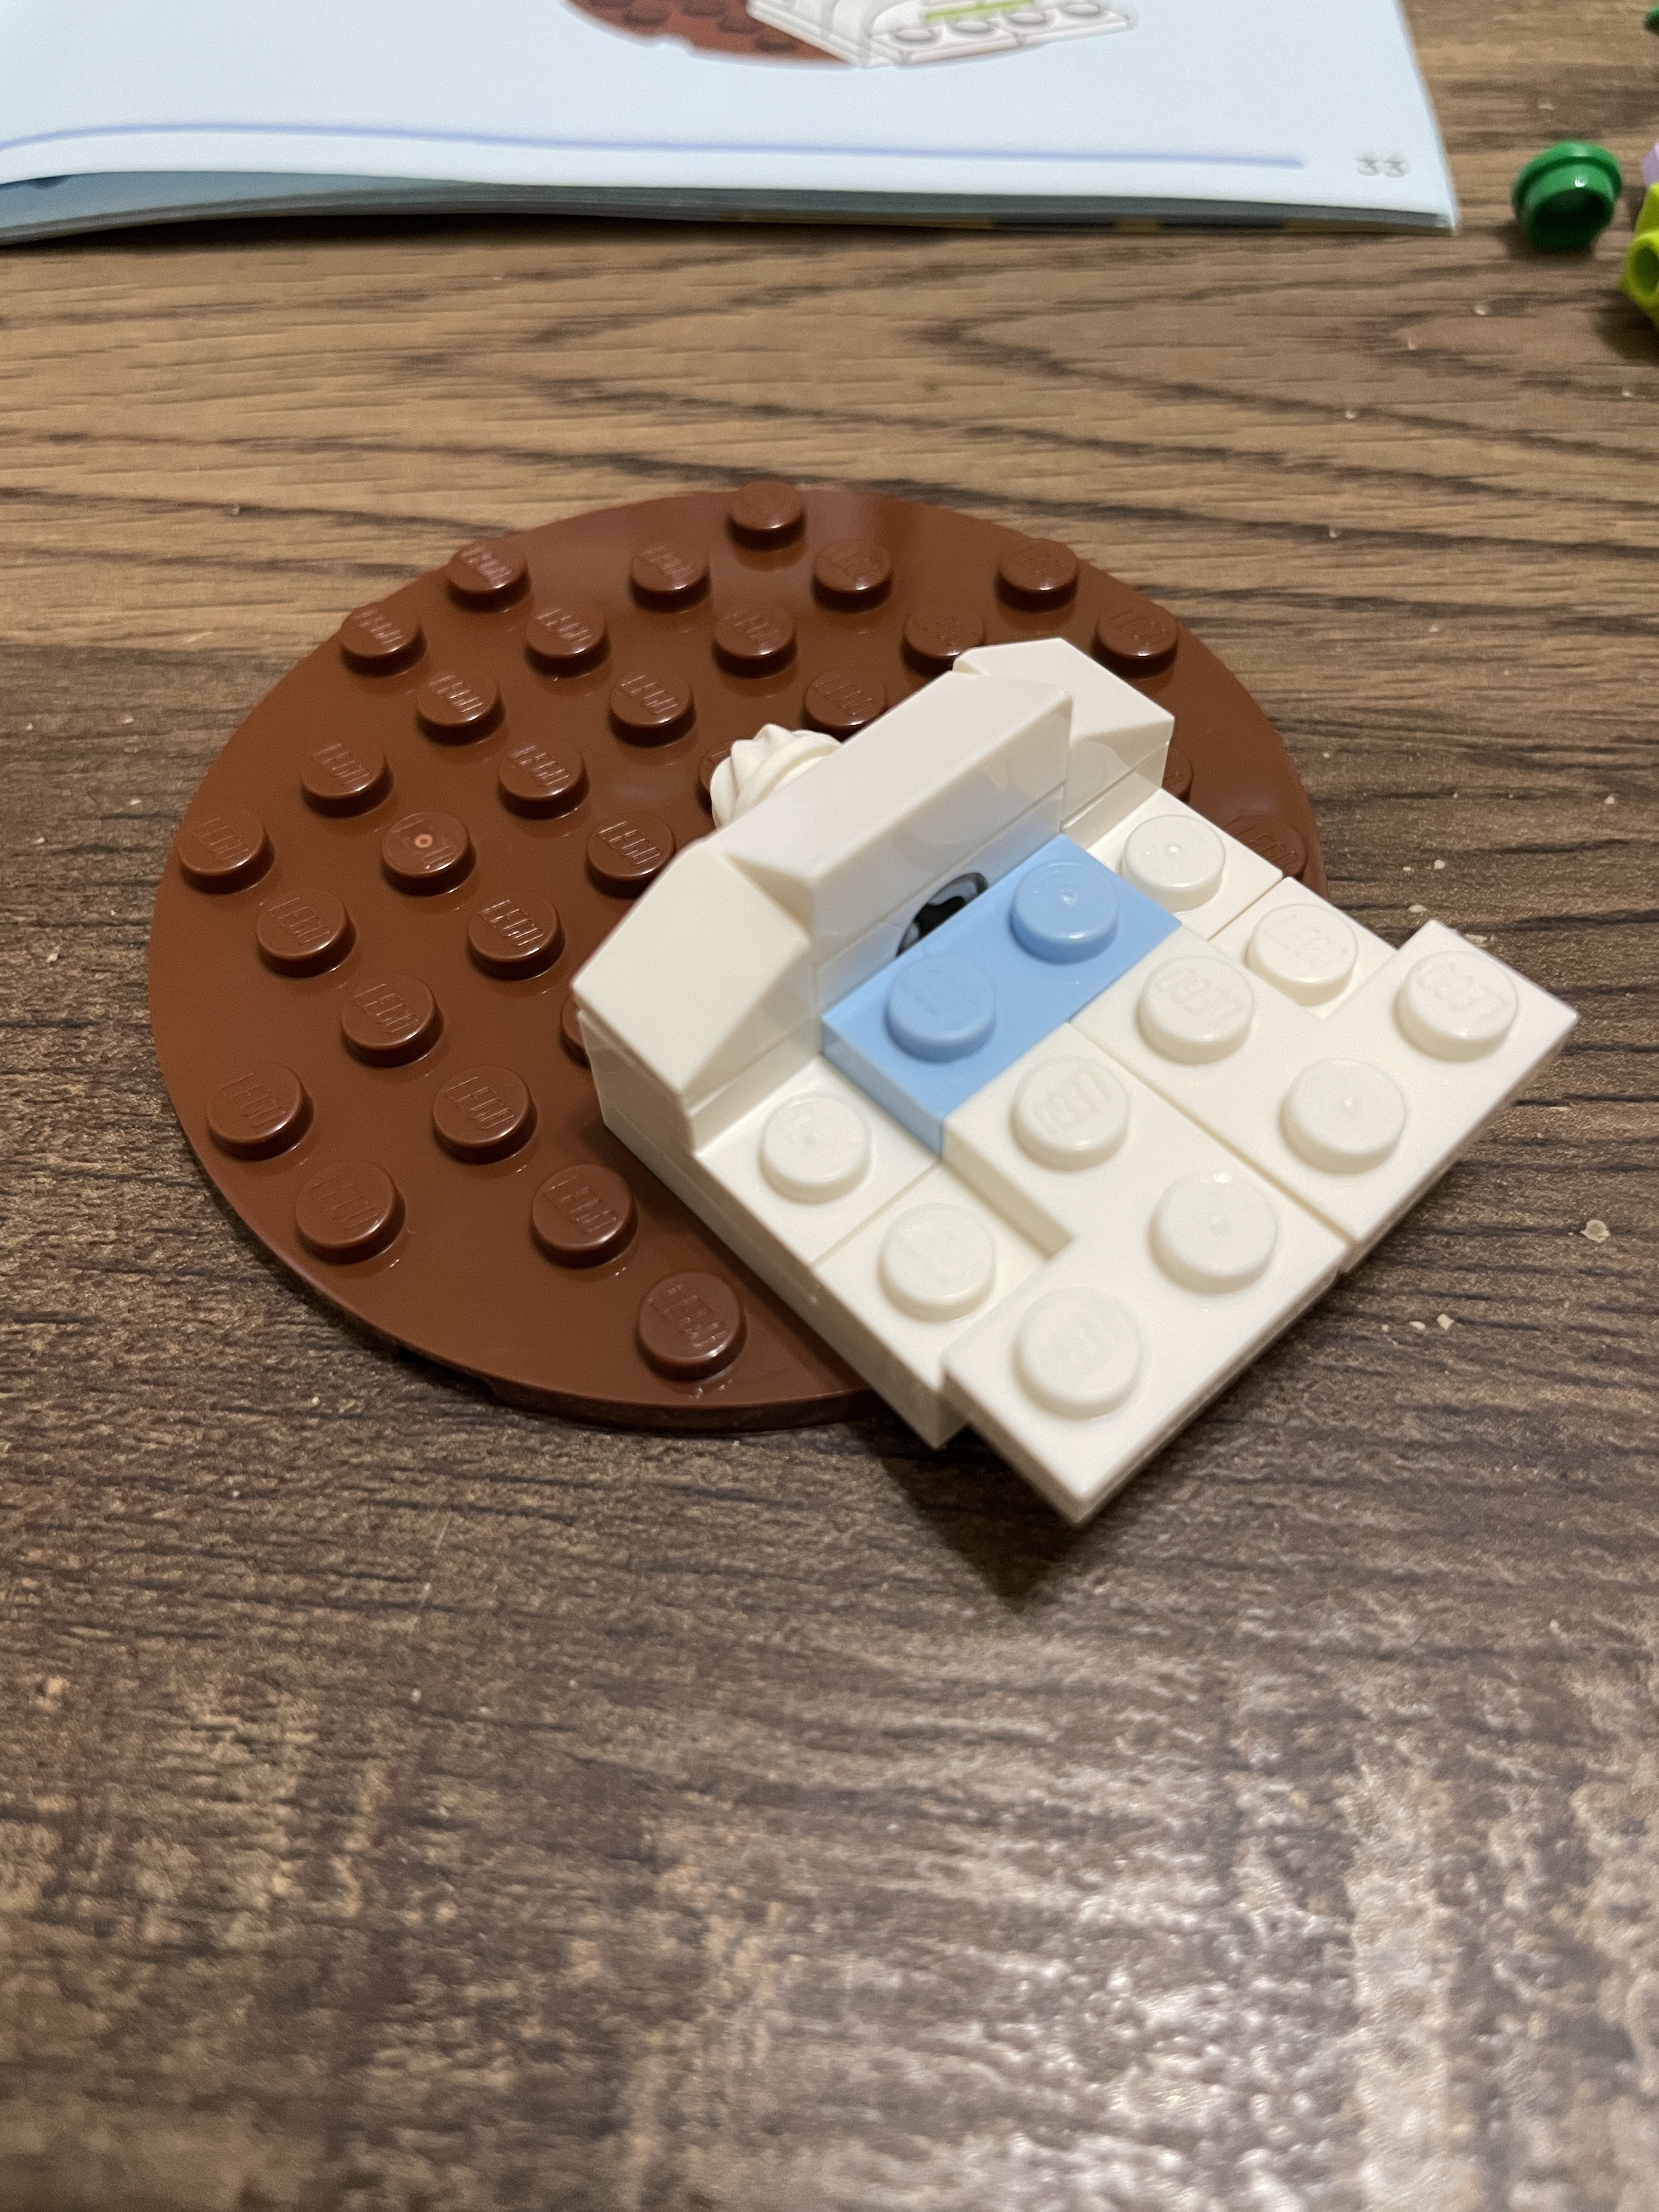
On an 8×8 reddish-brown circular plate, two 2×3 white plates are placed as the rabbit’s foundation. Stacked on top are more white plates, a modified 1×2 white brick with a hole, and a 1×2 wedge. A technic pin is placed into the hole, and a decorative white stud is connected. This is the bunny’s adorable bobtail, and I am in awe of this part’s usage. Yes, it’s simple, but I associate that element with either ice cream or building decorations – not as a little tail.
A couple of cheese wedges sit next to either side of the larger wedge, and more plates are stacked. To provide the bunny with some curves, 1×2 slopes are attached to the sides. A series of cheese wedges sit on modified 1×2 SNOT brackets to which 1×2 half-circular tiles are placed. These are the paws of the rabbit on the pot’s edge. In the center, a rotational bracket is used on which the headpiece will reside.


The rabbit’s head starts as a cube, using a 3×3 white plate as the foundation. On one side are three 1×2 SNOT bricks and a central pillar of studs and cylinder bricks. Three more 1×2 SNOT bricks are separated by two corner builds of white and pink stacked 1×1 plate and a 1×1 SNOT brick. All the SNOT bricks are the foundation for the decorative elements to complete the rabbit’s face.
Printed eyes sit above the side profile of the pink plates, and 1×2 wedges are stacked on the sides and the rabbit’s back. On the top is the controversial 1×3 modified plate. Unfortunately, they do not make this piece in white, and the designers opted for it for structural strength. It’s contentious as it doesn’t fit the white rabbit design and stands out.
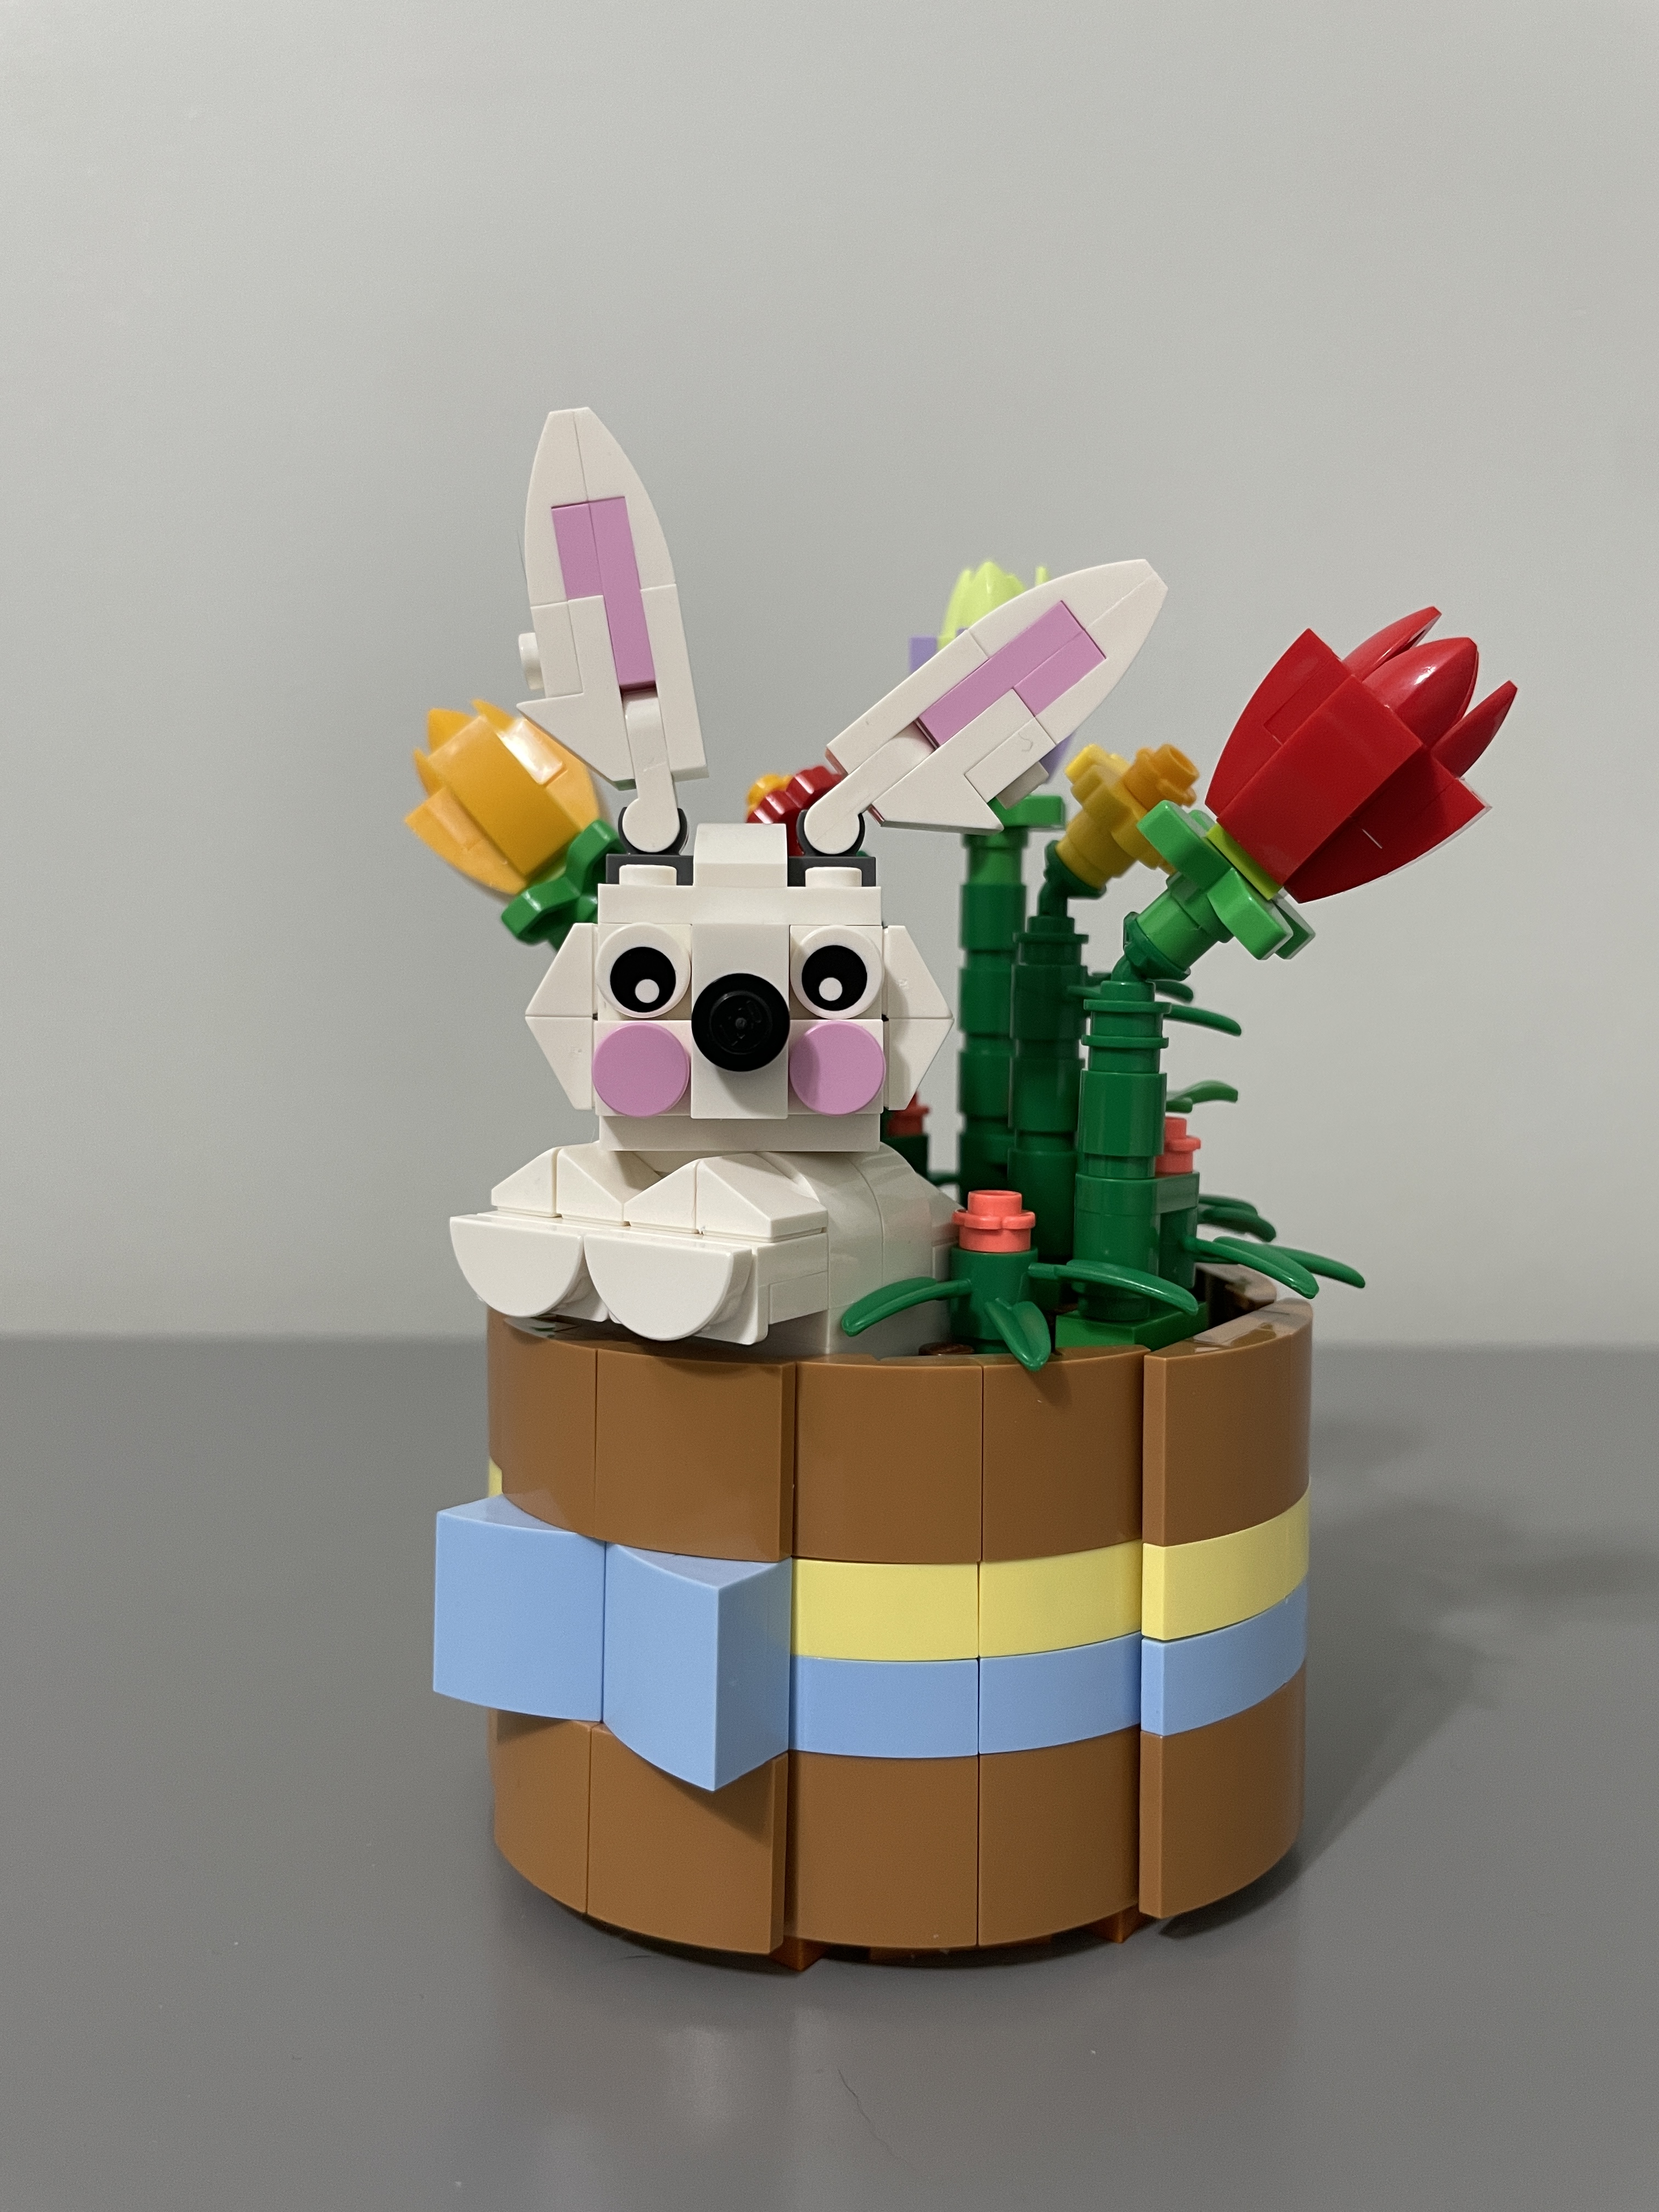
The face is finished with a couple of 1x circular pink tiles for some rosy cheeks and a jumper with a black stud for a nose.


Every good rabbit needs some ears, and the build for them is simple stacking of plates, slopes, and a modified plate with a clip. They clip into place and can articulate left to right to position the ears however you like. Personally, I go for the crooked look. The head is attached to the rotational plate, and then the entire build fixes to the grey circular brick exposed in the pot.

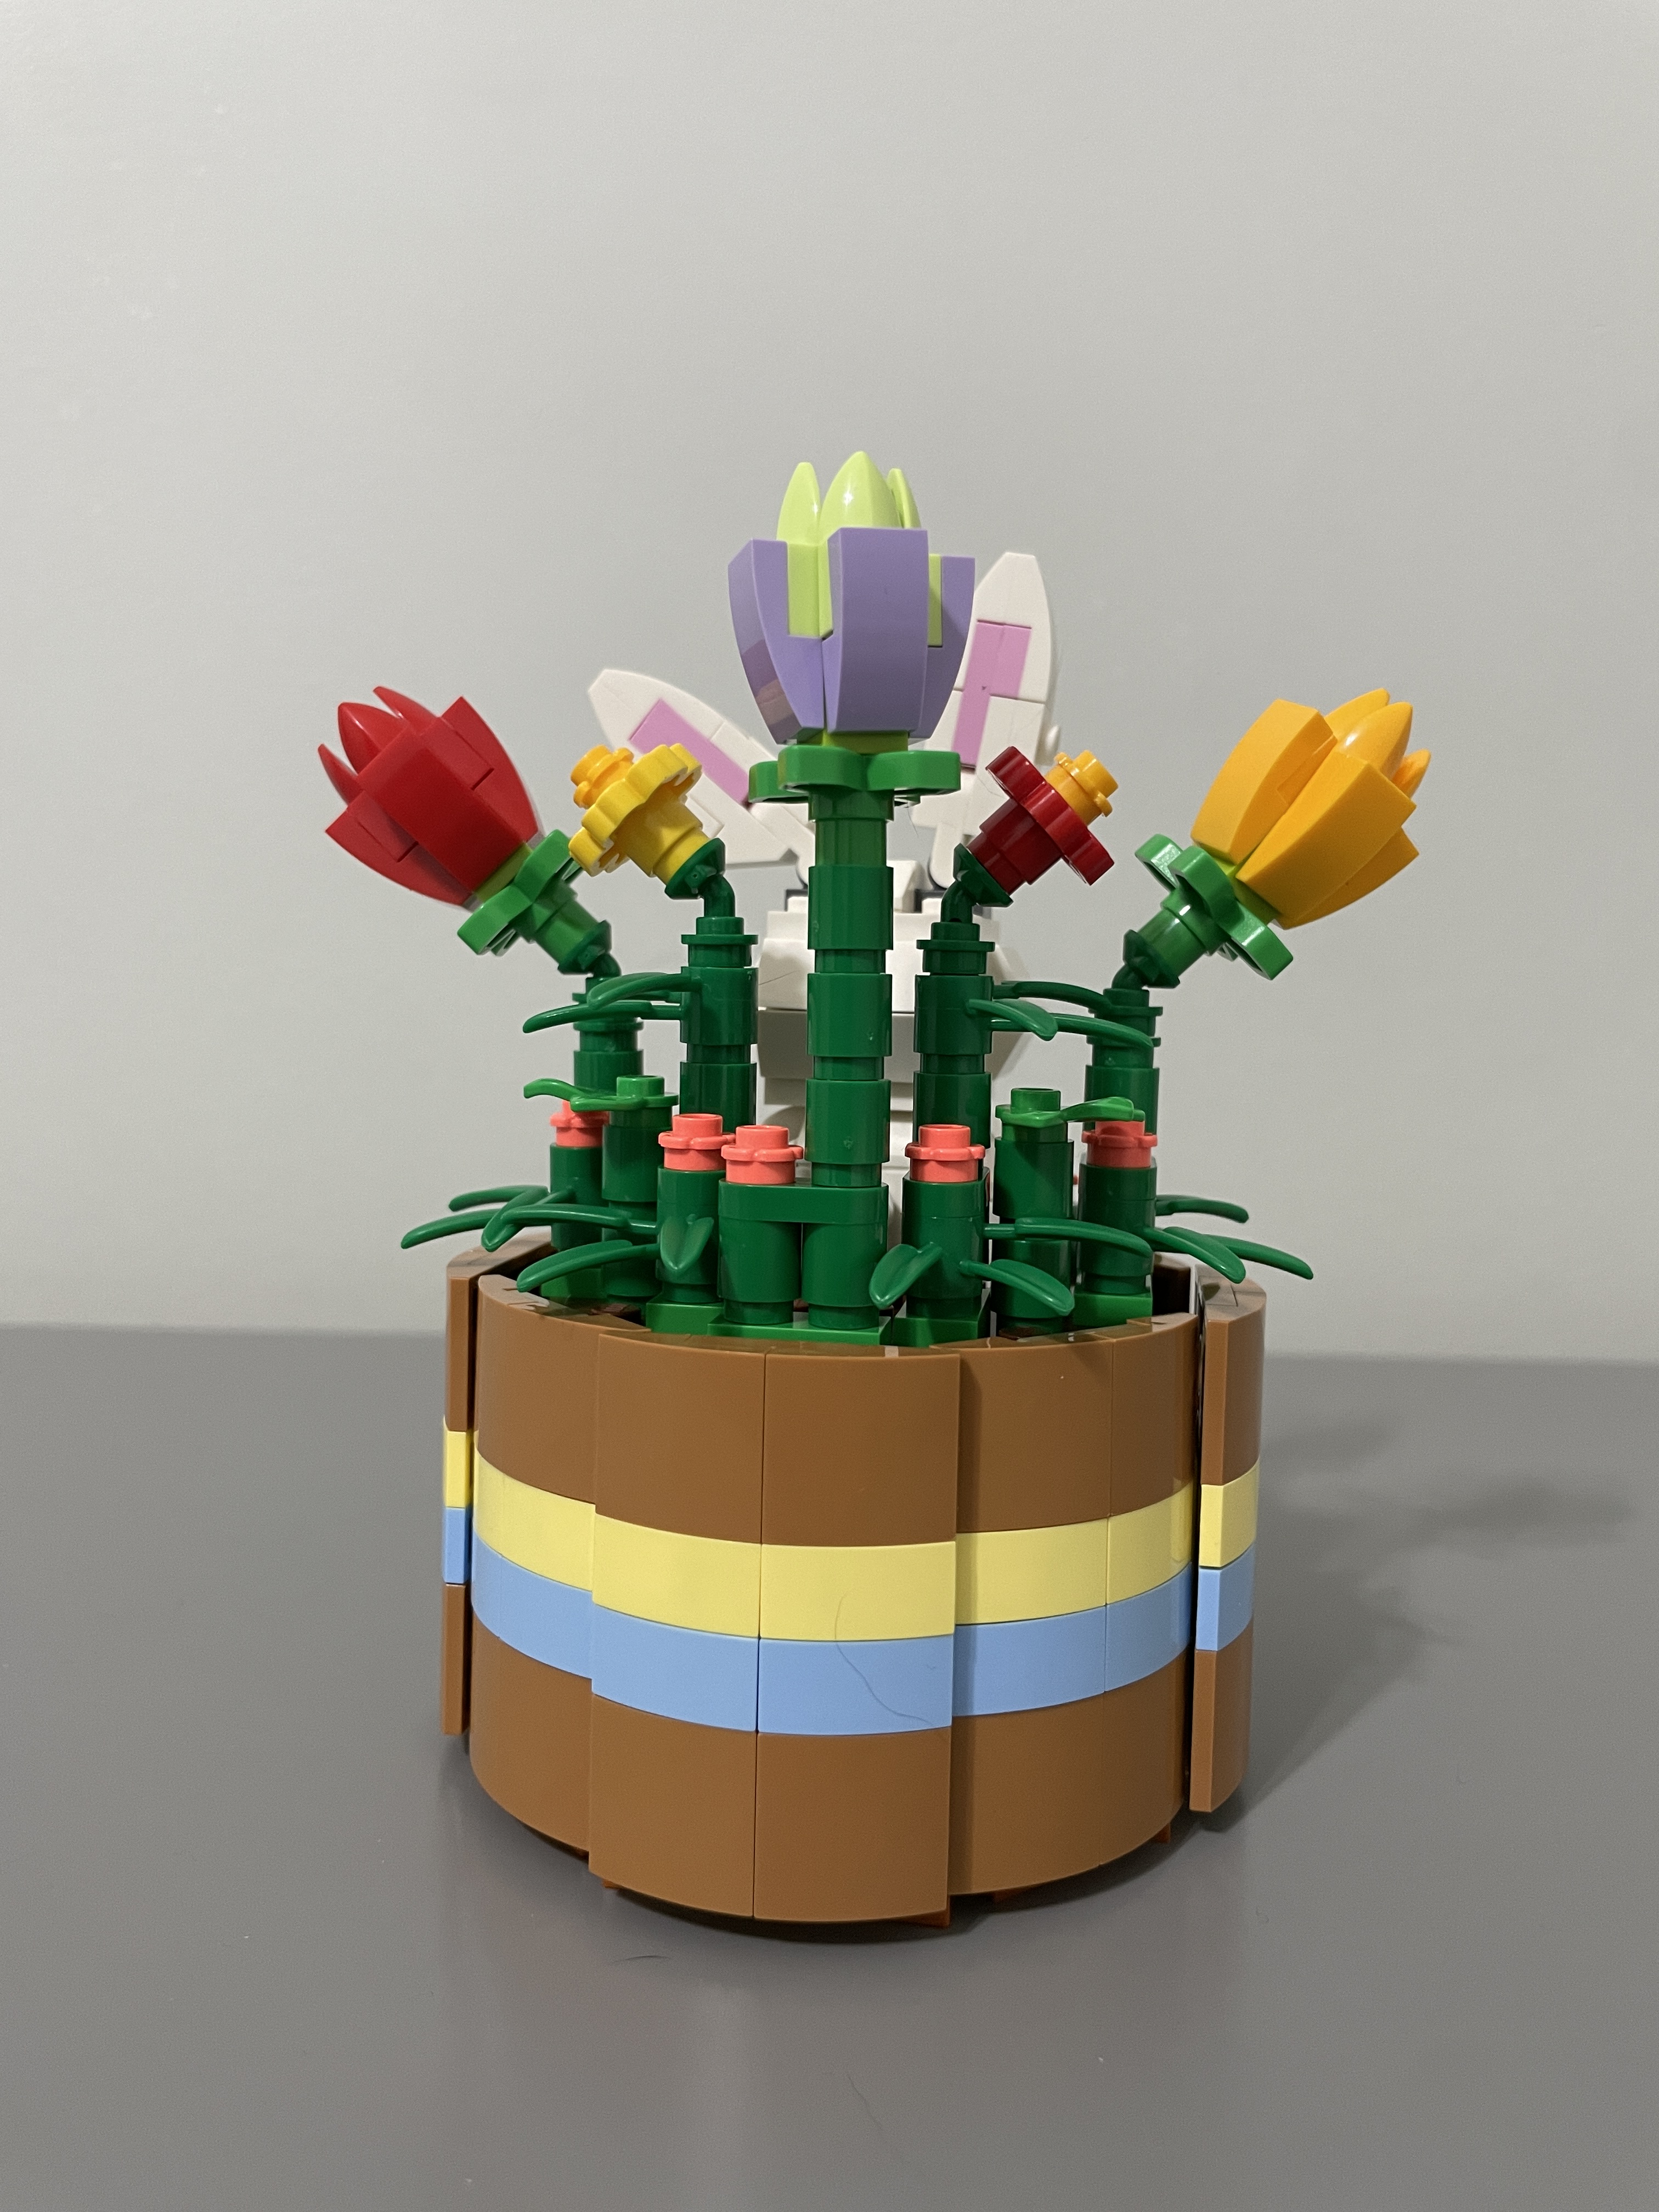
Placing flower elements around the rabbit completes the build, and it begins with leaf elements with flower studs on either side of the body. Constructions from cylinder bricks, plates, studs, and connecter elements generate a lovely effect of varying heights and textures. The bright peach flower studs are an inspired pop of color – I wasn’t aware Lego made these pieces in this hue. The same build is made on the other side.


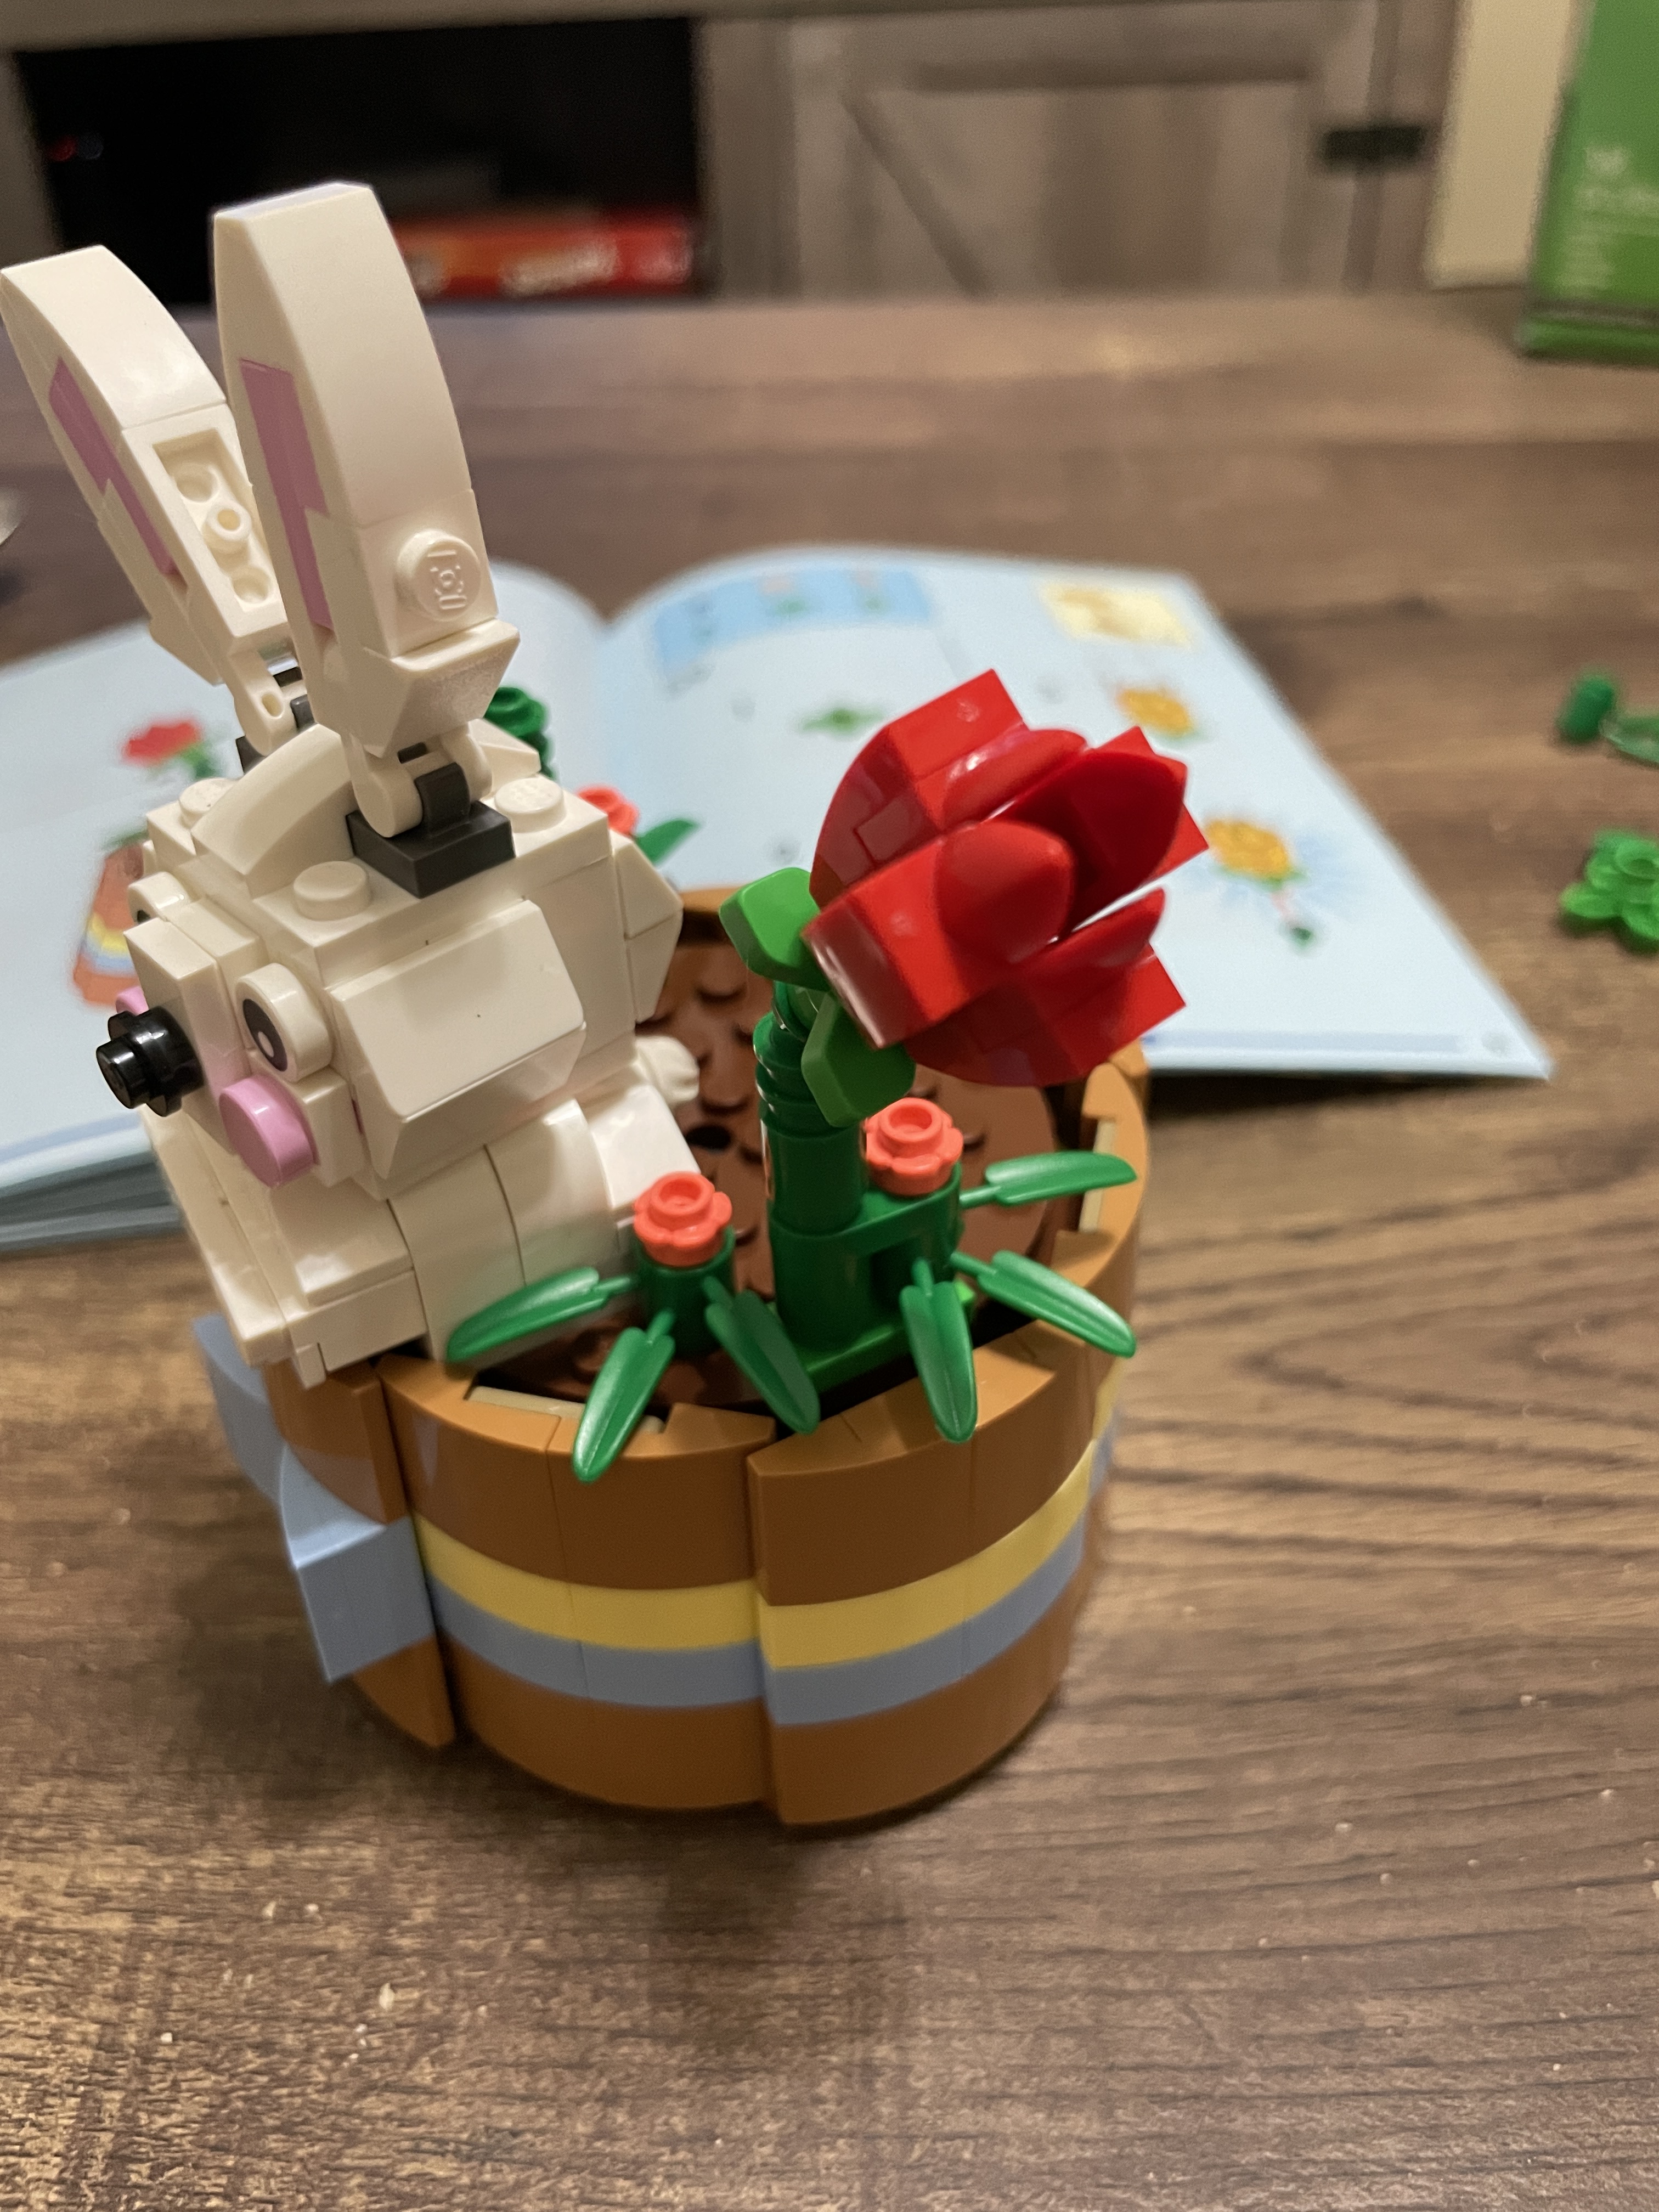
A red tulip is made by connecting a 1×1 green SNOT brick to a large leaf element. A red tooth element and the slopes are connected to each side of the SNOT to make the petal appearance. It’s visually striking and an exceptional use of some common parts. On the opposite side, the same techniques are used with yellow elements.
Another construct of leaf elements, flower studs, and cylinder bricks adds more depth to the flora, and a molded leaf element adds increased variety. Large flower pieces are positioned on these green towers with a flower stud on top.


The last flower is a lilac and light green tulip on a tall stem. The same techniques are used as the previous flower builds, with extra cylinders for height.

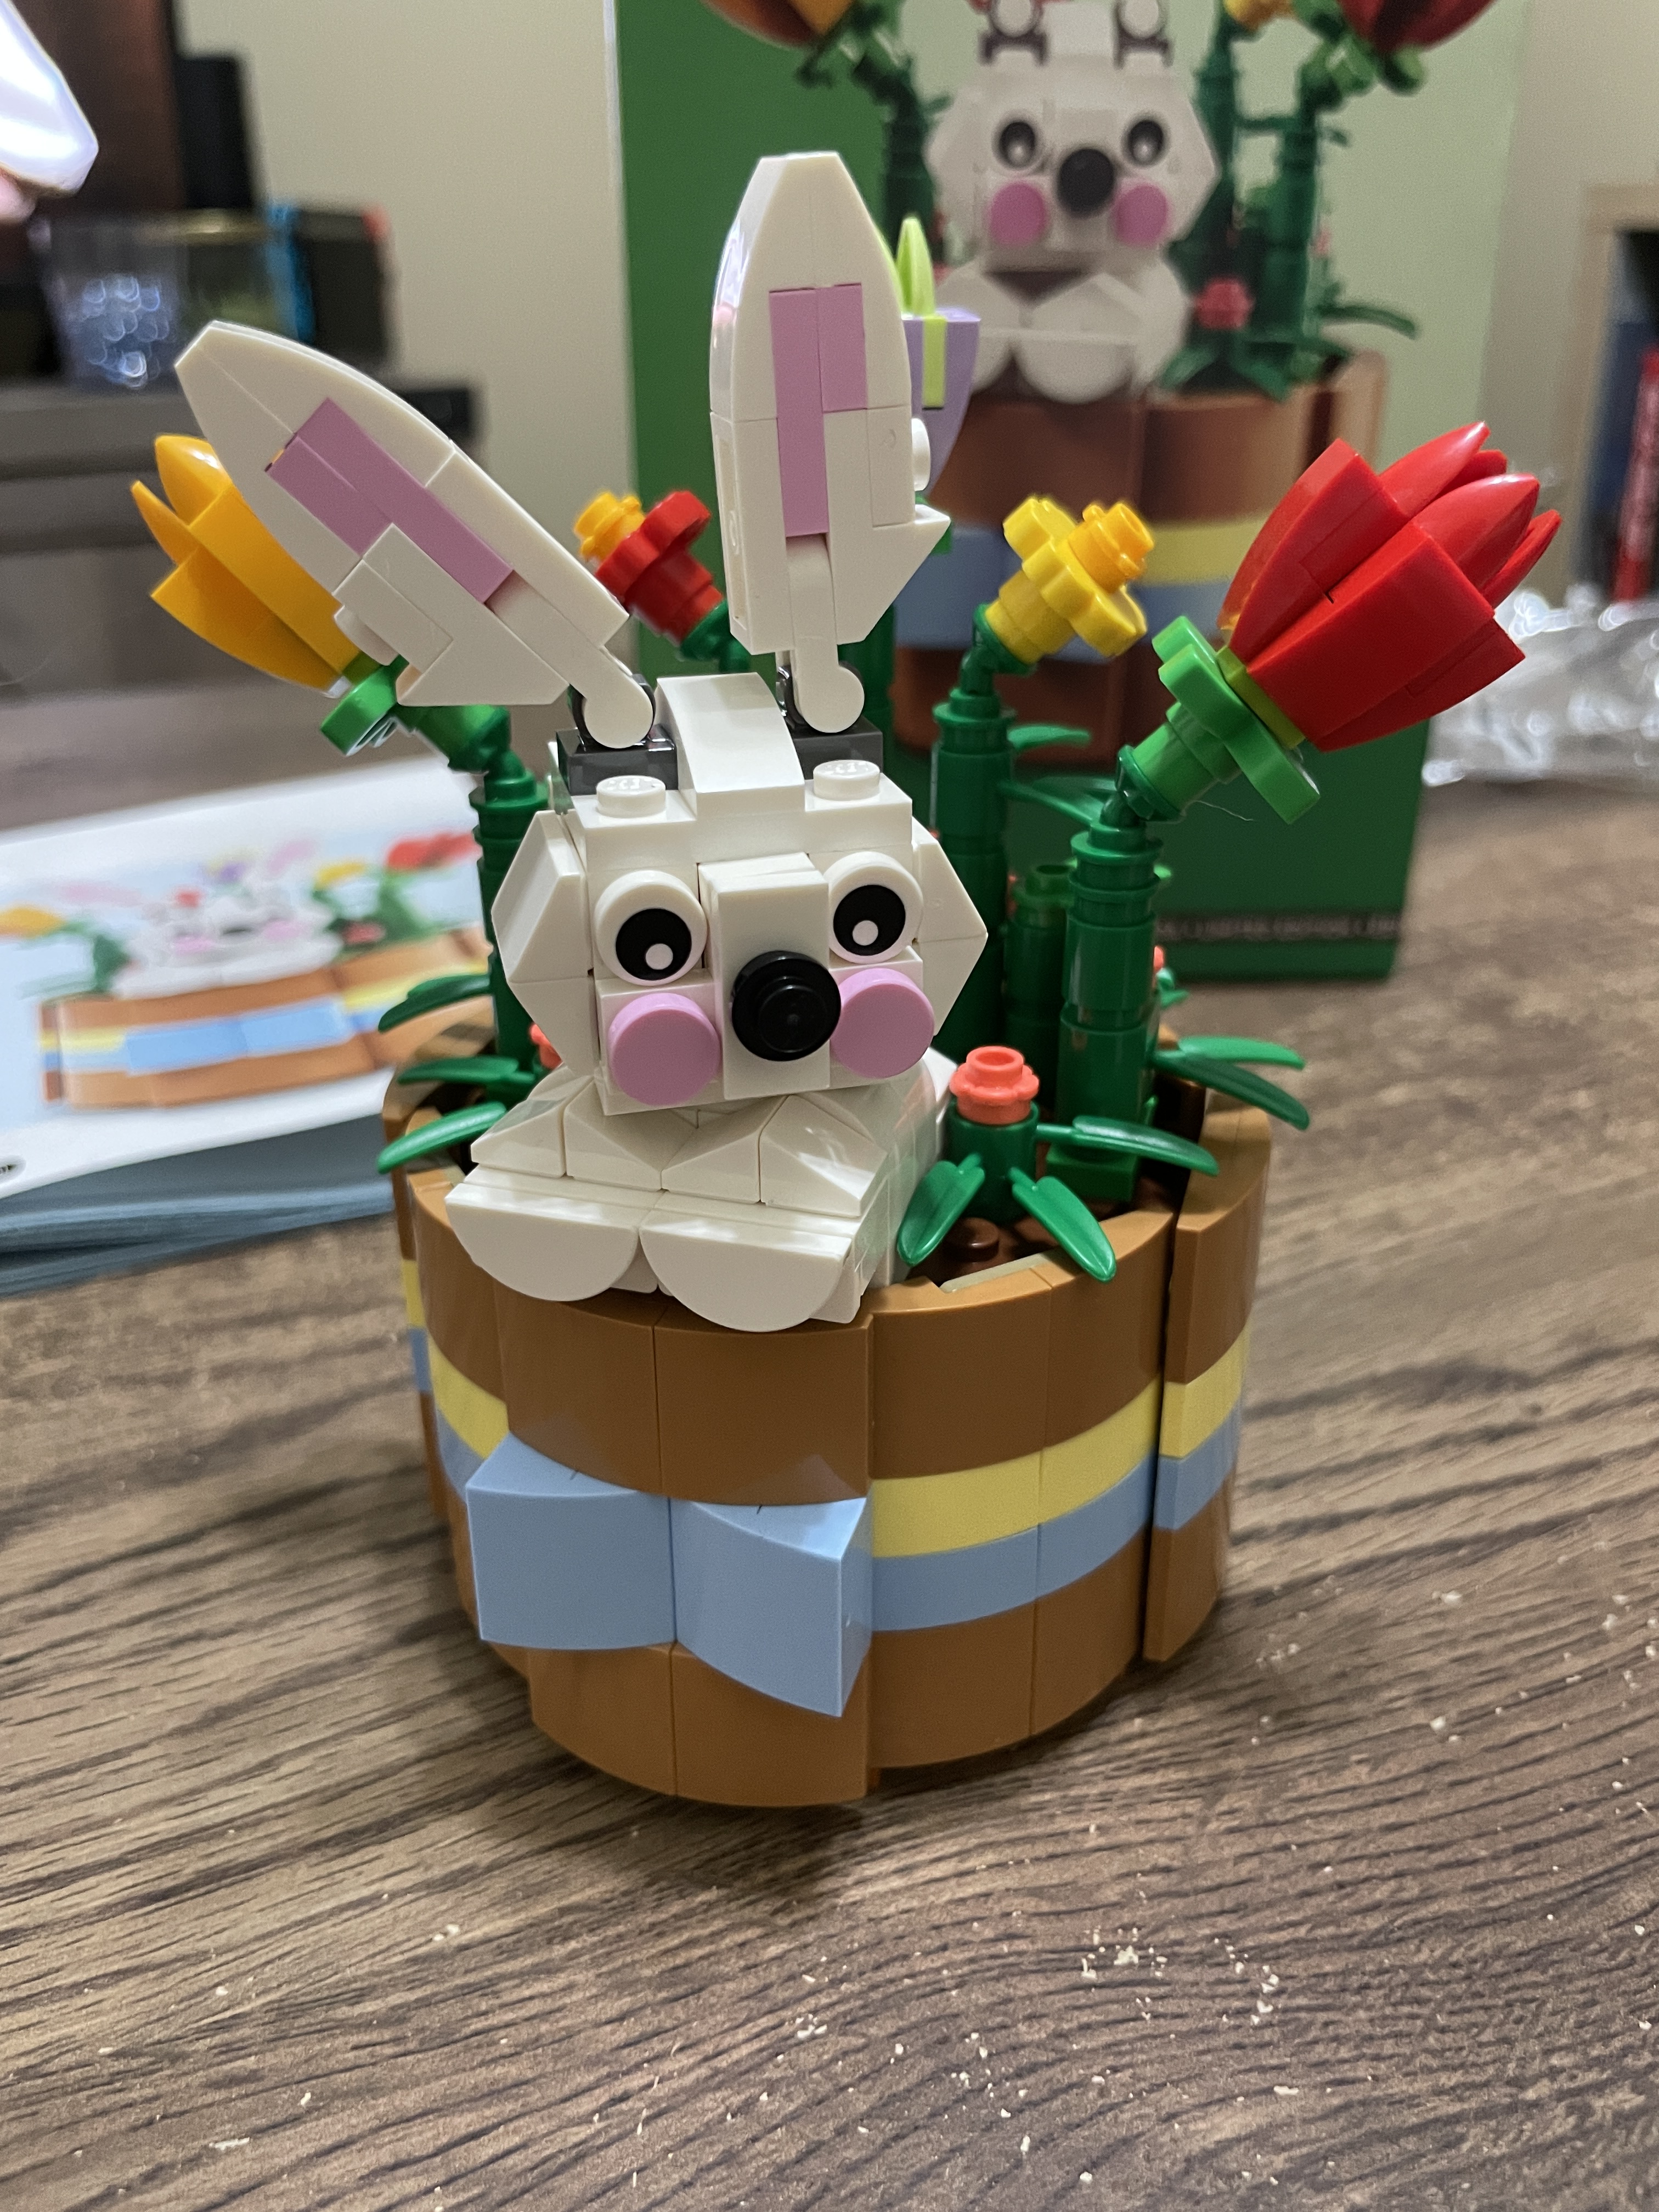
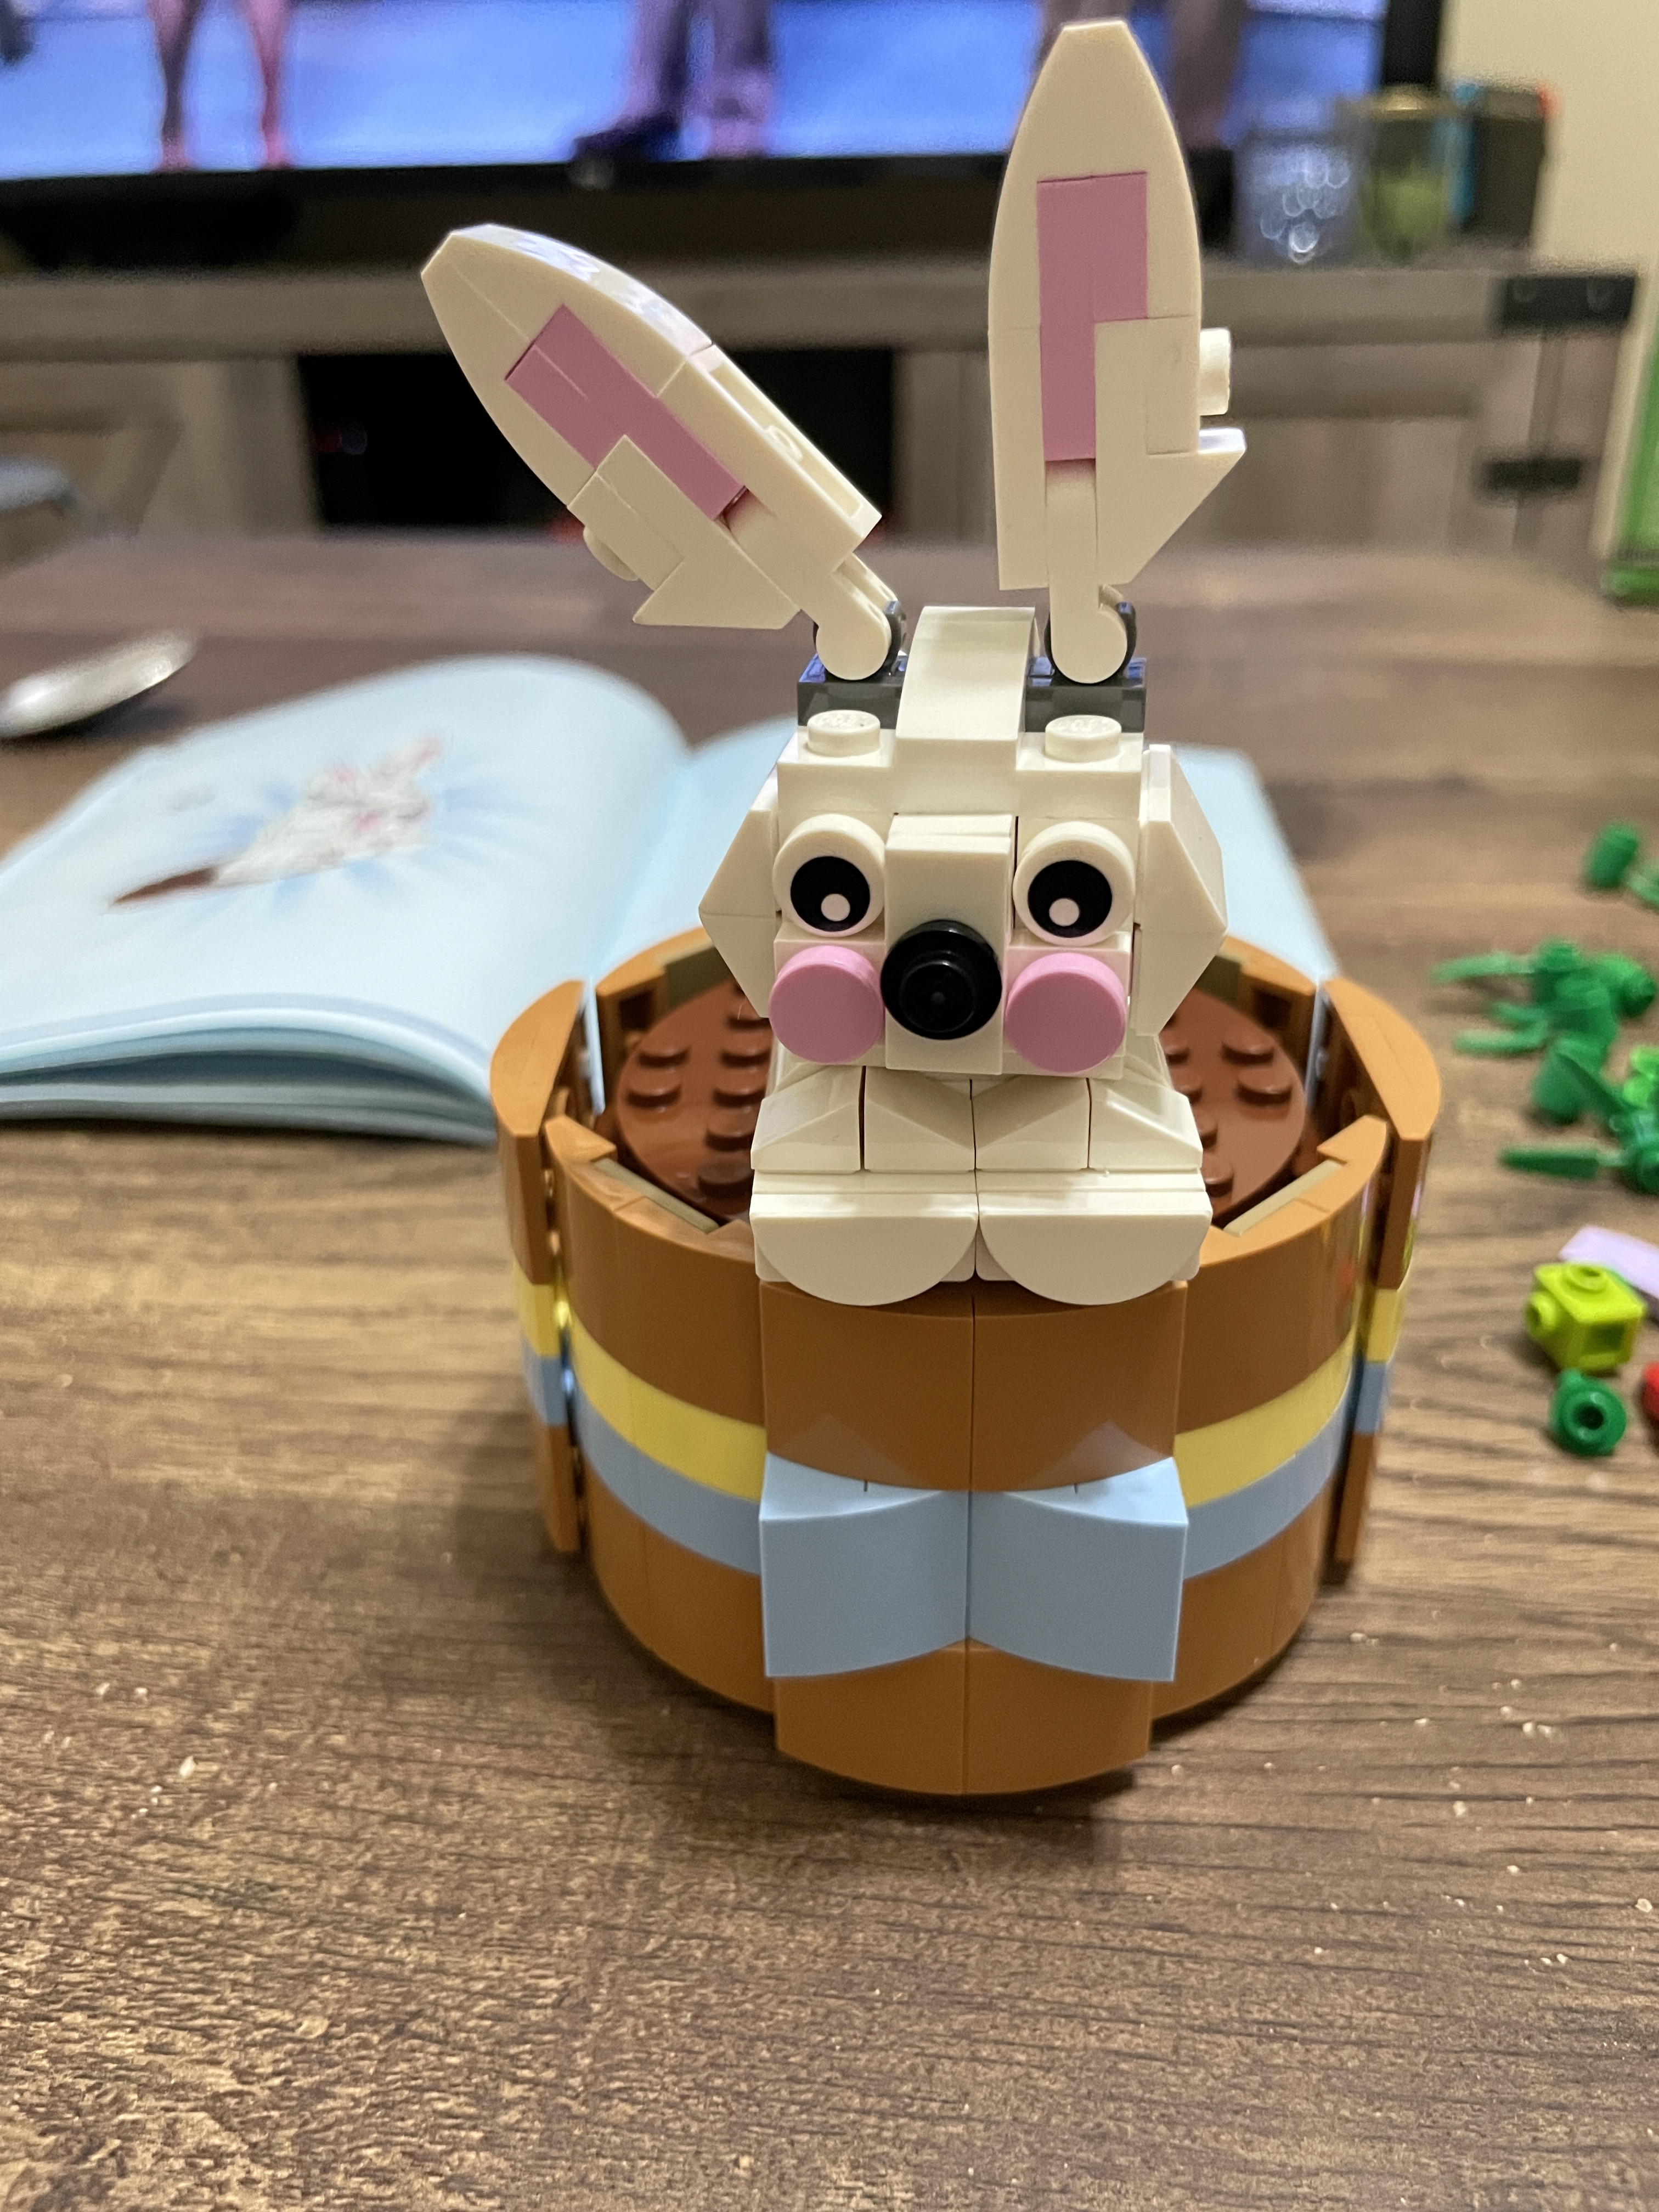
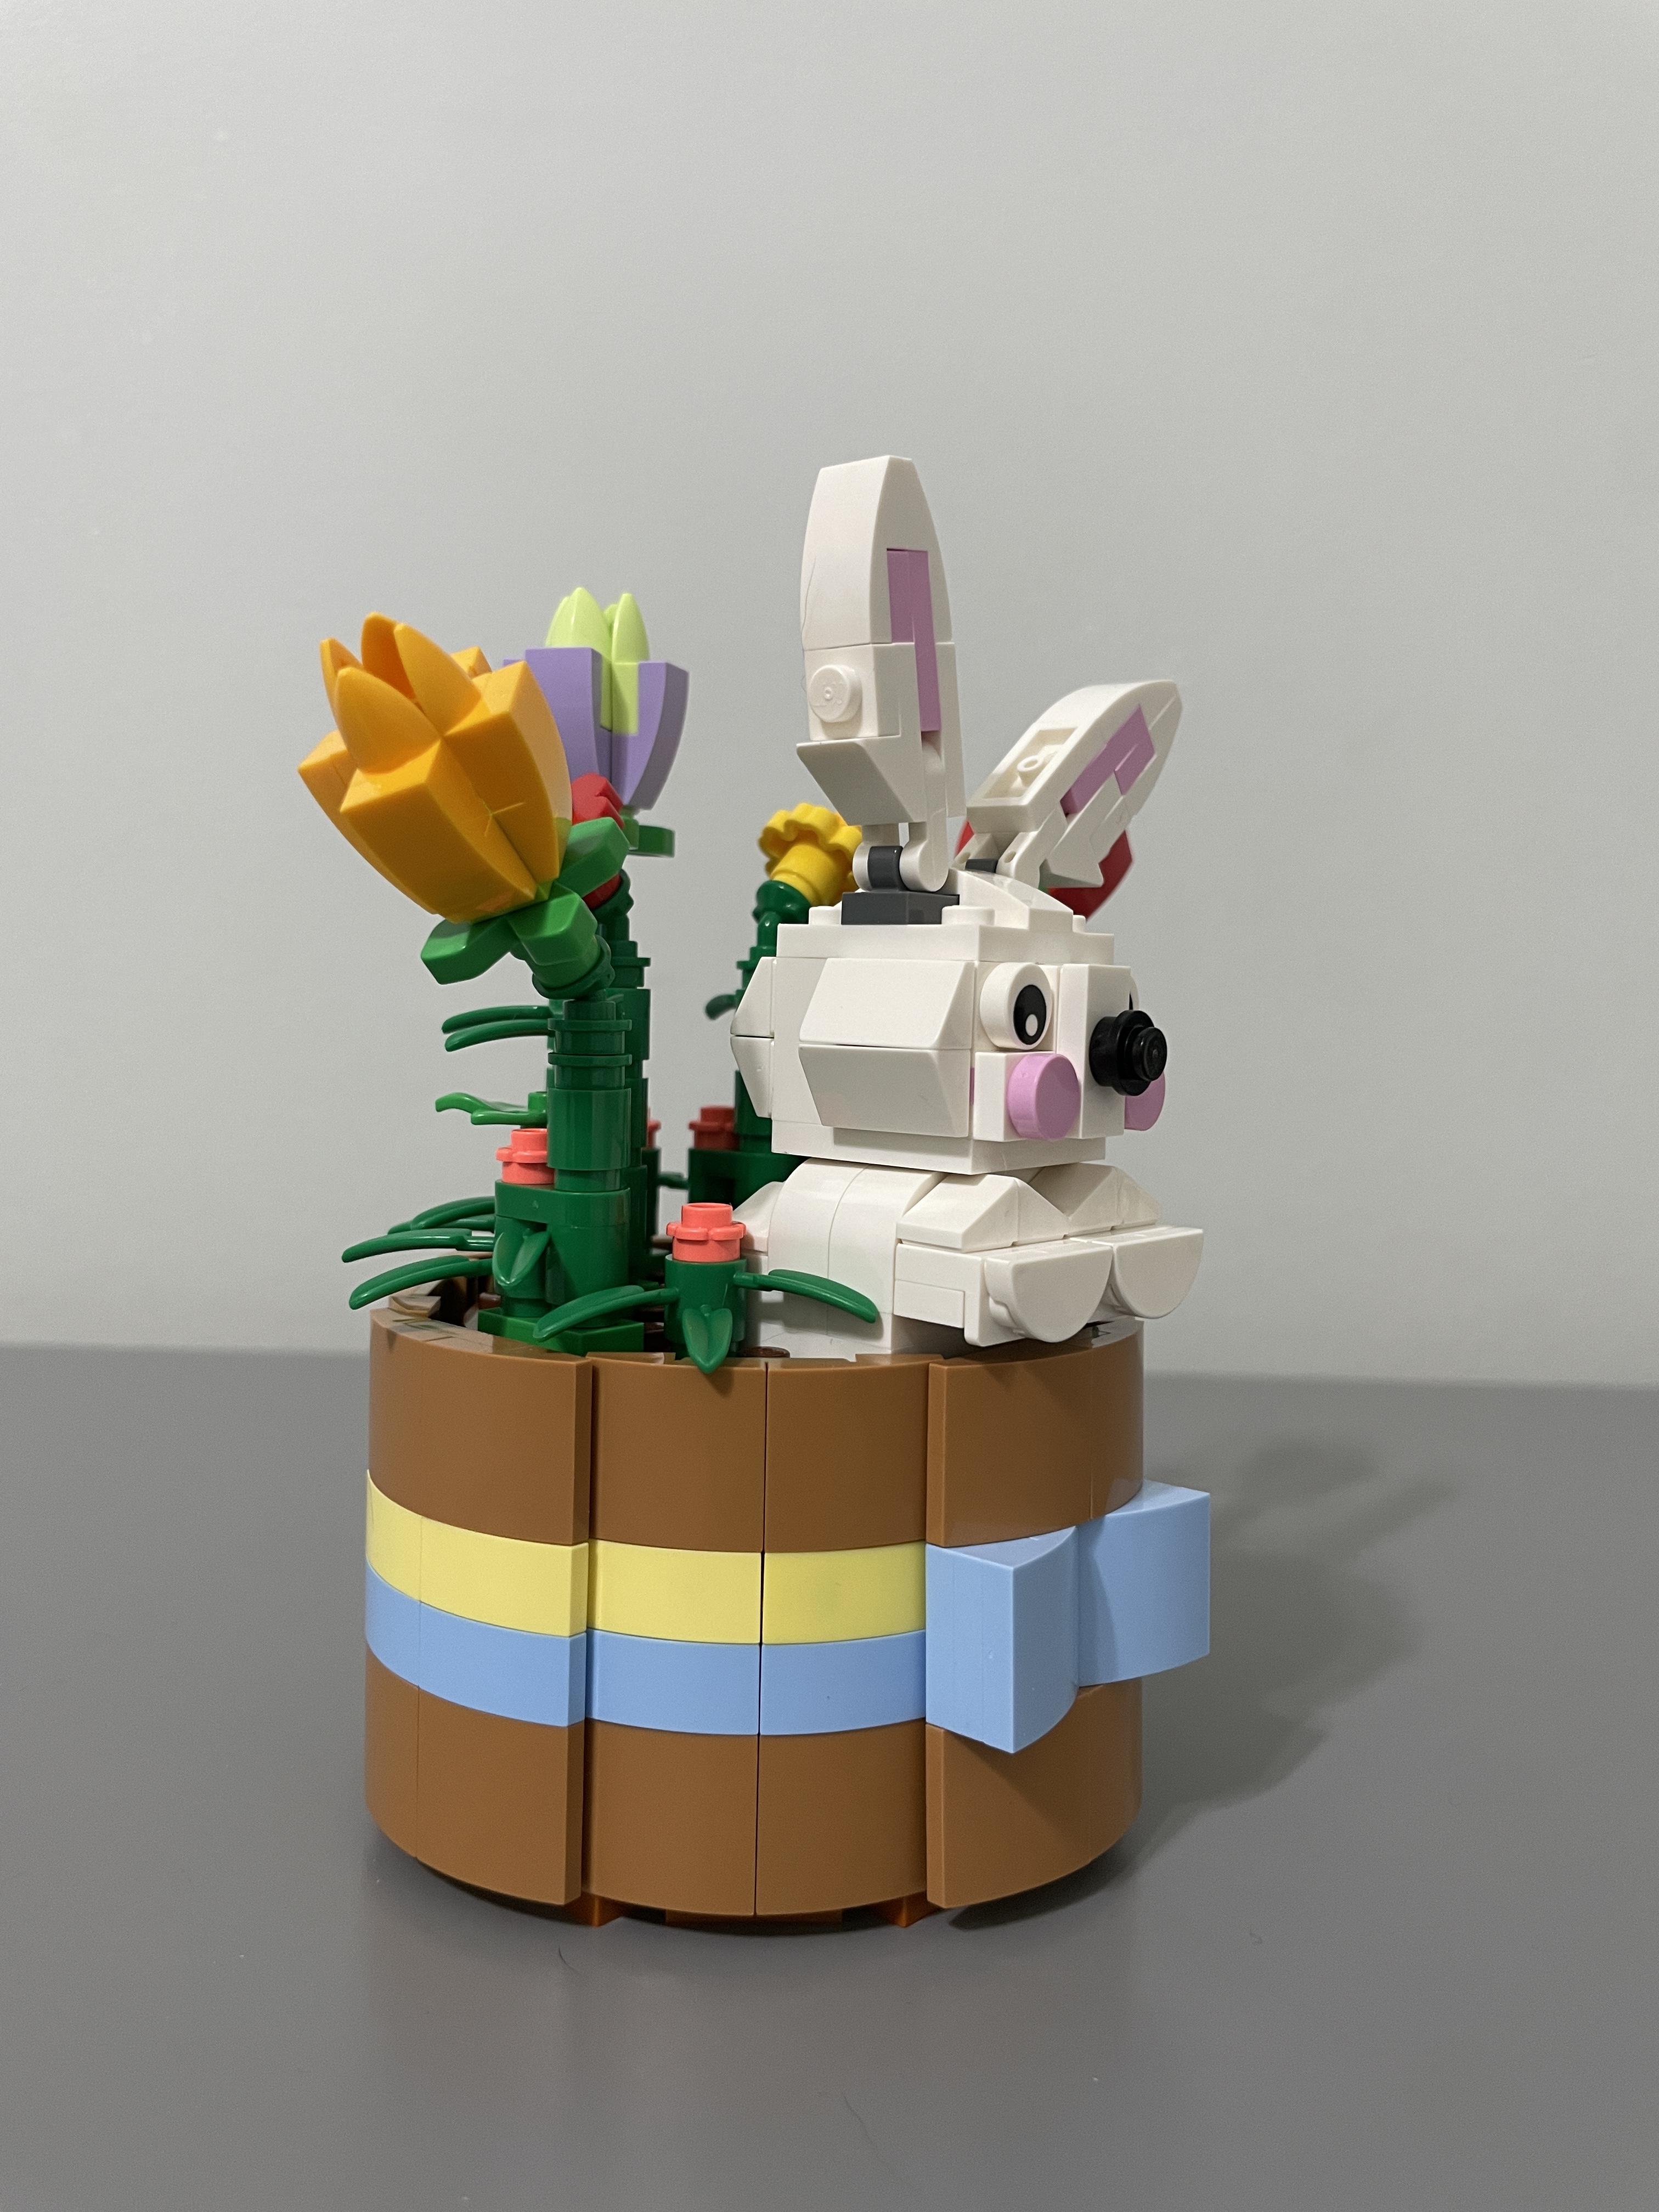
The build is complete, and the bunny looks like a cheeky fellow popping out of the flower pot.


Ratings
Build: 5/5
I had a wonderful time building this set. Filled with classic building techniques, it was relaxing and rapid. There were plenty of enjoyable moments as each element of the build came together. The constitution’s technic section was straightforward and will be manageable for junior builders. I took delight in discovering how that technique came together.
I relish small pieces coming together to make detail, so putting the flora elements was a delight. The strategy to produce tulips was new for me, and it’s another example of how you can make anything out of Lego with enough imagination and creativity.
Display: 5/5
This Easter Basket set displays perfectly. The bunny is adorable and not at all slightly off-putting or even verging on demonic, unlike some other rabbits Lego has released recently. Putting the tiny bunny in the flower pot is a nice differentiator from the Year of the Rabbit build we got as a GWP earlier this year.
The color palate used is simply glorious – mixing the traditional pastels of Easter and the vibrant red and yellows of Spring.
The bunny is charming – highlighted by the pink cheeks. However, the grey clip for the ears is out of place. I understand they do not make this element in white, and two single white clips would not be sturdy, but it is a stand-out flaw in the design.
Not all sets look pleasing from every angle, but this GWP does. The smooth pot and the 360-degree design result in a build that can sit on a table and be admired from any vantage. Minor considerations like these elevate a small display build like this.
Price: 5/5
The qualifying purchase threshold for this GWP was $70 – a respectable and achievable entry point compared to other recent GWPs. Lego valued this set at $19.99, giving a price per piece (PPP) of 5.4 cents. The parts in the set are small – mostly 1 or 2 stud elements, so the low PPP is to be expected. However, this is still exceptional value, and Lego is providing their consumers with a glorious deal for the low qualifying purchase price. It’s nice to see, as this set will appeal to all ages.
If you make a qualifying purchase between April 1st-9th, you will also receive the Spring VIP pack (if you’re a VIP member), making this GWP a steal. Even if you do not desire the rabbit, the pieces alone are good value for MOC builders.
Final thoughts
The Easter Basket is an adorable GWP that has a reasonable threshold entry point. The set looks fantastic from all angles, is appropriate for any age group, and is a joy to build. With 368 pieces, you get a lot of detail in this set, which shows in the 360-degree design.
Pick one up with a qualifying purchase at Lego stores or Lego.com until April 13th.
Oh, and I don’t know why it is called Easter Basket – it is clearly a flower pot.

Leave a comment