Theme: City
Age: 7+
Available: Jan 1st, 2022 –
Why I bought this set
A set like this would be excellent to place in an area of the city under construction. It’s the perfect way to be like “building pending” and show the city is alive and evolving. Specifically, I wanted this set as the crane looked beautiful and could be positioned in various ways. The included new road plate was also a bonus. I also have a few construction workers from my recent bulk lot haul to supplement the ones included in this set.
The build
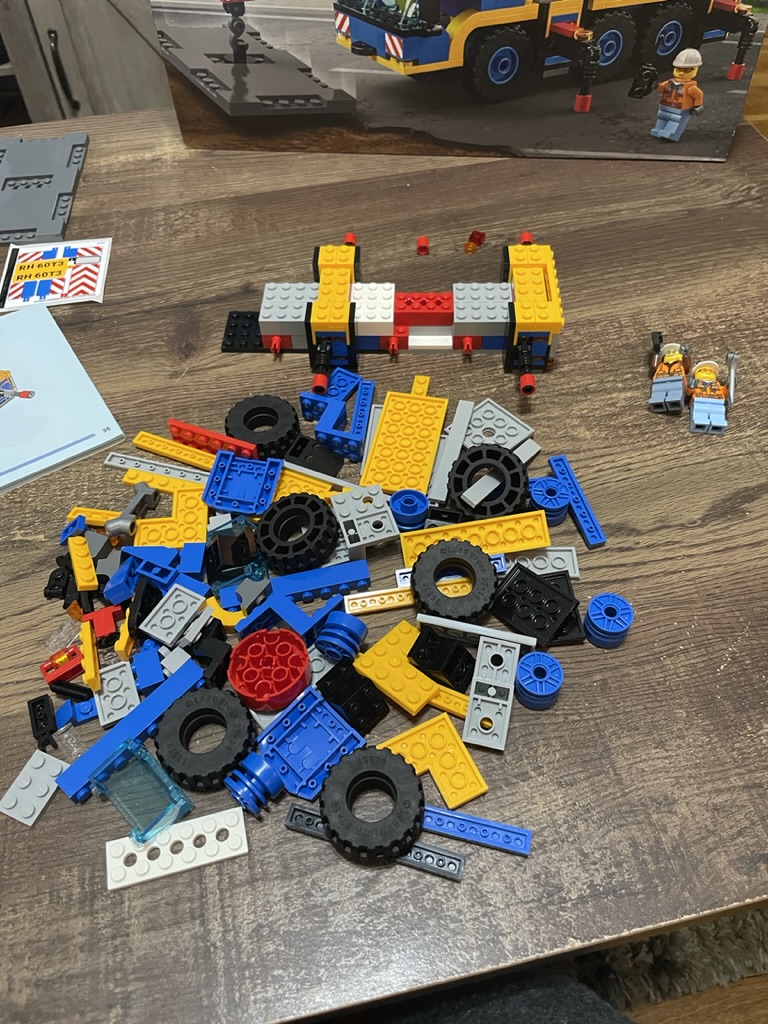
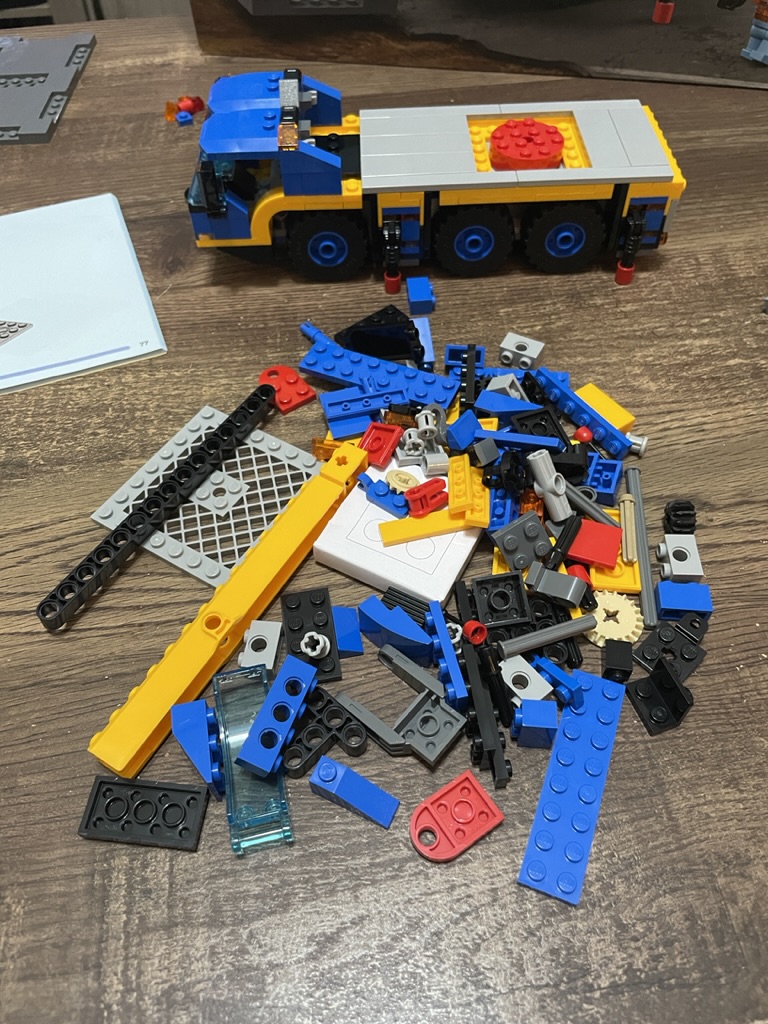
This 340-piece set comprises three building stages covered in a single 148-page booklet. Stage one focuses on the internal structure of the crane, stage two completes the main chassis of the vehicle, and stage three constructs the operator’s cab, boom, and hook. There is a small sticker sheet for detailing and a single road plate.


Stage one is a nice size, with a good variety of pieces. The first item on the agenda is the construction worker. He is a typical city figure with a yellow head, wearing safety goggles. The printing on his torso is excellent, with a hoodie underneath his high-vis uniform. On the back, there’s a radio in his belt. He has a white hard hat and wrench accessory to complete his look.


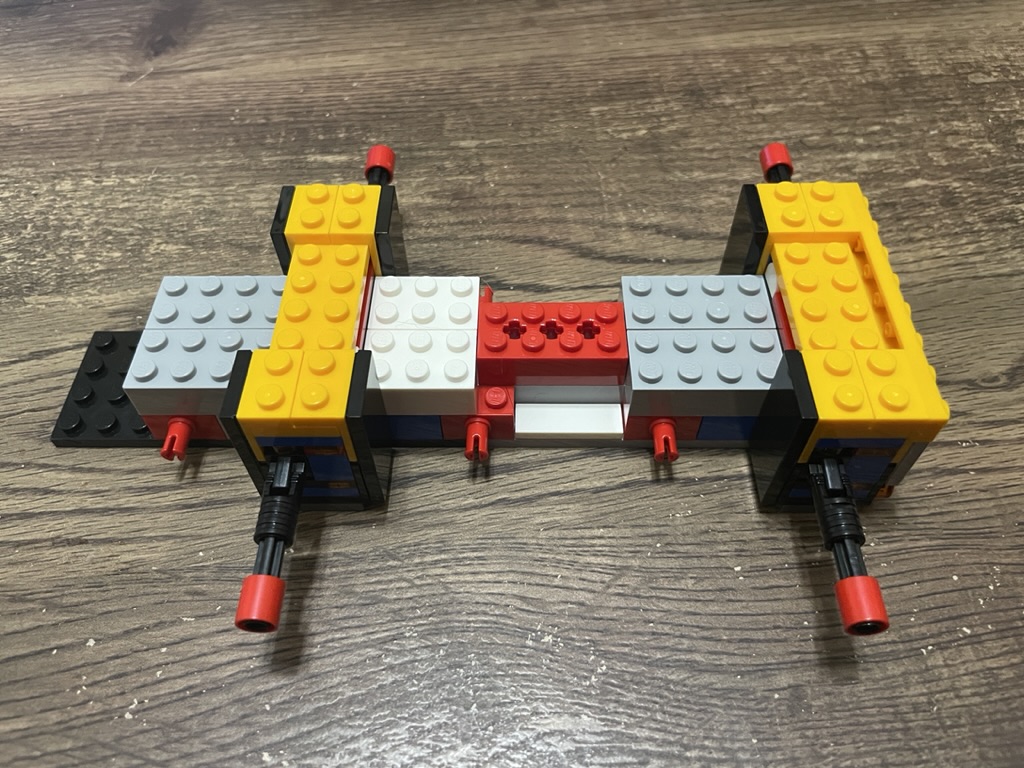
The vehicle’s core starts with a light grey plate, a connector plate at the rear, and red connection bricks for a set of wheels in the center. Additional plates with brick are connected, outlining the crane’s size and each wheel’s position. Height is added with 2×3 and 2×4 bricks, with a technic brick in the center as an anchor point for the operator cab.


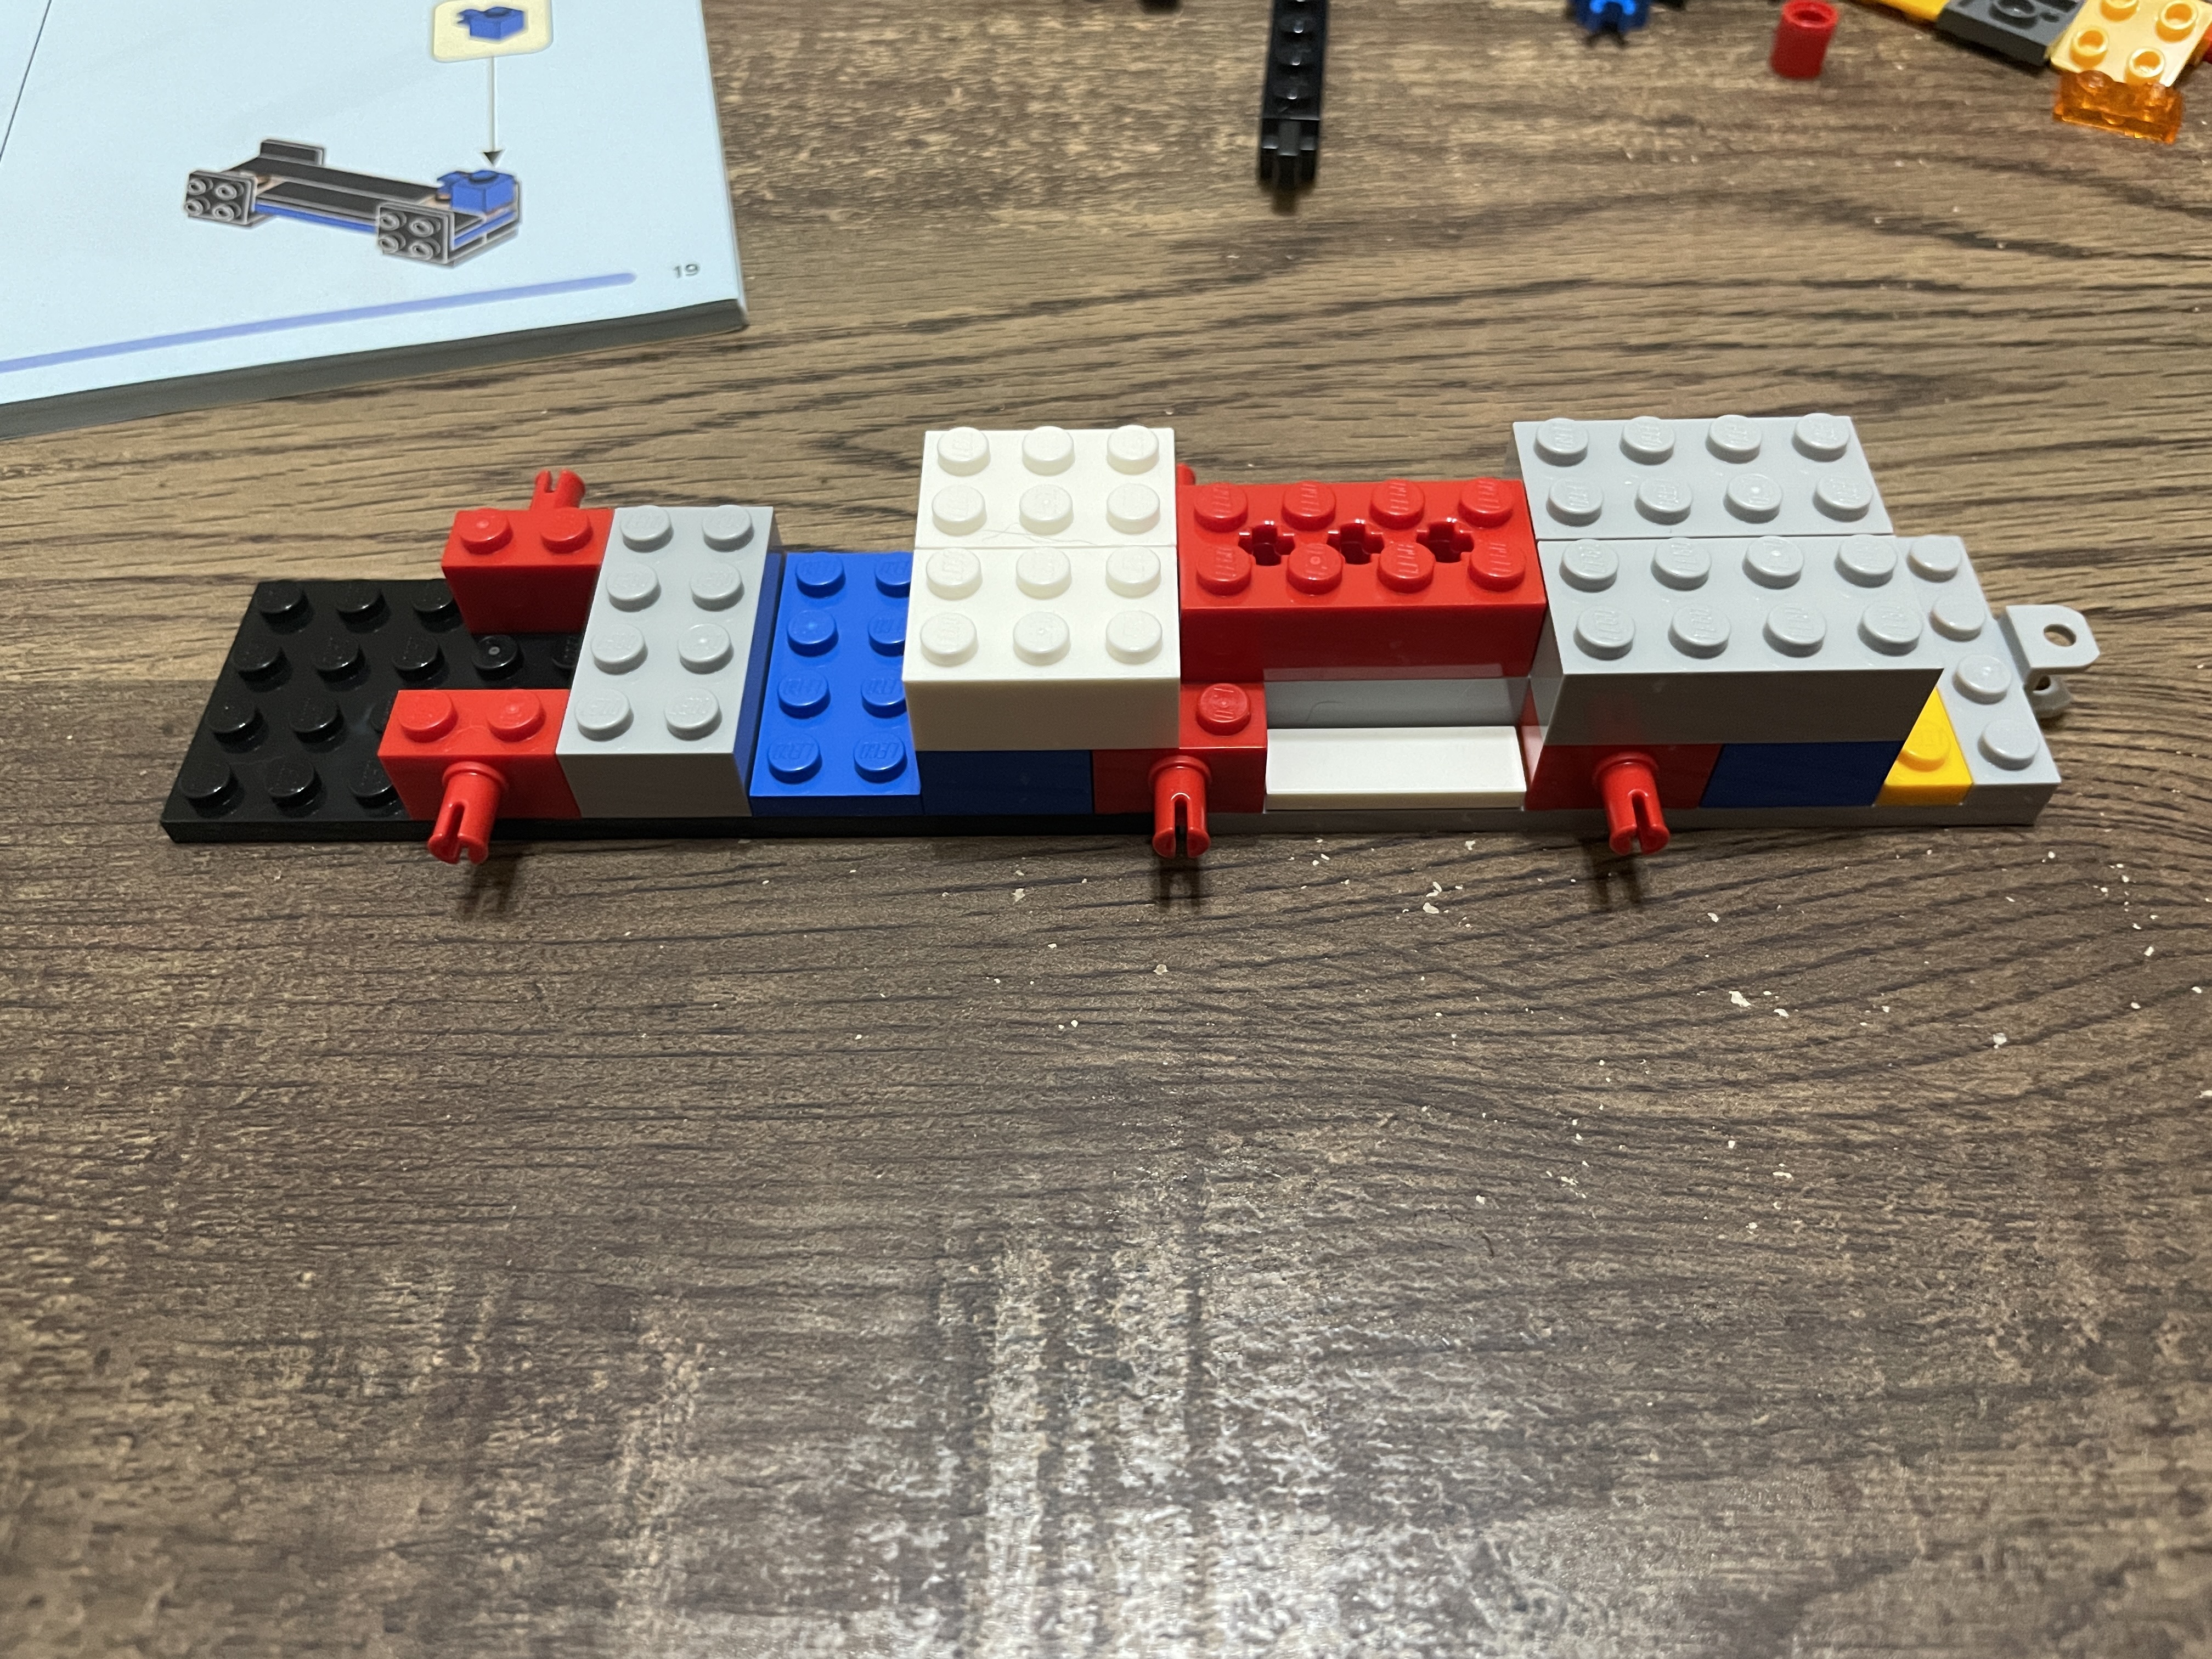
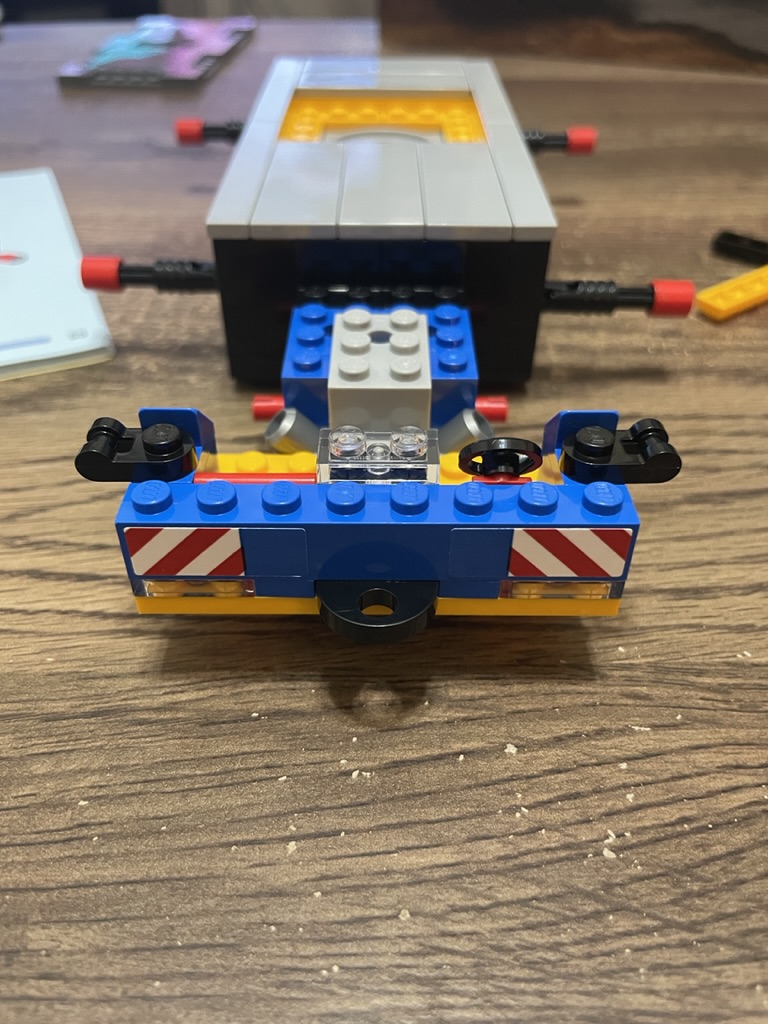
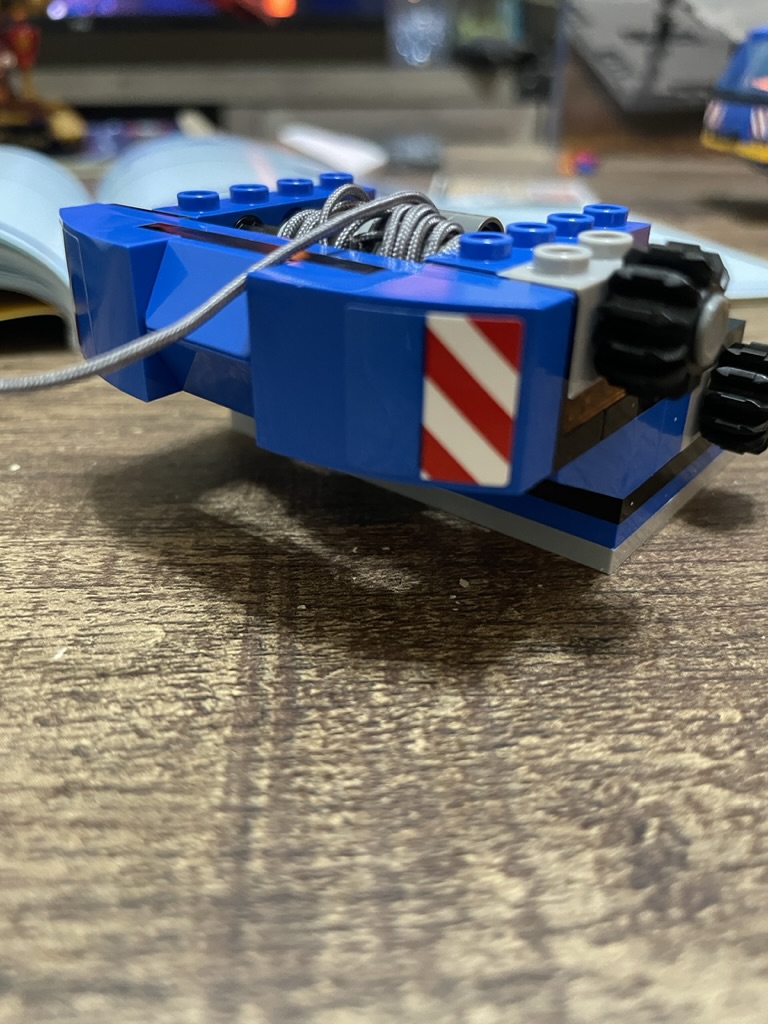
The crane road anchors are built separately before being placed onto the chassis. Symmetrically, modified 2×2 plates hold a single blue plate covered with 1×6 black tiles and two 1×2 transparent orange plates. A modified 1×2 blue brick on this base structure provides a hinge for the technic element with the red stopper attached. To hold that piece in place, red tiles, transparent orange plates, and white half curves are placed at either side. Now, the only point of articulation is the hinge for the red stopper.

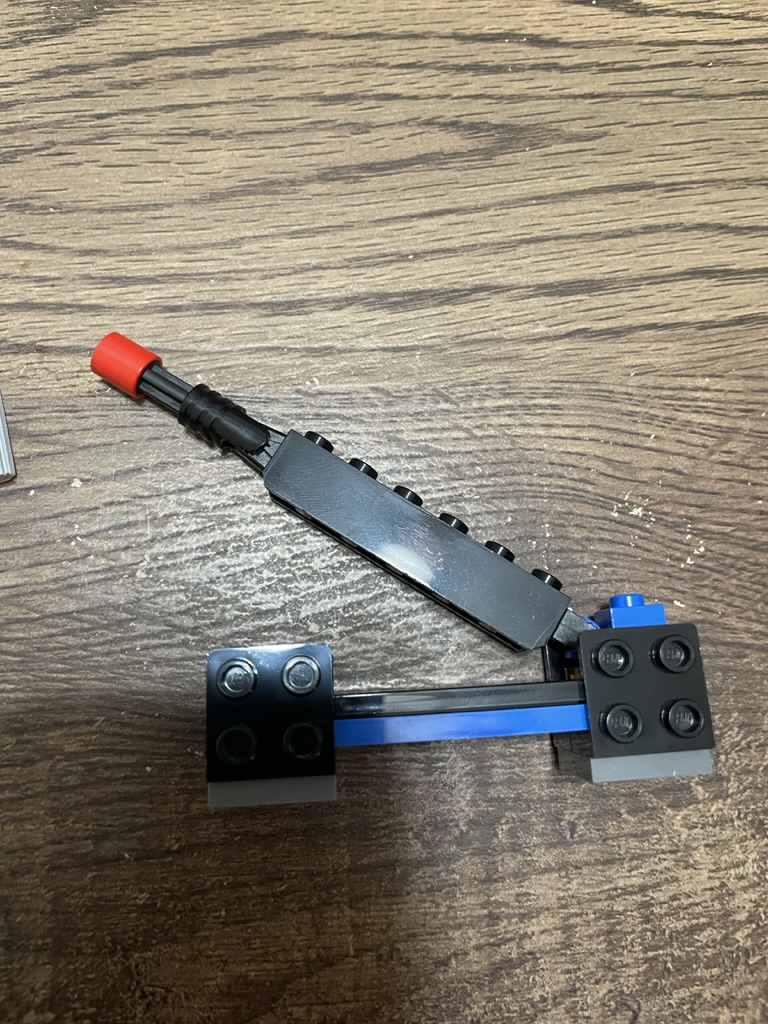

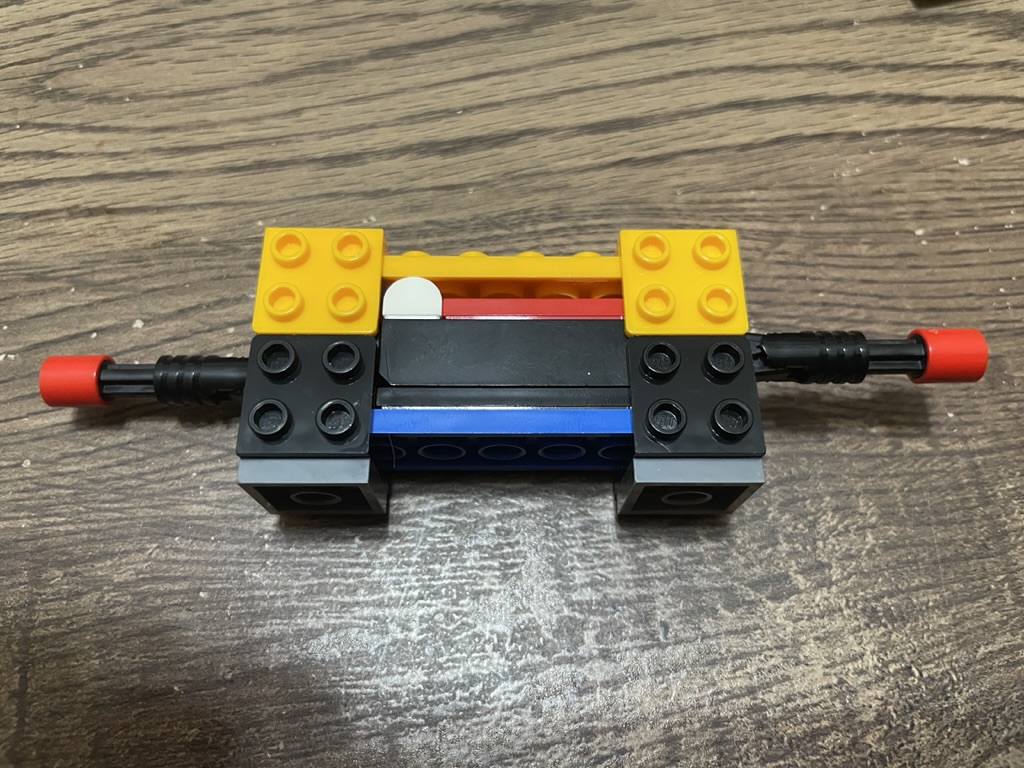
Yellow plates are used to enclose this element so that it will fit in the vehicle’s chassis. Two of these builds anchor the mobile crane to the ground at the front and rear for stability.
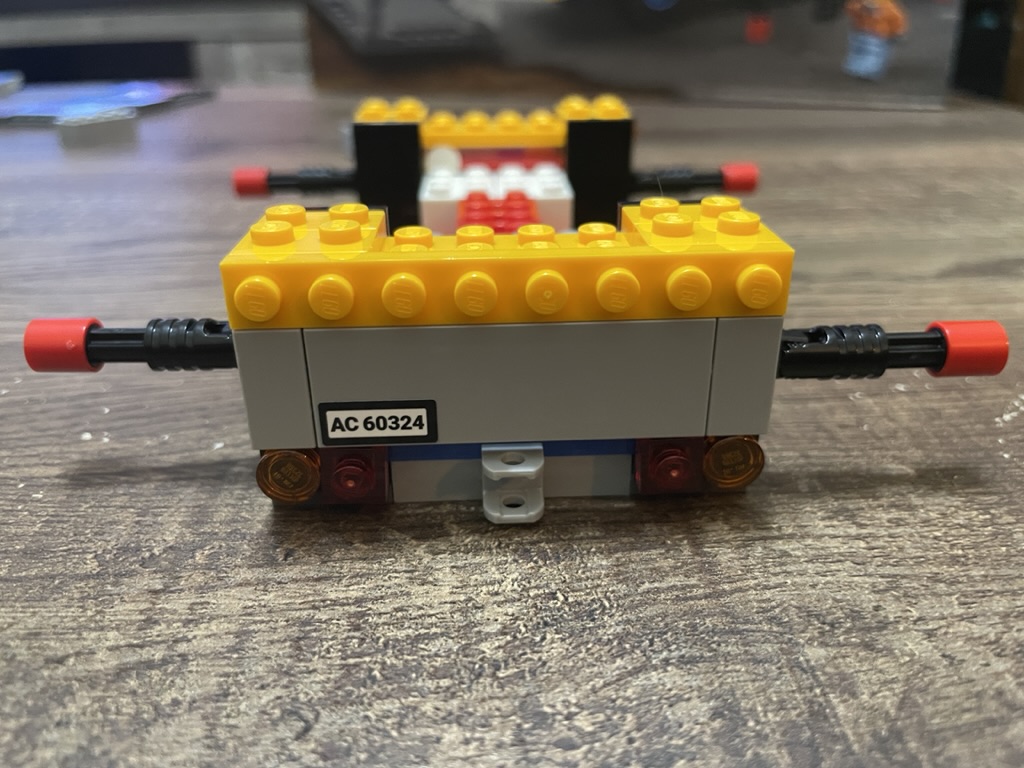
At the rear, light grey tile finishes the exterior, and a sticker element provides the vehicle with a license plate. Transparent orange flat studs and 1×1 transparent red tiles generate the indicator and stop lights. This concludes stage one, with the core of the vehicle complete.


Stage two has the second minifigure – the cab operator. Her hard hat has an integrated hair element, and her face has printed glasses. The torso has a high-vis orange vest on top of a dark brown shirt, which is the color of her arms. Her ponytail extends down her back, and her utility belt has a pair of pliers tucked in. With her radio accessory, she is ready for work!


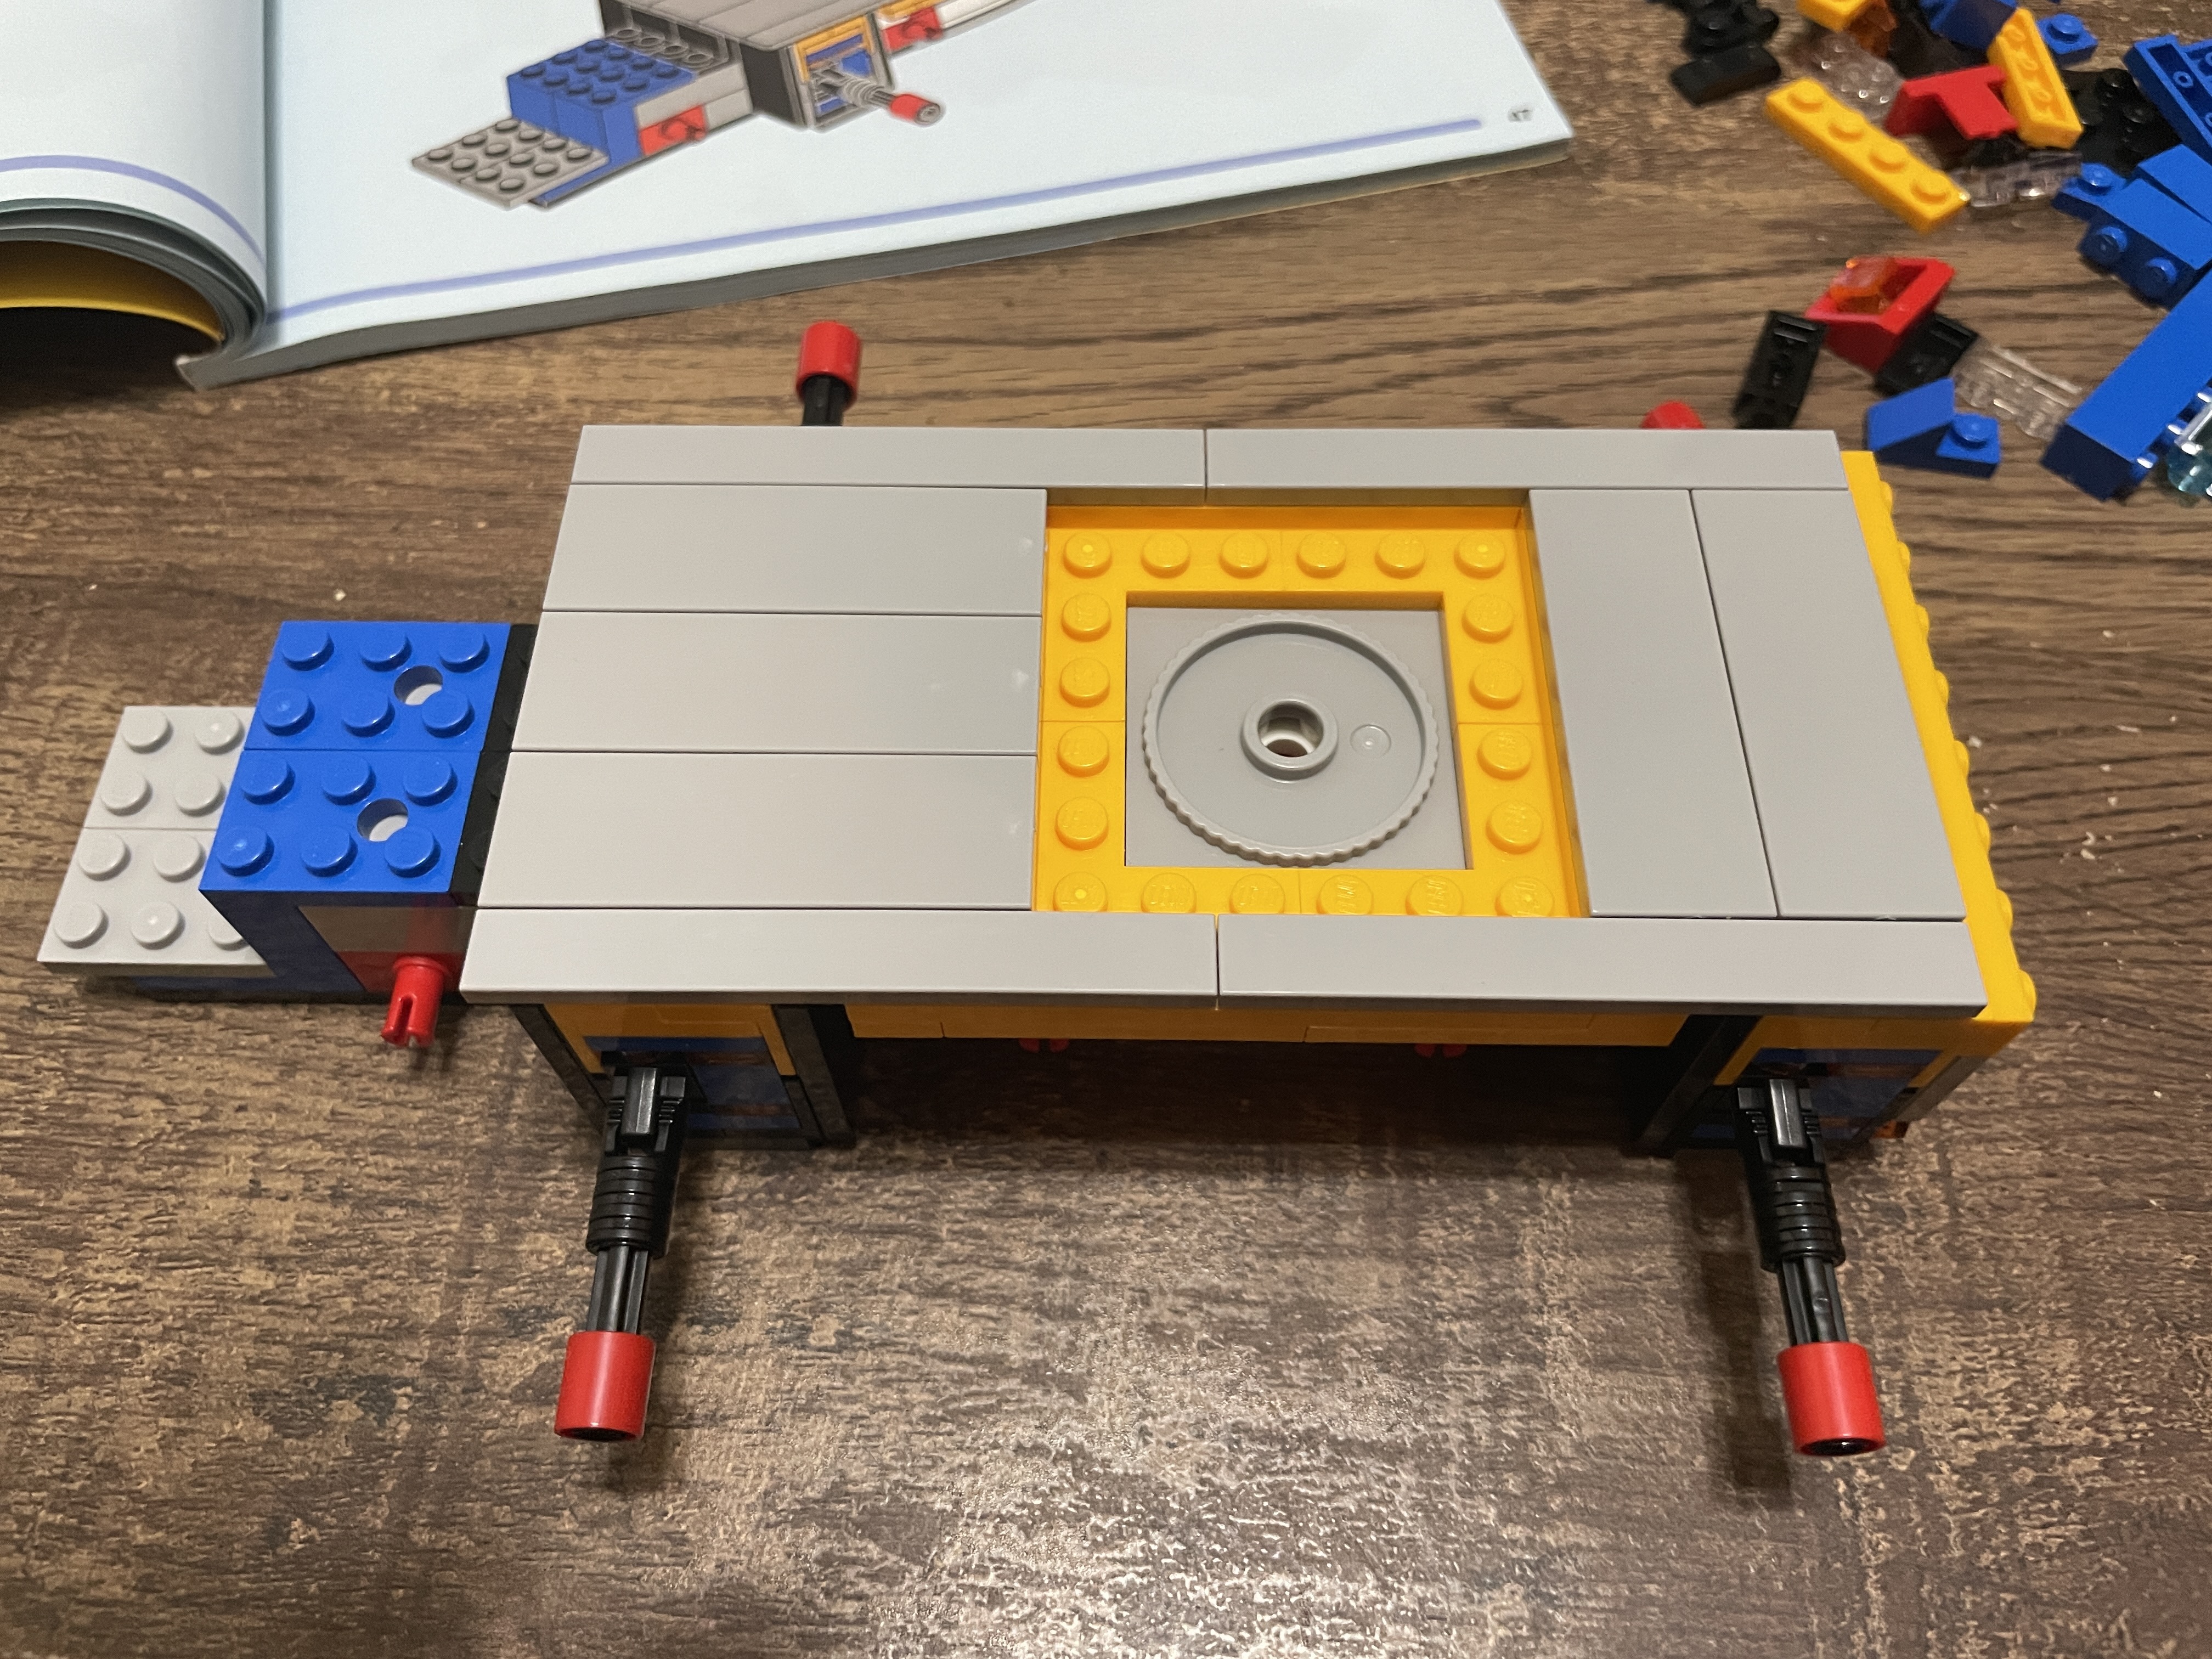
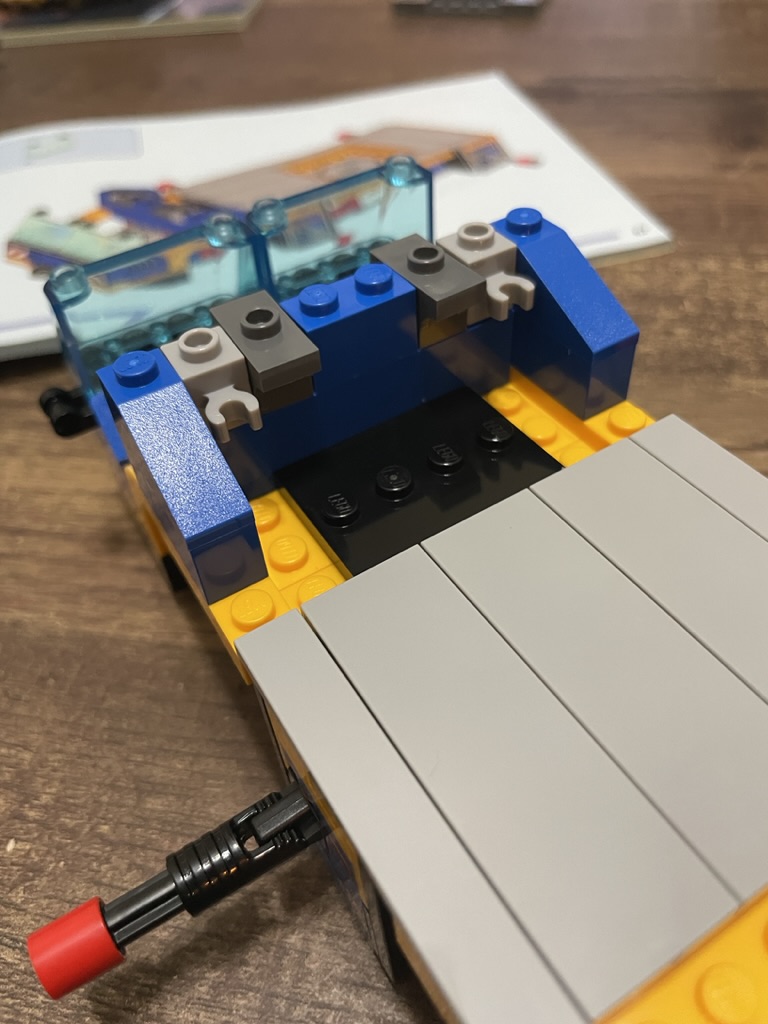
The pieces for stage two are large and colorful, so this should be a quick and fun build. It begins with adding two staggered blue plates to the front of the existing structure – the base of the drivers’ section. In the center, we add light grey plates and a rotational element, allowing the cab to swivel.
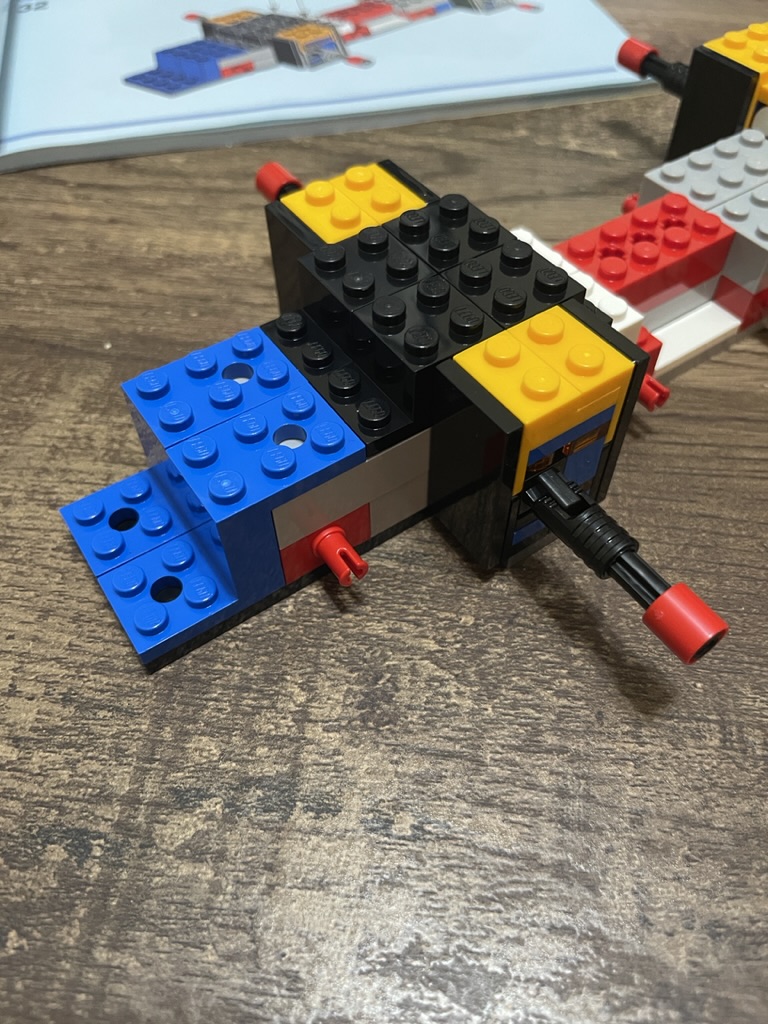


Yellow plates then enclose the inner pieces before tiling the surface with light grey tile. The tile provides a smooth surface for the cab to move across by reducing friction.
The driver’s section is elongated with a light grey plate, to which a black minifigure plate and a silver modified v-connection plate are mounted.


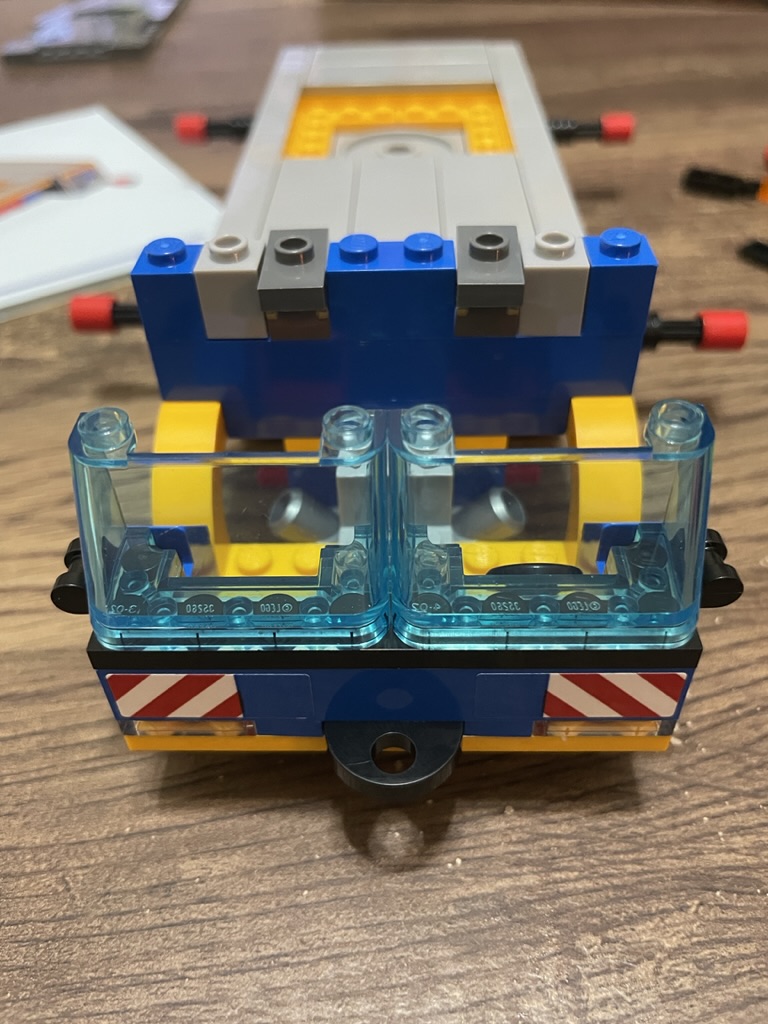
The driver’s compartment is built separately from the vehicle and begins with a yellow plate with blue and transparent plates added to an edge. A black 2×2 ring connection overhangs the yellow base. The section’s structure is quickly apparent after adding the steering wheel and a center console. A black 1×1 modified plate creates clips for the side mirrors on each flank.
The blue brick at the front has two sticker elements to highlight it is a construction vehicle. This section then connects to the rest of the vehicle, sitting between the silver piece placed earlier. From above, it is secured with yellow plates and another black minifigure plate.


Two transparent blue windshields sit at the front, while a brick wall encloses the driver’s cabin from the rest of the crane. At the back of the wall, two modified 1×1 light grey bricks with clips are placed that serve no particular purpose but are a great spot to put the accessories!
Yellow arches separate the driver from the wheels, and blue coverings are placed onto the windshields and rear bricks to enclose the driver’s section. Black ingots are used to create the large side mirrors. Finally, transparent orange cheese wedges sit at the back side of the driver’s cubby to act as warning lights.
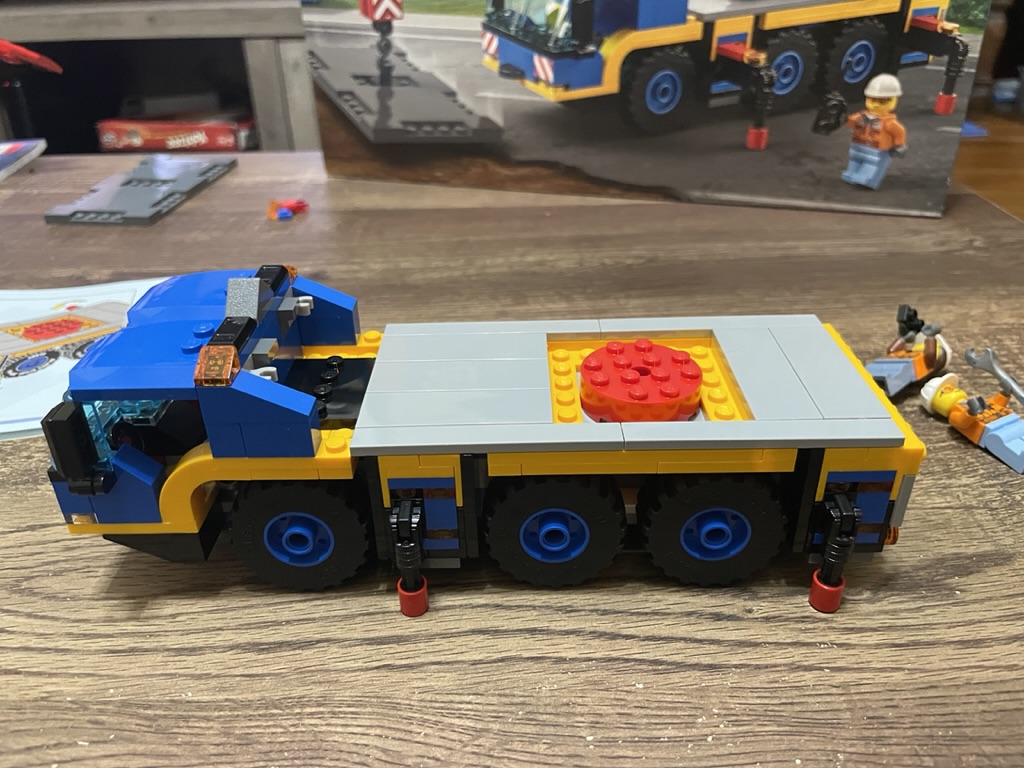
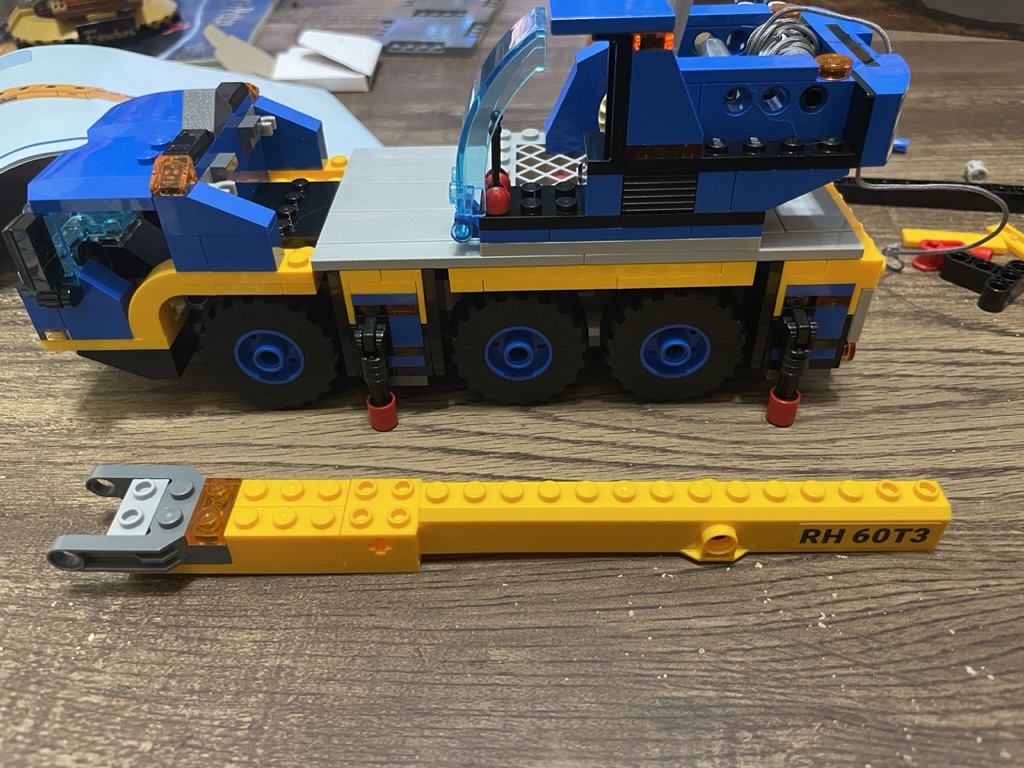
In the center of the vehicle, a 4×4 red circular brick sits on the rotational element placed previously. Six tires are given blue wheel trims and click into the red technic bricks placed early in the build. With these additions, the crane is roadworthy, and stage two is complete.

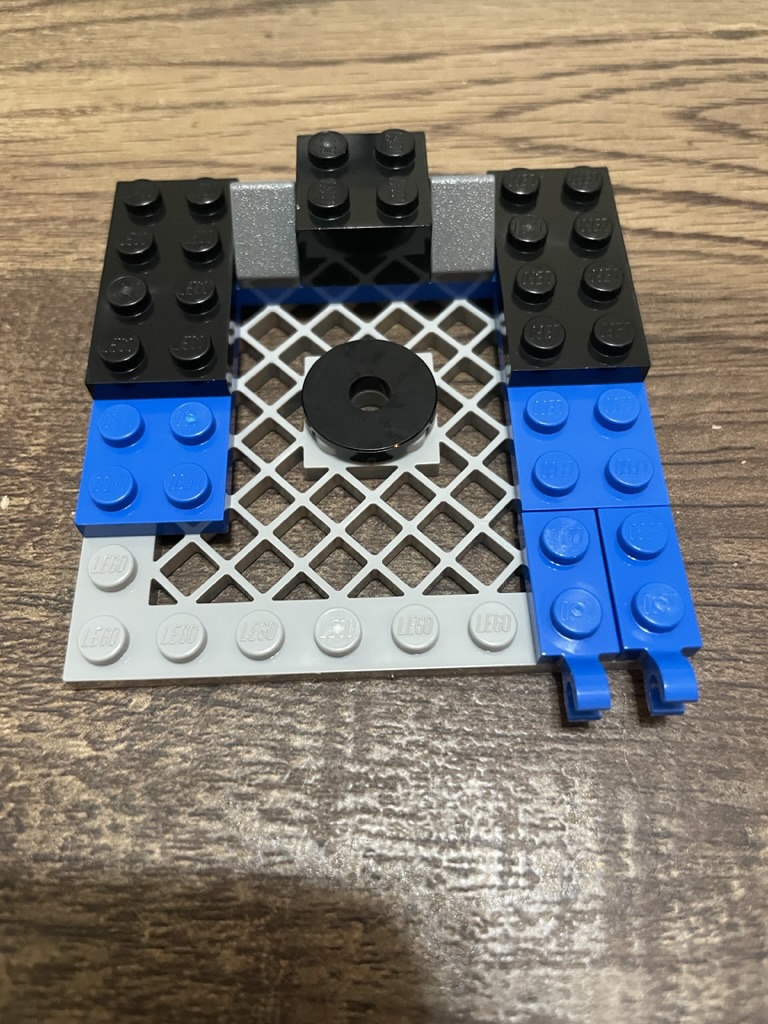
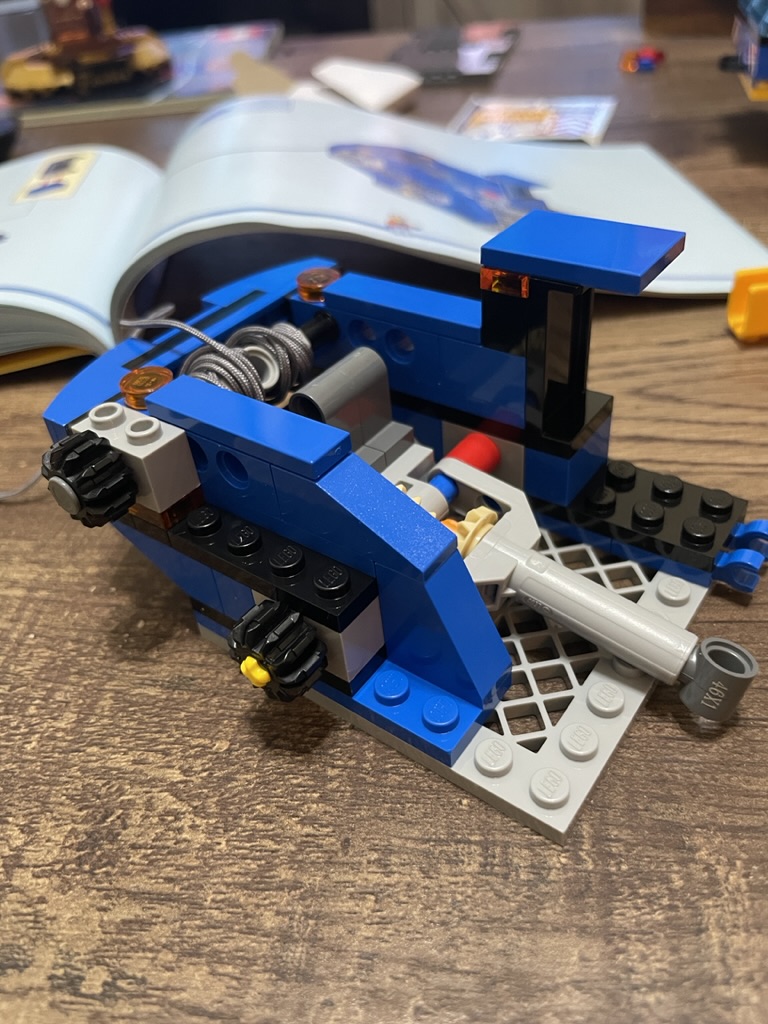
Stage three is the technical aspect of the build, creating a working crane with a fully extendable shaft and a hook that can be lowered with a crank. A unique grid 8×8 piece starts this section, which will hold all of the mechanics for the crane and allow for central rotation by having an axel through the center to connect to the vehicle below.
Construction begins with layering blue and black plates, with two 1×2 blue modified plates providing clips.
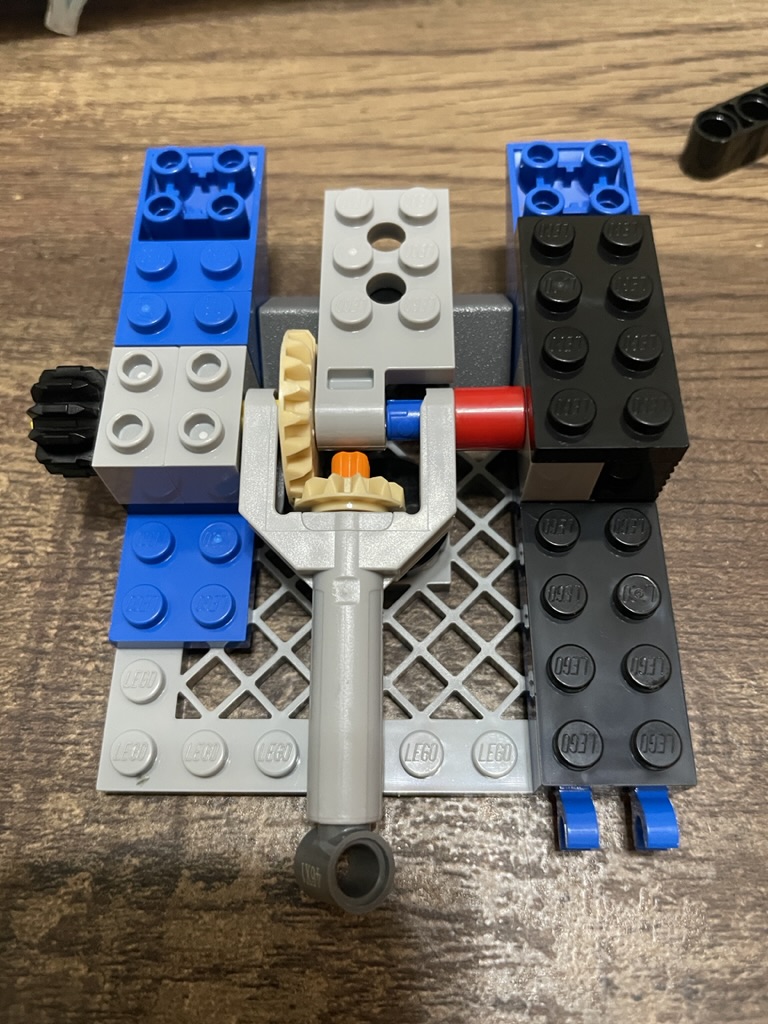
Inverse slopes flank the rear, while technic 1×2 bricks anchor the core technic components that will allow the crank. By connecting through the center, the black tire on the left will rotate the tan teeth wheels in the center. This will allow you to control the height of the boom. The components are firmly held with technic bricks on either side, and some black plates help secure the pieces.

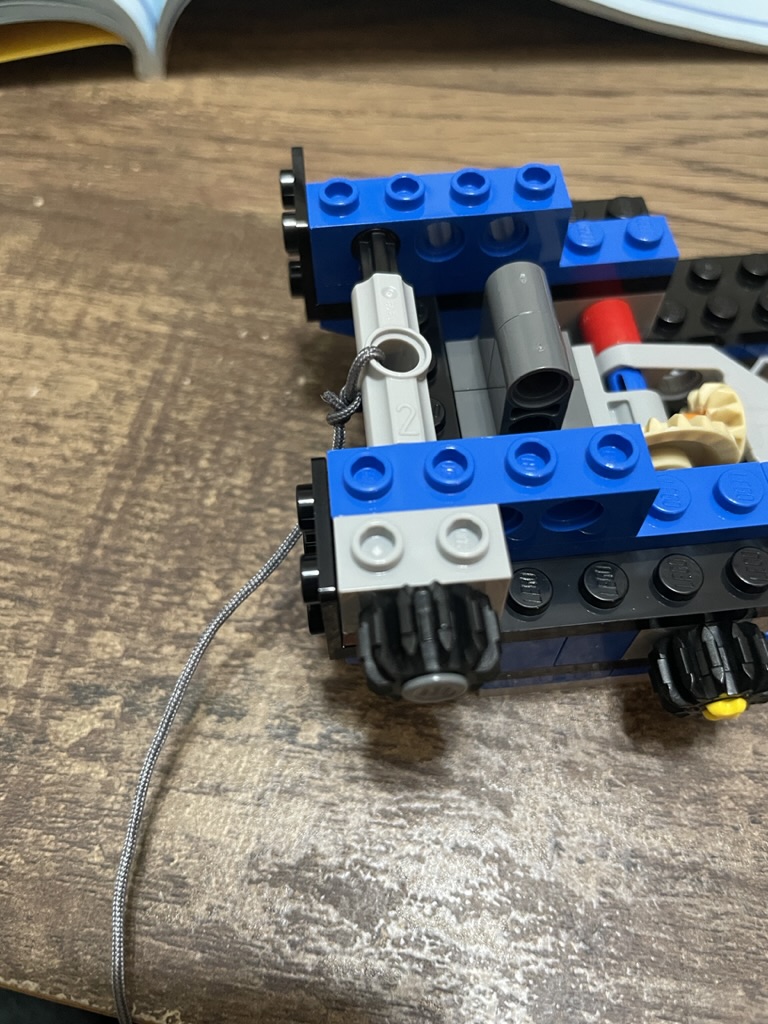
Behind the wheel rotation section, an axel is inserted into a 1×4 technic brick, onto which a light grey rod is added. The provided rope is threaded through and tied around the middle hole. The material is quite challenging to work with, and it is tricky to get a tight knot. The same structure is mirrored to hold the element in place. A knob is added to this side to control the rope length, i.e., raise or lower the hook.
The technic components are enclosed with bright blue brick, plate, and slopes. A couple of sticker elements add the warning signs needed.

The operator’s cab’s structure becomes unmistakable on the right, with a 2×4 blue tile creating the roof. Sloped, transparent blue windshield clips into place and two levers are provided so our minifigure can control the hook and boom. It is a simple yet effective building and part usage. An overview of the cab shows the build is almost complete.


The final element is the boom, which is primarily a specialized piece. To that, a sticker is added to each side, providing the boom with its working number. At one end, additional plates and bricks increase the length and give the necessary parts to connect the boom to the cab. The entire element is tiled with yellow pieces for a smooth and polished finish. From the side, you can appreciate the dimensions of the boom – it’s not small!
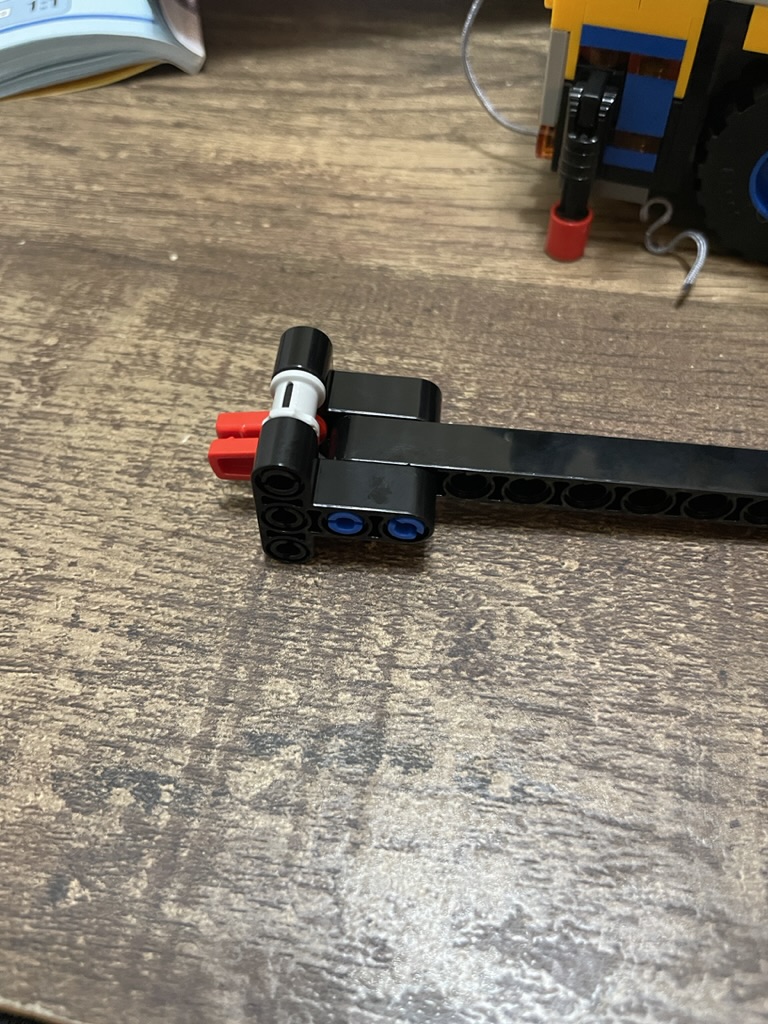
The dark grey bracket connects to either side of the internal structure and is held in place with an axel. Once in position, the crane overhangs the front of the vehicle.


Combining a few black technic bars creates the hook’s anchor point and the crane’s extension bar. The bar slides seamlessly inside the yellow covering. A couple of red tile elements with holes are covered in red tiles with stickers to hold the hook and attach the rope. It was challenging to tie the rope to these pieces and have it look neat, but I could tuck the excess into the middle with some effort. The provided road plate connects to the crane’s hook via a single round tile with a hole.

Ratings
Build: 4/5
This set is more than merely constructing a vehicle; it is also a technical build mixed with classic brick and plate layering building. For 340 pieces, the set offers excellent bandwidth as it provides a fantastic mix of pieces, techniques, and part usage. The three stages are well defined, breaking the vehicle into distinct sections that perfectly pace the build. The stickers are minimal, and most aren’t close enough to each other to require perfect placement.
Display: 4/5
I wanted this set as it would look excellent in my city, and the final product does not disappoint.
The set’s color is terrific – the vibrant blue and yellow combination stands out but isn’t garish. The design choice of tiling the middle section with light grey helps this design aspect.
The ability to position the boom at any angle and set the length offers many possibilities and are fantastic attributes for placing this set in a city. If you are a construction vehicle enthusiast, this set will also look good on a shelf, as the colors and design look stunning. The minifigures help bring the scene to life, and the road plate is a beautiful element that adds to the displayability of the set.
Price: 2/5
The retail price of $39.99 is steep for this set and is one you will want to pick up on sale. Luckily, this set is priced at $31.99 at most retailers (other than Lego itself), which is appropriate. While the price per piece (PPP) is a decent benchmark for assessing a set’s value, it’s misleading for those with significant elements – after all, this set includes a road plate, wheels, and the rare boom piece. So, I am not considering that metric here.
Remember, we also get two minifigures with accessories, so this set has many premium parts!
Overall, when purchased for the sale price, the set is of tremendous value, and for just over $30, you get an excellent vehicle with high playability and customization.
Final thoughts
As a novice city builder, I thought a mobile crane with a road plate would be an excellent addition to an evolving city. It’s a fun addition to see this next to my current completed road plates, and it helps make the town look evolving rather than unfinished. It’s a typical city set that doesn’t need any alternations to fit into your city’s aesthetic seamlessly. The MSRP is too high for the set but well worth getting on sale.
Buy the set
LEGO US
LEGO CAD
LEGO AUS
LEGO UK

Leave a comment